X
wikiHow is a “wiki,” similar to Wikipedia, which means that many of our articles are co-written by multiple authors. To create this article, 13 people, some anonymous, worked to edit and improve it over time.
This article has been viewed 44,312 times.
Learn more...
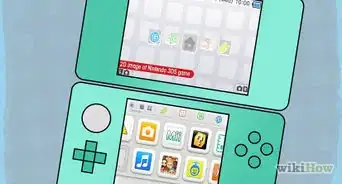
Ever wanted to wonder what the inside of a DS looks like? Want to open it to see? then read on reader...
Steps
-
1Remove a two rubber tabs on the back side of Nintendo DS, and open the battery cover using the Quatro-wing screwdriver.[1]
-
2Remove all those screws using the Quatro-wing screwdriver and Tri-wing screwdriver.[2]
-
3Remove a battery and unscrew a two screws, which are beneath the battery.[3]
-
4Remove back faceplate carefully.[4]
-
5Locate and unscrew a two screws. Remove black and white wire.[5]
-
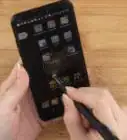
6Carefully remove the circuit board and there you have it your touch screen and entire lower board.[6]
- Simply follow through these stages carefully backwards to create a fully working DS again.


Warnings
- You have to reset your Wi-Fi and profile, when you take your battery out.Thanks!
- There is a possibility that the DS won't work at all afterward.Thanks!
- Do this too much and the screws get worn and chewed.Thanks!
Things You'll Need
- tri-wing screwdriver
- Nintendo DS
- Quatro-wing screwdriver