X
wikiHow is a “wiki,” similar to Wikipedia, which means that many of our articles are co-written by multiple authors. To create this article, volunteer authors worked to edit and improve it over time.
This article has been viewed 15,158 times.
Learn more...
In some sewing projects, you may be asked to produce a curved seam. It's a simple thing to sew, once you know how.
Steps
-
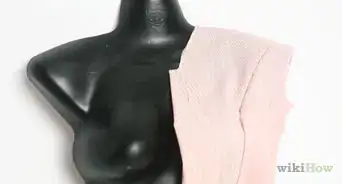
1Face the material with the wrong side out. This is presumed, unless your pattern states otherwise.
-
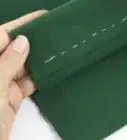
2Measure the required space between the edge and where your sewing line will go. This makes the seam allowance.
-
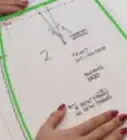
3Clip a "V" shape from the raw edge of the fabric to the line of your seam allowance.
-
4Clip out more "V" shapes at evenly spaced intervals all the way along the curved seam edge.
-
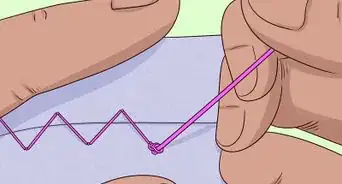
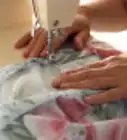
5Sew the curved seam at the seam allowance line. The little clipped "V"s will ensure that the seam allowance lies flat on the inside.
-
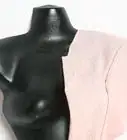
6Trim if needed. Then turn the sewing the right side out. Continue sewing other parts of the fabric item as instructed by the pattern.


Things You'll Need
- Fabric item requiring a curved seam
- Fabric scissors
- Measuring tape
- Sewing machine or needle and thread