X
This article was co-authored by Lois Wade. Lois Wade has 45 years of experience in crafts including sewing, crochet, needlepoint, cross-stitch, drawing, and paper crafts. She has been contributing to craft articles on wikiHow since 2007.
This article has been viewed 64,369 times.
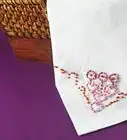
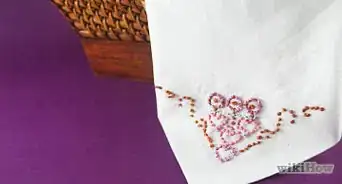
A colonial knot looks a lot like a French knot, and is often used in its place. It is also commonly used in candlewicking, so it's a valuable embroidery stitch to learn. See step 1 below to begin.
Steps
-
1
-
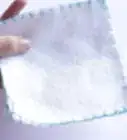
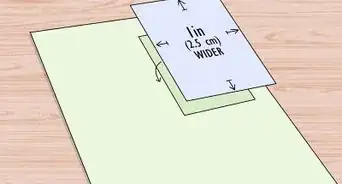
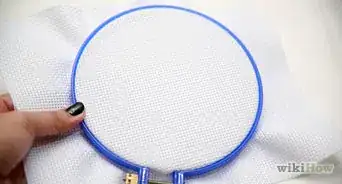
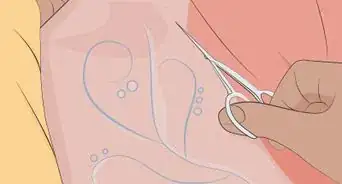
2Place your fabric in an embroidery hoop to help maintain tension on the fabric and keep the stitches from puckering the fabric.
-
3Pull the threaded needle up through the cloth from the back side.
-
4Make a backwards "C" shape with your yarn.
-
5Lay your needle down over the curve, and tuck the point in behind the yarn next to where you came up from the back side.
-
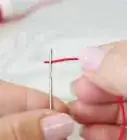
6Wrap the "working end" of the yarn around the tip of the needle to form a "figure eight" on the needle.
-
7Pull on the working end of the yarn to snug down the figure eight.
-
8Poke the loaded needle down next to where it came up (not in the same hole, but just next to it).
-
9Keep a gentle tension on the working end of the thread as you pull the needle through and snug down the knot.
-
10Repeat as often as you like for a very easy "French knot" substitute!


Community Q&A
-
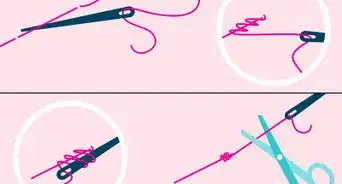
QuestionHow do I tie the knot to start sewing?
 Community AnswerRefer to Thread a Needle and Tie a Knot.
Warnings
- Use appropriate caution with the needle to avoid poking yourself.Thanks!
Things You'll Need
- Linen
- Embroidery hoop
- Embroidery needle
- Heavy thread or yarn


About This Article

Lois Wade
wikiHow Crafts Expert
This article was co-authored by Lois Wade. Lois Wade has 45 years of experience in crafts including sewing, crochet, needlepoint, cross-stitch, drawing, and paper crafts. She has been contributing to craft articles on wikiHow since 2007. This article has been viewed 64,369 times.
Co-authors: 11
Updated: December 23, 2021
Views: 64,369
Categories: Featured Articles | Embroidery