X
wikiHow is a “wiki,” similar to Wikipedia, which means that many of our articles are co-written by multiple authors. To create this article, volunteer authors worked to edit and improve it over time.
This article has been viewed 100,251 times.
Learn more...
How to render a project in Sony Vegas to proper YouTube properties!
Steps
-
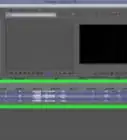
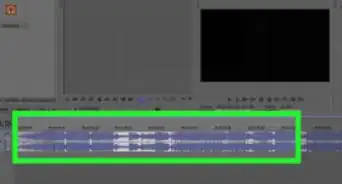
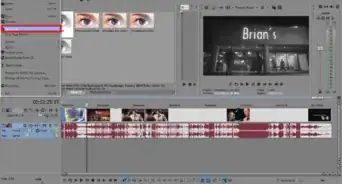
1Open your project in Sony Vegas.
-
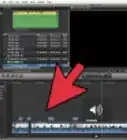
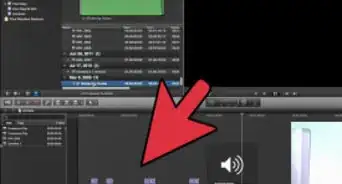
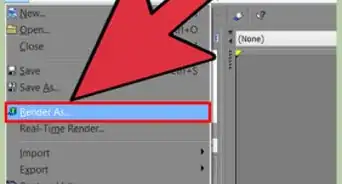
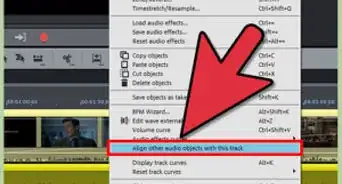
2Choose file > render asAdvertisement
-
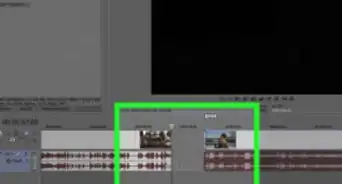
3Find "Save as type:" and select "Windows Media Video"
-
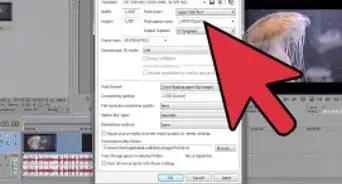
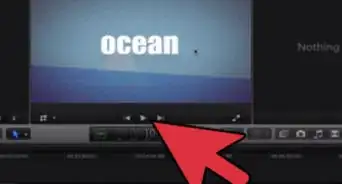
4Click "Custom..."
- Name your template and add a description if needed.
-
5Set "Video rendering quality" to "Best"
-
6Click the Audio tab
-
7Be sure "Include audio" is checked.
- "Mode" set to "CBR"
- "Format" set to "Windows Media Audio"
- "Attributes" set to "128 kbps, 44 kHz, stereo (A/V) CBR"
-
8Click the Video tab
- "Mode" set to "Quality VBR"
- "Format" set to "Windows Media Video 9"
- "Image size" set to "Custom"
- "Width" set to 640
- "Height" set to 360
- "Pixel aspect ratio" set to "1.000 Square"
- "Frame rate" set to 30.000
- "Seconds per keyframe" set to 3
- "Quality" set to 100%
-
9Leave all other tabs alone.
-
10Click the save icon
-
11click "OK"
-
12Click "save"
-
13And you're done!Advertisement


Community Q&A
-
QuestionIsn't the resolution you guys are suggesting considered pretty low?
 Community AnswerThis article does appear to have some conflict between the template and the actual output resolution. The template says 1080p, but the resolution chosen in Step 8 looks to be 640x360. For reference, high definition resolutions start at 720p and include some of the following values: HD (720p) -- 1280x720 Full HD (1080p) -- 1920x1080 QHD -- 2560x1440 4K -- 4096x2160

About This Article
Advertisement