X
This article was co-authored by Rachel Guffey. Rachel Guffey is a Plant Specialist and the Owner of Jungle House, a house plant shop based in Lawrence, Kansas. She specializes in plant education and caring for indoor plants. Rachel is passionate about using plants to help combat seasonal depression. She aims to make plants feel more accessible and approachable to everyone. Rachel has owned over 500 plants at one time.
This article has been viewed 19,040 times.
Succulents are great houseplants for plant owners of any level. They require minimal care, but when they outgrow their pots, they will need some attention. This wikiHow will provide a comprehensive list of steps for repotting succulents.
Steps
Part 1
Part 1 of 5:Determining If Your Succulent Is Ready to Be Repotted
Part 1
-
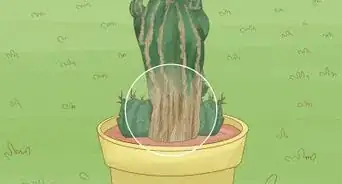
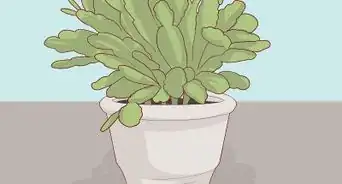
1Look at the bottom of your succulent's current pot.
- If you are able to see any roots, it's time to repot.
- Many succulents purchased from stores have been kept in their small containers for months and are rootbound.
- Rootbound is a condition where the roots are tightly packed at the bottom of the pot.
-
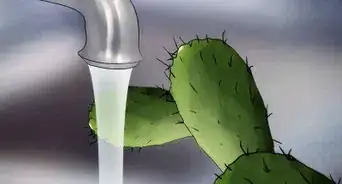
2Feel the soil.
- If your succulent isn't rootbound, but has gritty or hydrophobic soil, it needs to be repotted.
- Hydrophobic soil can be identified when the water seems to sit on top of the soil instead of being absorbed.
Advertisement -
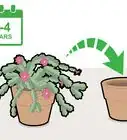
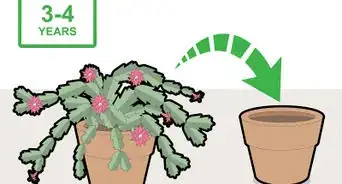
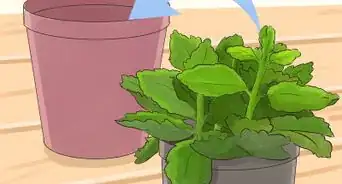
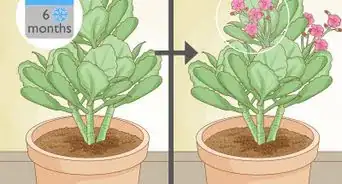
3Determine when you last repotted your succulent.
- If you have owned your succulent for two years and haven't repotted, it's time to repot.
Advertisement


Part 2
Part 2 of 5:Gathering Supplies and Preparing
Part 2
-
1
-
2Check for drainage and consider material.
- Determine the drainage by looking for a hole at the very bottom, or at the sides of the pot.
- Terracotta pots are a popular choice for succulents, since they help keep the soil dry and prevent the roots from rotting.
- Any material of pot with proper drainage will suffice.
-
3Buy or make soil.
- Succulents need soil that will be able to dry out completely between watering.
- Many succulent owners mix their own soil.
-
4Consider acquiring other supplies such as gloves, a fork, and a first-aid kit.
-
5Take off any stickers that are covering drainage holes.
-
6Fill the pot about two-thirds of the way full.
- Press your finger in the center to create a hole.
Advertisement


Part 3
Part 3 of 5:Removing the Succulent
Part 3
-
1Squeeze firmly around the container to dislodge the root system if your succulent is in a plastic container.
-
2Place your hand over the pot with the stem resting carefully in between your fingers.
-
3Tip your pot over and let the succulent slide out with minimal pulling.
- If it does not come out, try squeezing the container again.
- If your succulent is not in a plastic container and still won't come out, use a fork to disturb the soil around the edges of the pot.
-
4Use thick gloves if your succulent has thorns.
- If poked, wash area, apply an anti-bacterial such as Neosporin, and apply a band-aid.
-
5Brush off as much dirt from the root system as possible before repotting.
- If your succulent is particularly rootbound, you may have to use a fork to separate the root system.
-
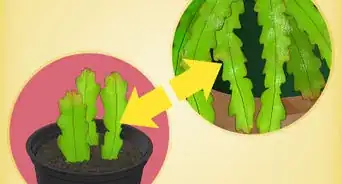
6Identify if there are pups with your succulent.
- A pup is a new growth that may share part of the root system with its mother plant.
- If the pup is at least one-third of its mother plant's height/size, then it can be separated and put in its own pot.
Advertisement


Part 4
Part 4 of 5:Repotting the Succulent
Part 4
-
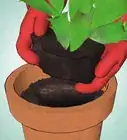
1Gently place the succulent in the hole you made with the soil.
- If necessary, make the hole bigger to accommodate a large root system.
-
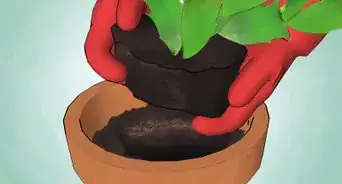
2Hold the succulent upright and in the middle of the pot.
- Pour more soil around it until the root system is covered and the succulent can stand on its own.
- Try not to pack the soil down too tightly or else your succulent may be more prone to root rot.
-
3Stake a Plant if it is leaning or dropping.Advertisement


Part 5
Part 5 of 5:Providing Aftercare
Part 5
-
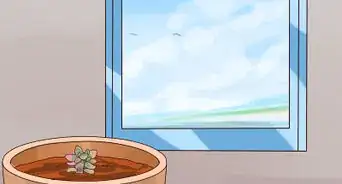
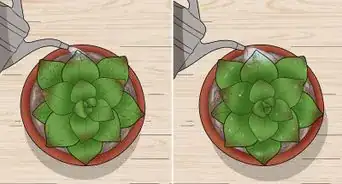
1Give your succulent ample time to rest after repotting before watering or fertilizing.
- If the soil from the bag was moist, let it dry out before watering.
- Some succulents, like burro's tail, may shed some leaves after being repotted. This is totally normal![3]
-
2Consider the pot material.
- If using terracotta, the soil will dry out faster than before, so you may have to use more water or water more frequently than with a plastic or glazed pot.
-
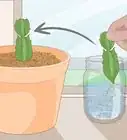
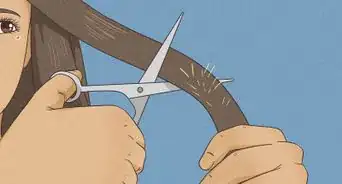
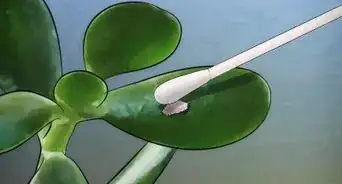
3Cut off any section of your succulent that was damaged in the repotting process.
- If it is brown and crisp or extremely wilted, throw it away.
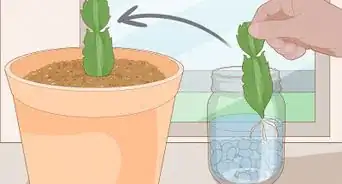
- If it is a healthy cutting, try resting it on soil or Propagate Succulent Plant Cuttings
Advertisement


References
About This Article

Rachel Guffey
Plant Specialist
This article was co-authored by Rachel Guffey. Rachel Guffey is a Plant Specialist and the Owner of Jungle House, a house plant shop based in Lawrence, Kansas. She specializes in plant education and caring for indoor plants. Rachel is passionate about using plants to help combat seasonal depression. She aims to make plants feel more accessible and approachable to everyone. Rachel has owned over 500 plants at one time. This article has been viewed 19,040 times.
Co-authors: 6
Updated: August 24, 2021
Views: 19,040
Categories: Growing Succulents and Cacti
Advertisement