This article was co-authored by wikiHow Staff. Our trained team of editors and researchers validate articles for accuracy and comprehensiveness. wikiHow's Content Management Team carefully monitors the work from our editorial staff to ensure that each article is backed by trusted research and meets our high quality standards.
The wikiHow Tech Team also followed the article's instructions and verified that they work.
This article has been viewed 1,209 times.
Learn more...
This wikiHow teaches you how to downgrade an admin to a user in a Skype group chat, and revoke their admin privileges, using an iPhone or iPad. You have to be a group admin in order to change member roles.
Steps
-
1Open Skype on your iPhone or iPad. The Skype icon looks like a blue "S" in a white circle. You can find it on your home screen or in an app folder.
-
2Tap the Chats tab. This button looks like a chat bubble icon in the lower-left corner of your screen. It will open a list of all your recent conversations.Advertisement
-
3Tap the chat you want to edit. Find the group chat you want to modify, and open it.
-
4Tap the message field at the bottom. Your keyboard will pop out from the bottom.
-
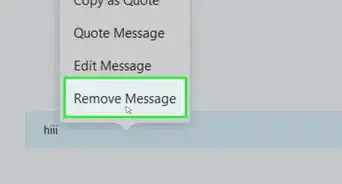
5Type /setrole [Skype Name] user into the message field. This command will allow you to revoke the specified user's admin privileges in the group chat, and downgrade them to a regular user.
-
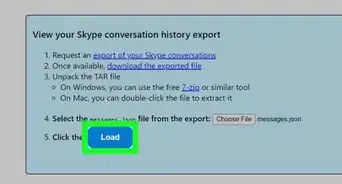
6Replace [Skype Name] with your contact's Skype Name. You can find your contact's Skype Name on their profile.
- Alternatively, you can type /get admins in the chat, and get a list of all the group admins' usernames.
-
7Send your message to the chat. Tap the paper plane icon to send and process your command line. This will revoke the specified user's admin rights in the group, and set their role as a regular user.Advertisement


Warnings
- You have to be a group admin in order to set member roles and change the role of another admin.Thanks!


About This Article

1. Open Skype.
2. Tap Chats.
3. Tap a group chat.
4. Type /setrole [Skype Name] user.
5. Replace [Skype Name] with your contact's ID.
6. Send your message.