This article was written by Nicole Levine, MFA. Nicole Levine is a Technology Writer and Editor for wikiHow. She has more than 20 years of experience creating technical documentation and leading support teams at major web hosting and software companies. Nicole also holds an MFA in Creative Writing from Portland State University and teaches composition, fiction-writing, and zine-making at various institutions.
This article has been viewed 6,296 times.
This wikiHow teaches you how to use your iPhone or iPad’s screen recording tool to record a GoToMeeting session. Before you can start recording, you'll need to make sure you've enabled screen recording in the Control Center, and that the Control Center can be accessed from any app.
Steps
Part 1
Part 1 of 2:Enabling Screen Recording in the Control Center
-
1
-
2Tap Control Center. It’s near the bottom of the first screen.
-
3Tap Customize Controls.
-
4Tap + next to “Screen Recording.” This ensures that screen recording is an option in the Control Center.
- If you see a red and white minus (-) sign instead, screen recording is already in the Control Center and you don’t need to make any changes here.
-
5Tap the back button. This brings you back to the prior screen.
-
6


Part 2
Part 2 of 2:Recording the Meeting
-
1Open GoToMeeting on your iPhone or iPad. It’s the orange icon with a white flower inside. You’ll usually find it on the home screen.
-
2Tap Join a Meeting. It’s at the bottom-left corner of the screen.
-
3Enter the meeting ID and tap Join. This adds you to the meeting.
- When you’re ready to start recording, move to the next step.
- The meeting ID is a numerical code provided to you by the meeting administrator.
-
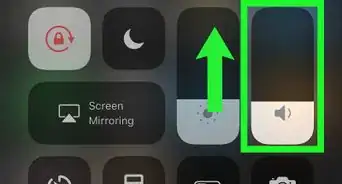
4Swipe up from the bottom of the screen. Do this when you’re ready to start recording. This opens the Control Center.
-
5Tap the record icon. It’s the circle within a circle (it looks like a bulls-eye). A countdown timer will commence and then the screen will start recording.
-
6Return to the meeting. Close the Control Center and then participate in your meeting as you normally would. When you’re ready to stop recording, move to the next step.
-
7Swipe up from the bottom of the screen. This re-opens the Control Center.
-
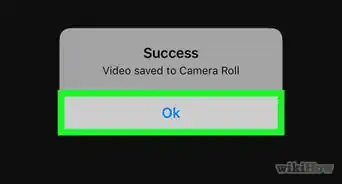
8Tap the red recording button. It’s the same button you pressed to start recording except it’s currently red. This stops the recording and saves the completed video to your gallery.


About This Article