This article was co-authored by wikiHow Staff. Our trained team of editors and researchers validate articles for accuracy and comprehensiveness. wikiHow's Content Management Team carefully monitors the work from our editorial staff to ensure that each article is backed by trusted research and meets our high quality standards.
This article has been viewed 3,251 times.
Learn more...
This wikiHow teaches you how to record an Adobe Connect Meeting on PC or Mac. Recording an Adobe Connect Meeting is a helpful way to document all of the content you and your colleagues share. An Adobe Connect Meeting recording will document audio, video, instant messages, presentations, screen sharing, polling, and whiteboard activity. To record a meeting, you need to have Adobe Connect and join a meeting on your PC or Mac.
Steps
-
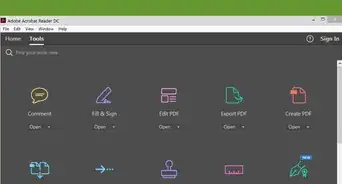
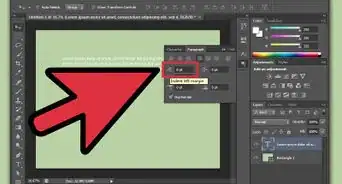
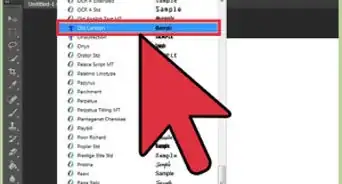
1Start or join your Adobe Connect Meeting. Once you’re in the meeting, you will be able to start recording.
- If on PC, you can find Adobe Connect on the desktop or by clicking on the Start button and typing Adobe Connect in the search bar.
- If on Mac, you can find Adobe Connect on the desktop or by clicking on the Spotlight and typing Adobe Connect in the search bar.
-
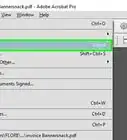
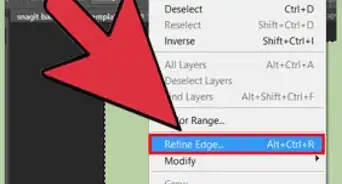
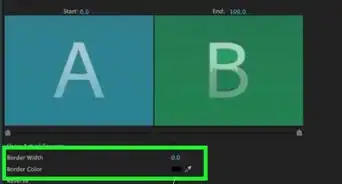
2Select Meeting from the menu bar. The menu bar is in the top left corner of your screen. This will produce a drop-down menu.Advertisement
-
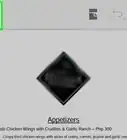
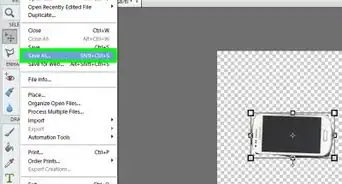
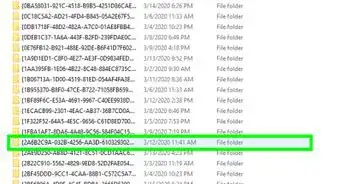
3Select Record Meeting from the drop-down menu. This will automatically begin recording the Adobe Connect Meeting. This will produce a pop-up window.
-
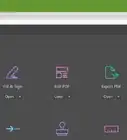
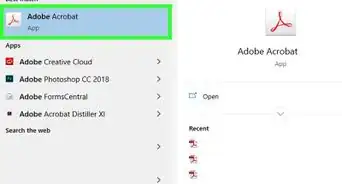
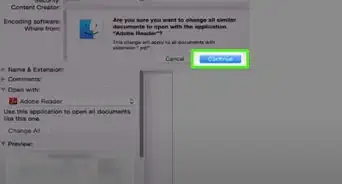
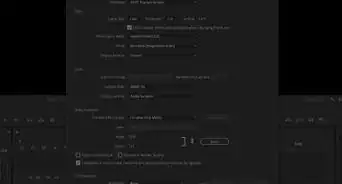
4Enter the meeting name and description. The pop-up window should disappear once you have entered this information. Your Adobe Connect Meeting will begin recording.
- Stop the recording by selecting the Stop button. Your recording will automatically be saved as a shareable URL.
- Pause the recording by selecting the pause button.
-
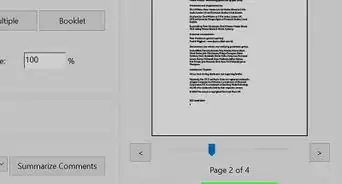
5Access the recorded meeting through the shareable URL.
- Select Recordings from the Meetings page in Adobe Connect.
- Select the recording you want to access.
- Select the URL to begin playing the recording.
Advertisement


About This Article

1. Open Adobe Connect.
2. Start a meeting.
3. Select Meeting from the menu.
4. Select Record Meeting.
5. Enter the meeting name and description.