X
This article was written by Nicole Levine, MFA. Nicole Levine is a Technology Writer and Editor for wikiHow. She has more than 20 years of experience creating technical documentation and leading support teams at major web hosting and software companies. Nicole also holds an MFA in Creative Writing from Portland State University and teaches composition, fiction-writing, and zine-making at various institutions.
This article has been viewed 5,034 times.
This wikiHow teaches you how to restrict access to certain apps and features on an iPhone or iPad. You’ll also learn how to use Guided Access to keep users locked into single app.
Steps
Method 1
Method 1 of 2:Locking with Restrictions
Method 1
-
1
-
2Scroll down and tap General.Advertisement
-
3Scroll down and tap Restrictions. It’s near the middle of the menu.
-
4Tap Enable Restrictions. It’s at the top of the screen.
-
5Enter and confirm a 4-digit passcode. Choose something you’ll remember, as this passcode will be required to edit your restrictions later. When the passcode is verified, you’ll see the Restrictions screen.
-
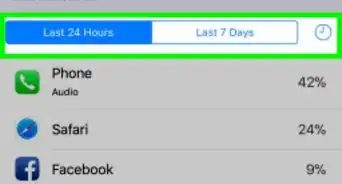
6Toggle off the apps you want to block. The apps listed at the top of the menu have green switches, which indicate that they are usable by anyone. To restrict an app, slide its corresponding switch to .[1]
- You can only restrict apps that came with your iPhone or iPad, such as Camera, Safari, and the AirDrop.
- Toggling off apps removes them from the home screen.
-
7Toggle off services and features you want to block. This is the next section of options with switches. You can toggle off features such as Deleting Apps, Installing Apps, Podcast, etc.
-
8Scroll down and tap Apps under “ALLOWED CONTENT.” A list of age ratings will appear.
-
9Tap the ratings you want to allow. To disallow all downloaded apps, select Don’t Allow Apps. Otherwise, tap all of the age ratings you wish to allow.
- For example, if you want to allow apps that are appropriate for ages 4+, 9+, and 12+, tap each of these options.
- To allow all apps to be used no matter the age rating, tap Allow All Apps.
Advertisement


Method 2
Method 2 of 2:Using Guided Access
Method 2
-
1
-
2Scroll down and tap General.
-
3Scroll down and tap Guided Access. It’s under the “LEARNING” header at the bottom of the menu.
-
4
-
5Tap Passcode settings.
-
6
-
7Enter and confirm a 6-digit passcode. Choose something you’ll remember, as this passcode will be required to edit your Guided Access settings later.
-
8Press the Home button to return to the home screen. Now you can enable Guided Access for an app you want to block.
-
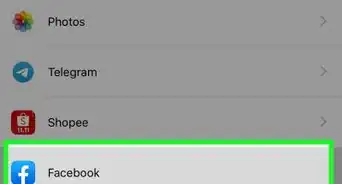
9Open the app you want to allow. For instance, if your child wants to watch movies on Netflix and you want them to stay in that app, open Netflix.
-
10Press the Home button three times. This opens the Guided Access menu.
-
11Circle the areas you want to lock. This is optional. To block certain buttons or features (such as blocking a purchase button), drag your finger around buttons, icons, and links you want to disable.
-
12Tap Start. It’s at the top-right corner of the screen. Guided Access is now enabled—the selected app is the only one that’s usable until you turn off Guided Access.
- To disable Guided Access, press the Home button three times, then enter your passcode (or use Touch ID).
Advertisement


Community Q&A
-
QuestionI don't have a restrictions option in settings, how can I lock the apps without it?
 MinoriteCommunity AnswerRestrictions was removed and replaced with Screen Time as of iOS 12, you can use Screen Time instead.


References
About This Article

Nicole Levine, MFA
Tech Specialist
This article was written by Nicole Levine, MFA. Nicole Levine is a Technology Writer and Editor for wikiHow. She has more than 20 years of experience creating technical documentation and leading support teams at major web hosting and software companies. Nicole also holds an MFA in Creative Writing from Portland State University and teaches composition, fiction-writing, and zine-making at various institutions. This article has been viewed 5,034 times.
How helpful is this?
Co-authors: 1
Updated: March 29, 2019
Views: 5,034
Categories: IPhone | Ipad
Advertisement