wikiHow is a “wiki,” similar to Wikipedia, which means that many of our articles are co-written by multiple authors. To create this article, volunteer authors worked to edit and improve it over time.
There are 8 references cited in this article, which can be found at the bottom of the page.
wikiHow marks an article as reader-approved once it receives enough positive feedback. In this case, 95% of readers who voted found the article helpful, earning it our reader-approved status.
This article has been viewed 133,958 times.
Learn more...
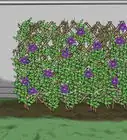
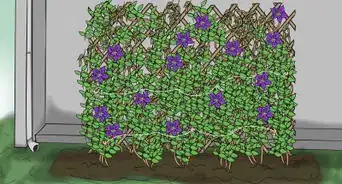
Azalea propagation refers to the process of breeding the big, showy flowers that bloom on shrubs in many yards and gardens. There are many different methods to accomplish this task, which anyone with a pair of gardening gloves and some shears can manage. Follow these steps for how to propagate azaleas.
Steps
Method 1
Method 1 of 3:Propagating Through Layering
- When using this method, it is not necessary to remove any portion of the parent plant.
-
1Look through the azalea bush and select a branch that is low hanging.[1]
-
2Dig a rut under, and parallel to, the branch, approximately 2 inches (5.08 cm) deep.[2]Advertisement
-
3Score a portion of the branch and apply liquid fertilizer.
-
4Push the branch into the rut and bury several inches (approximately 10.16 cm) of it with potting soil.
-
5Weigh the branch down. This can be done with bricks, stones, or chunks of wood.
-
6Allow a year for the branch to form independent roots.[3]
-
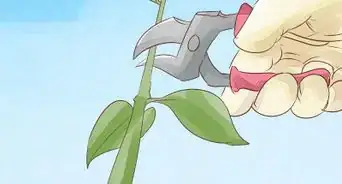
7Trim the clone away from the original plant once it has developed a healthy root system.Advertisement


Method 2
Method 2 of 3:Propagating Azaleas Through Cuttings
-
1Prepare a pot of moist, loose soil, approximately 6 inches (15.24 cm) deep, several days in advance.
-
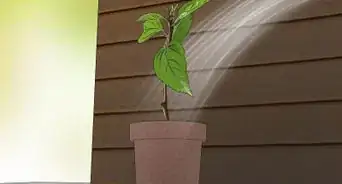
2Assure that it is generously watered.
-
3Look for your sample toward the top of the plant, where new shoots are forming.
-
4Trim a swatch that is approximately 4 inches (10.16 cm) long.
-
5Select a branch that is pliable, yet firm.
-
6Remove all of the leaves, except for those at the top end.
-
7Dampen the branch, seal it in plastic, and then allow it to chill for several hours.
-
8Score the bottom portion of the branch, about 1/2 inch (1.27 cm) up.
-
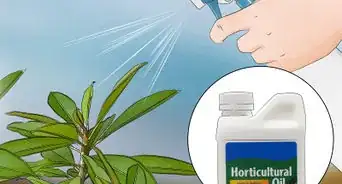
9Dip the bottom inch (2.54 cm) of the branch in liquid or powdered fertilizer.
-
10Remove the excess fertilizer by blotting the branch with a rag, or shaking it, depending on the type of fertilizer.
-
11Create a hole for each cutting, using a pencil.
-
12Space the holes out in 2 to 4 inch (5.08 to 10.16 cm) increments.
-
13Insert the cuttings and water generously, avoiding the leaves.
-
14Cover the entire pot with plastic to prevent it from drying out.
-
15Place the pot in a place that is well lit, but out of direct sunlight.
-
16Allow 8 weeks for the root system to develop.[4]
-
17Unseal the plastic covering gradually during the ninth week.
-
18Transplant the cuttings to a mixture of peat moss and sand.
-
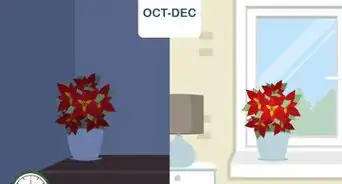
19Move the pots indoors when the temperature is below freezing, for the first year.Advertisement


Method 3
Method 3 of 3:Propagating During Autumn
-
1Pull the seed pods from the plants at the beginning of autumn.
-
2Confirm that they are not fully brown, and still sealed.
-
3Place the seed pods of each variety in a paper bag, labeling the bags to reflect the species.
-
4Wait about a month for the pods to open.
-
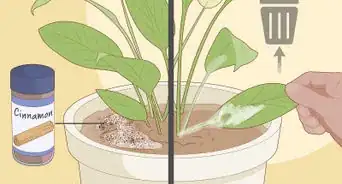
5Clean the seeds.
-
6Plant the seeds in the winter, in the following manner.
-
7Prepare a pot of peat moss and sand, one for each species, entirely full except for the top inch (2.54 cm).
-
8Fill the gap with peat moss exclusively.
-
9Water the soil mixture generously, and then allow it to drain.
-
10Scatter the seeds into the soil and water it gently.
-
11Seal the pot in plastic thoroughly.
-
12Place the pot under a faux lighting system.
-
13Wait six weeks to two moths for the seeds to sprout.
-
14Remove the sprouts with a toothpick and transplant them to several other pots.
-
15Space the sprouts out at 2 to 3 inch (5.08 to 7.62 cm) intervals.
-
16Water the surrounding soil gently.
-
17Seal the pots in plastic once again.
-
18
-
19Remove the plastic after about a week.
-
20Water generously.[5]
-
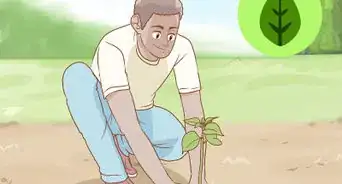
21Wait a year to replant the growing seedlings.
-
22Portion the soil into cubes, rather than sorting the roots.
-
23Place the individual plants in a shady area and water them generously.Advertisement


Community Q&A
-
QuestionCan I propagate azaleas by cuttings in the fall?
 NinoxTop AnswererYou can propagate azaleas by cuttings but not in the fall, but in the summer.


References
- ↑ https://www.azaleas.org/propagation-2/
- ↑ https://www.azaleas.org/propagation-2/
- ↑ https://www.rhododendron.org/propagation.htm
- ↑ https://www.azaleas.org/propagation-2/
- ↑ https://www.southernliving.com/home-garden/gardens/azalea-plants
- https://extension.uga.edu/publications/detail.html?number=B670&title=Selecting%20and%20Growing%20Azaleas
- https://www.uaex.edu/publications/PDF/FSA-2092.pdf
- https://living.thebump.com/propagate-wild-azalea-cuttings-6726.html
- https://gardenerspath.com/plants/ornamentals/propagate-azaleas/