X
wikiHow is a “wiki,” similar to Wikipedia, which means that many of our articles are co-written by multiple authors. To create this article, volunteer authors worked to edit and improve it over time.
This article has been viewed 24,103 times.
Learn more...
While making bread, it is necessary to proof the dough before it is baked. Proofing is not difficult, but it must be done correctly. Follow the easy instructions, and you should see your proofed dough gradually become twice the size when it has risen. This is when you know you are done proofing and are ready to bake!
Ingredients
- Specific type of flour in the recipe or a suitable substitute
- Oil
- Water
- Butter
- Yeast
- Sugar
Steps
-
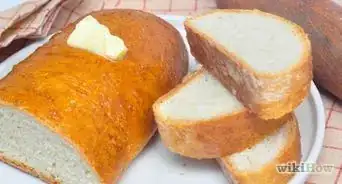
1Read the recipe.
- Look at a picture of what the bread should look like through the bread making stages.
-
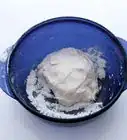
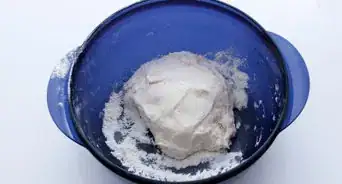
2Prepare the bread dough following the instructions based on the type of bread being made.Advertisement
-
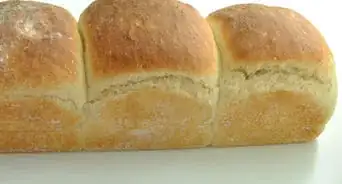
3Shape the dough according to directions.
-
4Oil the dough.
-
5Boil enough water to fit into a baking pan.
-
6Pour the boiling water into the baking pan and place on the bottom rack of the oven.
-
7Place the oiled dough in the oven on a baking sheet, or use bakeware.
-
8Close the oven door.
-
9Clean up. This includes putting ingredients away and washing; utensils, counter, pastry board, and dirty dishes
-
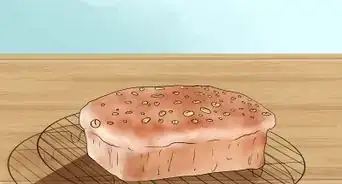
10Allow the dough to rise until roughly double the original size.
- Remove the dough from the oven.
-
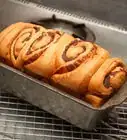
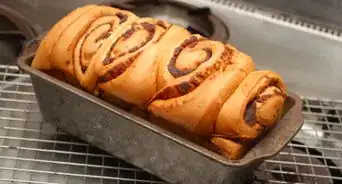
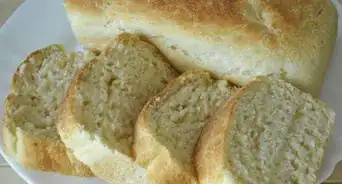
11The dough is proofed and ready to be baked!Advertisement


Warnings
- Do not open the oven door while the dough is being proofed! You could prevent the rising of the dough.Thanks!
Advertisement
Things You'll Need
- Bakeware
- Pastry brush
- Oven
- Timer


References
About This Article
Advertisement