X
wikiHow is a “wiki,” similar to Wikipedia, which means that many of our articles are co-written by multiple authors. To create this article, 13 people, some anonymous, worked to edit and improve it over time.
This article has been viewed 370,821 times.
Learn more...
Creating multiple e-mails, and changing the recipients information for each e-mail, can be a tedious task However; Word 2010 comes with a Mail Merge feature allowing the user to create multiple e-mails for different recipients at once. Although not that many people know how to use mail merge, this article will show you how.
Steps
Method 1
Method 1 of 2:With the Mailings Tab
Method 1
-
1Launch Word 2010.
-
2Navigate to Mailings Tab.
-
3Go to Start Mail Merge options.
-
4Click Step by Step Mail Merge Wizard.
-
5Choose the type of document you want.
-
6This step will ask you to choose what document to use/type document now.
-
7Choose your recipients.
-
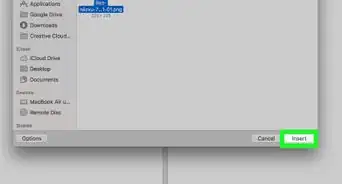
8Choose the Excel worksheet that has your chosen recipients.
-
9Click Open.
-
10Follow the rest of the Mail-Merge Wizard. Depending on the options chosen different dialog boxes will show up, making very difficult to provide a step by step for the rest. However; the rest of the steps are self-explanatory.
-
11Click Finish and Merge on the Mailings Tab when done.


Method 2
Method 2 of 2:Without the Mailings Tab
Method 2
-
1Open the document you want to merge.
-
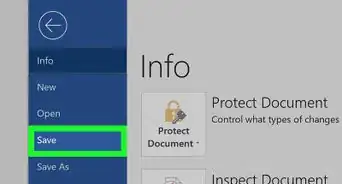
2Choose the type of document you want to create (letter, envelope, label, e-mail, or directory).
-
3Choose the list of recipients you want to send the document to.
-
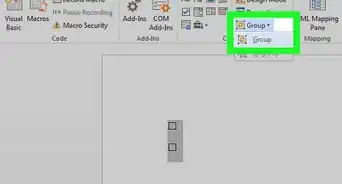
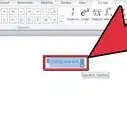
4Add merge fields. Put the cursor where you want the merge field to appear, then click add field on the ribbon.
-
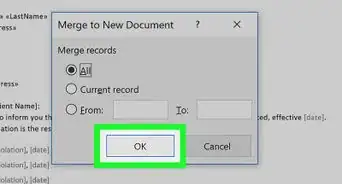
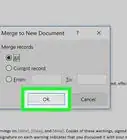
5Finish and merge.
-
6Check for errors that could have been introduced, during the merge.
-
7Send the merge by e-mail.
- You can also print the merge.


Community Q&A
-
QuestionHow do I use the mail merge feature so that it displays Sir for Mr. and Madam for Mrs.?
 Community AnswerThe easiest way is to add an extra column in your list of recipients that contains the appropriate term of address. This can then be inserted into your document as another mail merge field in the same way as the person's name. You could input this column manually, or generate the correct term of address using a formula in Excel, based off the Title field. Note that this doesn't work for non-gender-specific titles, so you'll have to fill those in manually. You can make a formula that outputs a blank for those rows. You'll need the "IF" and "OR" functions. Look those up using the formula wizard for information about how they work.
 -
QuestionI have completed all the fields and merged them into the letter. Now I am ready to print it, but the documents don't seem to be going to the printer. It is a wireless printer. Do you have any suggestions? for me?
 Community AnswerMake sure your phone can open a MS office document. Select the printer icon and then select print. Use to save files to Google cloud or to print using Google/Gmail account to an HP printer that is HP e-print capable or to HP classic printer.
 -
QuestionHow would I create page numbers for each merge document?
 Community AnswerDisplay the Insert tab of the ribbon, then in the header and footer group click the page number tool. Then click the format page number option and then make sure the start radio button is selected. Ensure the page number shown to the right of the start radio button is set to 1, then click OK.