X
This article was written by Jack Lloyd. Jack Lloyd is a Technology Writer and Editor for wikiHow. He has over two years of experience writing and editing technology-related articles. He is technology enthusiast and an English teacher.
This article has been viewed 4,150 times.
This wikiHow teaches you how to create and apply a password for selected notes in your iPhone's Notes app.
Steps
Part 1
Part 1 of 3:Creating a Password
Part 1
-
1Open your iPhone's Settings. It's the grey cog icon on one of your Home screens, though it may be hiding in a folder entitled "Utilities".
-
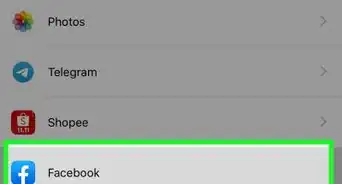
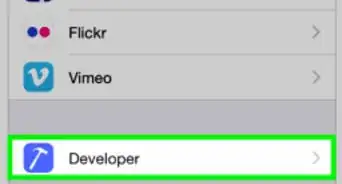
2Scroll down and tap Notes. It's in the fifth group of options on this page.
-
3Tap Password. This is the fifth option down from the top of the Notes menu.
-
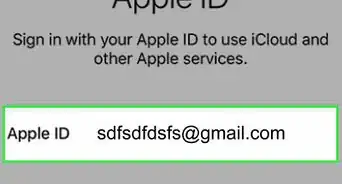
4Enter your password. You'll type this into the "Password" field.
-
5Re-enter your password in the "Verify" field. This is to make sure the password you provided above matches your intended password.
-
6Type in a password hint. This is optional, but recommended in case you forget your password.
-
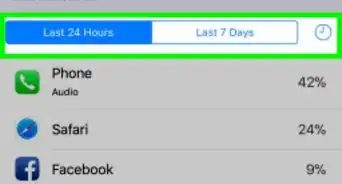
7Decide whether or not you want Touch ID enabled for Notes. If you're using an iPhone 5S, 6/6 Plus, 6S/6S Plus, SE, or 7/7 Plus, you'll see an option entitled Use Touch ID at the bottom of the screen. If you don't want to use it, you'll need to slide the Use Touch ID switch left to the "Off" position.
- Touch ID is usually enabled by default.
- This will use the same fingerprint already registered with Touch ID.[1]
-
8Tap Done. It's in the top right corner of your screen. After doing so, your password settings for the Notes app will be saved.


Part 2
Part 2 of 3:Locking a Note
Part 2
-
1Open your iPhone's Notes. This is the yellow and white notepad icon on one of your Home screens.
- If prompted, tap "Upgrade Notes" when you launch the app. This is required in order for passwords to work.
-
2Select a note you want to lock. If you already have a note open, you may have to tap < Notes in the top left corner of your screen to view all saved notes.
- Tapping the < button again will take you to the account selection screen where you can view all the accounts in which your notes are stored.
-
3Tap the Share button. It resembles a box with an arrow coming out of the top. You'll find this in the top right corner of your screen.
-
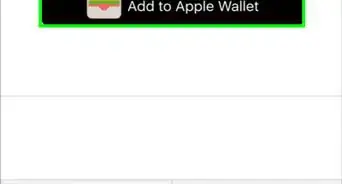
4Tap Lock Note. This is the lock-shaped icon in the bottom row of options.
- You cannot lock notes that have PDFs, audio, video, or Pages attached to them.
- If your note is ineligible for locking, you'll be notified that you cannot lock the note when you select Lock Note.
-
5Type in your Notes password.
-
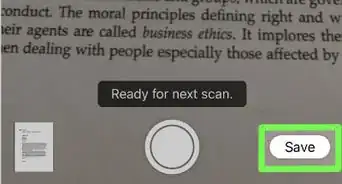
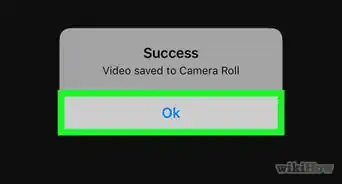
6Tap OK. You're now ready to lock your selected note.
-
7Tap the open padlock icon. It's at the top of the page, to the left of the Share button. Doing so will lock your note, meaning you'll need to use your Notes password or your Touch ID to open it.
- Whenever you unlock a note to view or edit it, you'll need to re-lock it by tapping the open padlock again.


Part 3
Part 3 of 3:Unlocking a Note
Part 3
-
1Select a note you wish to unlock. Locked notes will have a closed padlock next to them in your list of notes.
-
2Tap View Note. This option is the yellow text in the middle of the note's page.
-
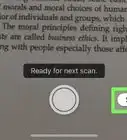
3Type in your Notes password. You can also scan your fingerprint if you have Touch ID enabled for Notes. Doing so will unlock your selected note.
-
4Tap the Share button. Remember, this is in the top right corner of your screen.
-
5Select Remove Lock. This option is at the bottom of your screen. Tapping it will remove the lock from your selected note, meaning that you will no longer need to provide a password (or your fingerprint) to view or edit it.


Community Q&A
-
QuestionI can't find the lock button on the bar. What should I do?
 Community AnswerSwipe to the left of the note you want to lock and click the lock button.
Warnings
- Don't re-type your password verbatim into the "Hint" field while creating your password.Thanks!


About This Article
Article SummaryX
1. Open Settings.
2. Tap Notes.
3. Tap Password.
4. Enter your password information.
5. Tap Done.
Did this summary help you?