This article was written by Nicole Levine, MFA. Nicole Levine is a Technology Writer and Editor for wikiHow. She has more than 20 years of experience creating technical documentation and leading support teams at major web hosting and software companies. Nicole also holds an MFA in Creative Writing from Portland State University and teaches composition, fiction-writing, and zine-making at various institutions.
The wikiHow Tech Team also followed the article's instructions and verified that they work.
This article has been viewed 19,846 times.
This wikiHow teaches you how to use Adobe Photoshop for Windows or macOS to enlarge an image.
Steps
-
1Open Photoshop on your PC or Mac. If you’re using Windows, it’ll be in the All Apps area of the Start menu. If you have macOS, it’s in the Applications folder.
-
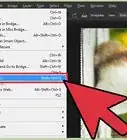
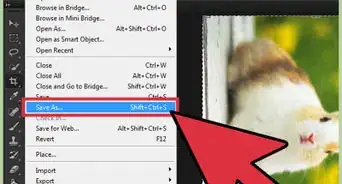
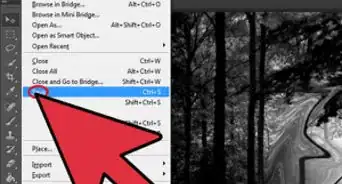
2Click the File menu. It’s at the top-left corner of the screen (macOS) or the Photoshop window (Windows).Advertisement
-
3Click Open.
-
4Browse to the image you want to resize.
-
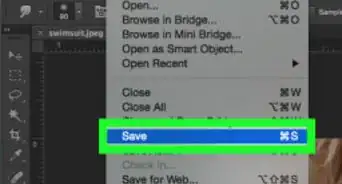
5Select the image and click Open. The image is now ready for editing.
-
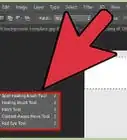
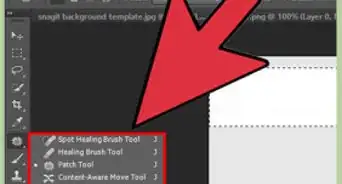
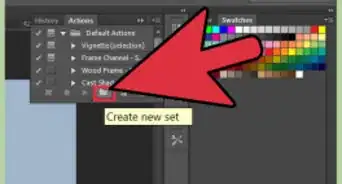
6Click the Image menu. It’s in the menu bar at the top of the screen or window.
-
7Click Image Size.
-
8Check the box next to “Constrain Proportions.” This ensures that the image doesn’t get warped during resizing.
-
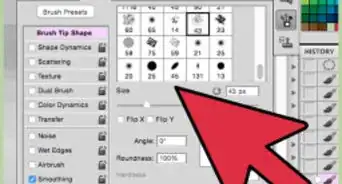
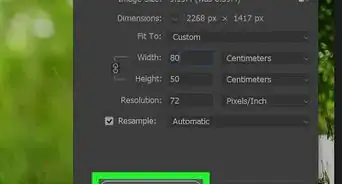
9Enter the desired width and height for the image. In the “Pixel Dimensions” area, both the width and height drop-down menus show the current resolution in pixels.
- If you know how many pixels wide and/or large you want the image to be, leave “Pixels” selected in the second drop-down menu, then enter the new width or height in pixels.
- For example, if you want the image to be 800 pixels wide, type 800 into the “Width” box.
- Entering the width will automatically change the height due to the “Constrain Proportions” setting.
- To increase the size by percent instead of by specifying the exact width or height in pixels, select “percent” from the drop-down menus, then type the percentage by which you want to increase the size.
- For example, to increase the image size by 20%, select percent from the drop-downs under “Pixel Dimensions,” then type 20 into either the width or height box.
- If you know how many pixels wide and/or large you want the image to be, leave “Pixels” selected in the second drop-down menu, then enter the new width or height in pixels.
-
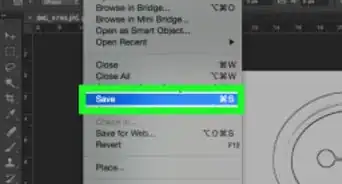
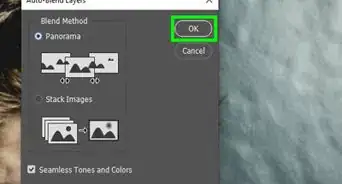
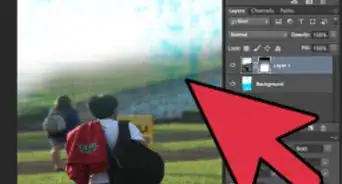
10Click OK. The newly-resized image now appears in Photoshop.
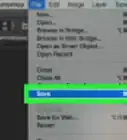
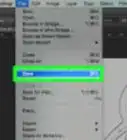
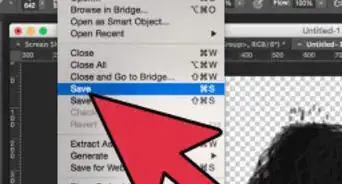
- To save your changes, click the File menu and select Save.
Advertisement


About This Article

1. Open the image in Photoshop.
2. Click Image.
3. Click Image Size.
4. Select "Constrain Proportions."
5. Enter the width and height.
6. Click OK.