X
wikiHow is a “wiki,” similar to Wikipedia, which means that many of our articles are co-written by multiple authors. To create this article, 14 people, some anonymous, worked to edit and improve it over time.
This article has been viewed 128,642 times.
Learn more...
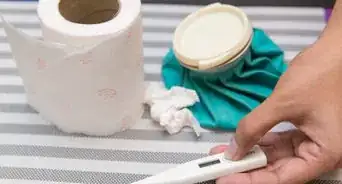
Making your own tissue pouches has its benefits. When the cold season is coming, you can make sure each family member has his or her own personalized tissue pouch. You can also make pouches that match the décor of your home or car's interiors, rather than shopping for one with the right colors and patterns. And, this makes a wonderful craft project for children and adults alike.
Steps
-
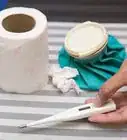
1Use a tissue to measure out your fabric. Cut a rectangle of about 2 inches (5.1 cm) wider than the tissue (1 inch on each side) and 3 times the height of the tissue, with a couple of more inches of allowance.
-
2Cut a second square of fabric. One to be used for the lining and the other for the cover.
-
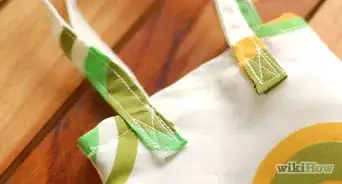
3Place the fabric squares on top of each other so that the wrong side of each fabric is facing out. Sew along the edges, leaving a small gap, or opening on one side.
-
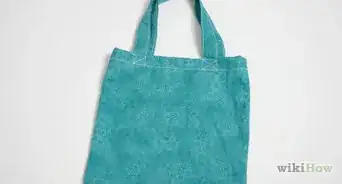
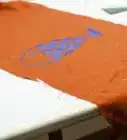
4Pull the fabric inside out through the small gap so that the right side of the fabric is now facing out. Lay it down with the cover fabric facing upwards.
-
5Fold the two sides of the fabric inwards so that the edges meet in the middle. Pin along the edges.
-
6Sew along the edges, and in doing so, sew up the gap you left earlier.
-
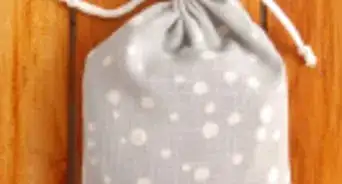
7Fold the pouch inside out again and fill it with tissues.


Community Q&A
-
QuestionCan you make a tissue pouch from paper?
 Community AnswerNo. You'll probably want to use a fabric-based linen because paper will rip when you put the needle in.
Warnings
- Small children should be supervised by an adult at all times. An underage child should not use sewing scissors or sewing machine unless approved and watched by an adult.Thanks!
Things You'll Need
- Tissues or Tissue box
- Fabric
- Pins
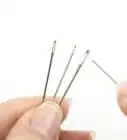
- Scissors
- Sewing Machine
- Thread