X
This article was written by Nicole Levine, MFA. Nicole Levine is a Technology Writer and Editor for wikiHow. She has more than 20 years of experience creating technical documentation and leading support teams at major web hosting and software companies. Nicole also holds an MFA in Creative Writing from Portland State University and teaches composition, fiction-writing, and zine-making at various institutions.
The wikiHow Tech Team also followed the article's instructions and verified that they work.
This article has been viewed 5,002 times.
This wikiHow teaches you how to create a table with borders in Google Sheets when you're using an Android.
Steps
-
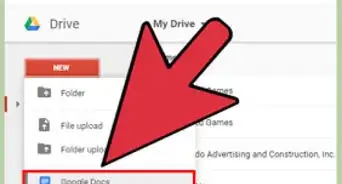
1Open Google Sheets on your Android. It's the green and white table icon typically found in the app drawer.
-
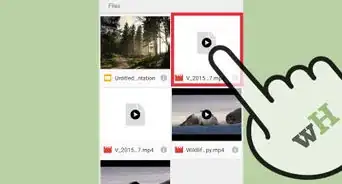
2Tap the file you want to edit. If your file contains multiple sheet tabs, tap the tab on which you want to create a table.
-
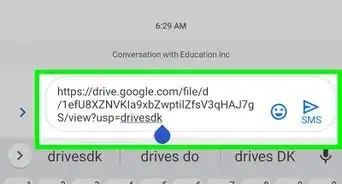
3Select the cells you want to turn into a table. To do this, tap and hold one cell, then drag your finger to include all necessary cells. They'll all be highlighted in blue.
-
4Tap the border icon. It's the square divided into four square sections.
-
5Tap the solid border icon. It's the first icon that looks like a square divided into four square sections. This creates borders around the cells in the highlighted area.
-
6Tap Border style.
-
7Select a line style. If you don't like the solid lines (or their thickness), tap another option on this screen.
-
8Tap the back button. This brings you back to the table.
-
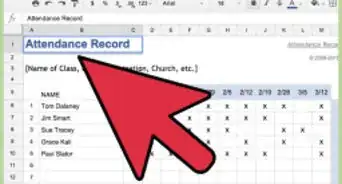
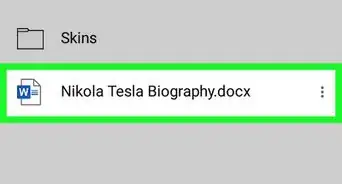
9Enter headers and table data. Headers go into the cell at the top of each column. You now have a table that contains data.


About This Article

Nicole Levine, MFA
Tech Specialist
This article was written by Nicole Levine, MFA. Nicole Levine is a Technology Writer and Editor for wikiHow. She has more than 20 years of experience creating technical documentation and leading support teams at major web hosting and software companies. Nicole also holds an MFA in Creative Writing from Portland State University and teaches composition, fiction-writing, and zine-making at various institutions. This article has been viewed 5,002 times.
How helpful is this?
Co-authors: 3
Updated: September 6, 2019
Views: 5,002
Categories: Google Docs