X
wikiHow is a “wiki,” similar to Wikipedia, which means that many of our articles are co-written by multiple authors. To create this article, volunteer authors worked to edit and improve it over time.
This article has been viewed 46,536 times.
Learn more...
How to make a beaded belt, using a bead loom.
Steps
-
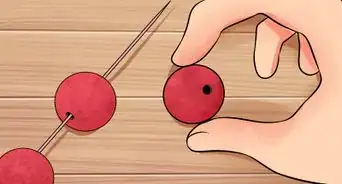
1Determine the length and width of the beaded strip you will need. Next, determine how many beads wide it will be. The simplest way to do this is to string beads, then measure the desired width against the string.
-
2Now that you have a width (measured in beads) for your belt, use the graph paper to plan out the design you want. Give some thought to how the pattern will look if you stop mid-design due to the length of your belt. If you are using a pre-made belt, keeping the width to the same width as the stitches that hold both pieces of the belt together will save on wear and tear. The same goes for making your own belt, though where these seams go will be up to you.Advertisement
-
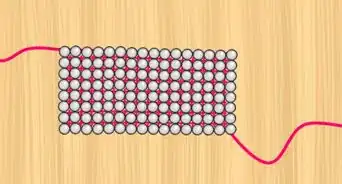
3Make your bead strip. If you do not know how to bead at all, just follow the directions that come with your loom. Actually, a belt may not be the trickiest beginner project, though you might want to try a bracelet or something of a similar width first. You want the strip to be fit from just before the hole you plan to use in the belt, and the edge where the stitches attaching the buckle is.Advertisement


Method 1
Method 1 of 2:For a Premade Belt
Method 1

Method 2
Method 2 of 2:To Make Your Own Belt
Method 2
-
1Cut 2 strips of equal size to the width you wish you belt to be. Be sure to leave a bit of room on either side, width wise, beyond where the bead strip will extend. This will show once you have attached the beads, which will save on wear and tear. Each strip should be a bit longer than the belt will be, since you still need to attach the buckle. These strips will be sewn on top of each other to make the belt thick enough.
-
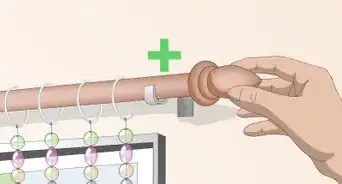
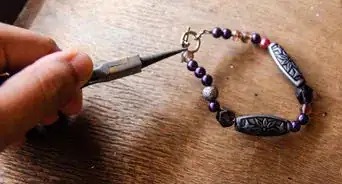
2Attach the buckle to one strip according to the directions.
-
3Line the bead strip up on the strip with the buckle attached. It should begin right after where you want the hole, and end right before the buckle.
-
4Sew along the edges of the strip with clear beading thread to attach it. This will be easiest with a needle made for sewing leather, though quilting needles may work if you don't have a leather needle.
-
5Line the bottom strip up under the top one.
-
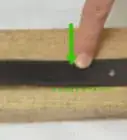
6Mark where you want your hole.
-
7How you shape the end is up to you. The usual shape is probably easiest. Make sure you have the two sides lined up well, and pinned together, before you cut.
-
8Sew along the edges of the two strips to attach them together. You can either use a straight row of stitches just above where the bead strip, or wrap the stitches over and around the edge of the belt, depending on the look you want. Use contrasting thread for a different look.
-
9Punch a hole
-
10All done, you now have a beaded belt!Advertisement


Community Q&A
-
QuestionWhat kind of sewing machine is used to sew a loomed beaded pattern to a leather belt?
 T. ChinsenTop AnswererBeaded items are generally hand sewn onto the carrier material. Most sewing machines do not sew bead work, as they can catch and break the needle. The uneven texture of the beads do not allow them to feed smoothly under the sewing foot of the machine.
Things You'll Need
- Bead loom
- Thin plain leather belt OR two strips of thin leather or suede of the appropriate size and a belt buckle.
- Seed beads
- Beading thread (ideally the clear type that resembles fine fishing line, it holds up better than the thread type).
- Graph paper (the smaller the squares, the better)


About This Article
Advertisement