X
wikiHow is a “wiki,” similar to Wikipedia, which means that many of our articles are co-written by multiple authors. To create this article, 15 people, some anonymous, worked to edit and improve it over time.
This article has been viewed 23,240 times.
Learn more...
A handmade pottery sink can be a beautiful addition to a bathroom, but it is not a project for beginners. This how to article is for people who already have some throwing skill, and also have an access to pottery kiln.
Steps
-
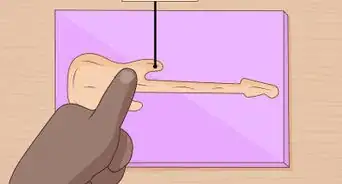
1Decide what kind and what dimensions of sink you want to make.
-
2Calculate your clay shrinkage and write down the wet diameter.
-
3Weigh the needed amount of clay. Remember that sinks should be much thicker then most of the pots you have ever made. You probably will need about 6-9 kg (13.2-19.8 lb) of clay for a 30 cm (12 in) external diameter sink or 12-15kg (26.4-33 lb) for 42 cm (16 7/8 in) diameter sink. The quantity of clay depends on the sink type. Vessel sinks need to be thicker than drop-down sinks.
-
4Make sure your clay is soft. If not, mix it with recycled softer clay or soak it in water for 24 hours before kneading.
-
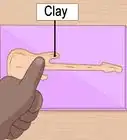
5Wedge and knead your clay thoroughly. If needed, divide your clay to smaller lumps and knead them separately. You will combine them later directly on the wheel head.
-
6Place the clay at the wheel-head and tap it with two hand to make it centered as much as you can before wetting your hands.
-
7Wet your hands and center the clay.
-
8Open it and make your way deep down until you make a hole and reach wheel head surface.
-
9Enlarge the hole but keep it slightly narrower than the final diameter.
-
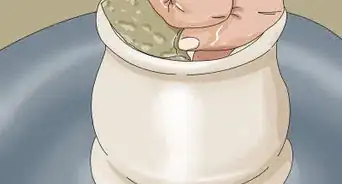
10Pull and raise the clay to make a thick bottom and thick wall and get your final dimensions and final shape.
-
11Leave excess clay at the lower parts for support.
-
12Smooth the interior with wood, metal, or rubber rib.
-
13Cut with a wire.
-
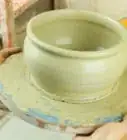
14Let your freshly thrown sink to dry slowly until it reaches leather hard stage.
-
15Place clean bat over the rim.
-
16Flip the sink upside down.
-
17Trim off the excess clay.
-
18Leave to dry slowly until leather hard.
-
19Fix the to the wellhead.
-
20Let dry slowly.
-
21Slow bisque fire to cone 05 or according to your clay.
-
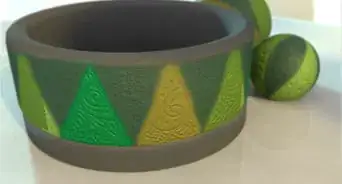
22Decorate, glaze and re-fire to at least cone 6.


Warnings
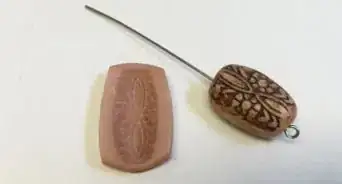
- Look in a bathroom sink you already have. You'll see a hole near the top. That's an overflow drain, in case you leave the drain closed and the water running. It may be against building codes to install a sink that doesn't have one. If you do install a sink without one, be very careful never to leave the drain closed and the water on.Thanks!
- Sinks are quite a bit larger than most pots you've probably thrown. That means not only more clay but different handling of the project. Practice a few larger pieces first, if you can.Thanks!