X
This article was co-authored by Lois Wade, a trusted member of wikiHow's volunteer community. Lois Wade has 45 years of experience in crafts including sewing, crochet, needlepoint, cross-stitch, drawing, and paper crafts. She has been contributing to craft articles on wikiHow since 2007.
This article has been viewed 62,136 times.
Learn more...
Do you like stamp art, but can't afford the often high prices asked for every teeny stamp you need? Here's how to make your own, using items you probably already have on hand!
Steps
Method 1
Method 1 of 2:Simple Method
Method 1
-
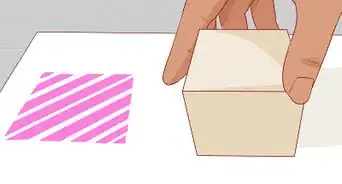
1Place the items you will need in a well lit and well ventilated workspace.
-
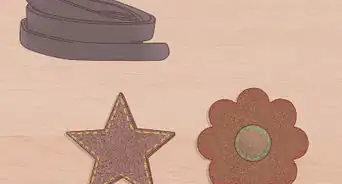
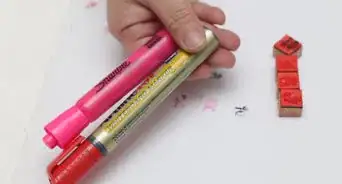
2Trace or draw the pattern you want onto the eraser.
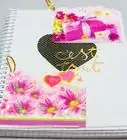
- Write any words backwards before carving. See picture at right for an example of a stamp created with this method.
Advertisement -
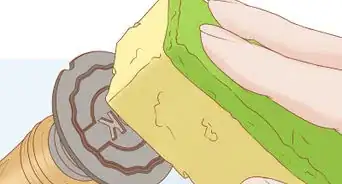
3Carve away everything except the design.
-
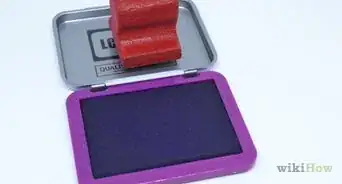
4Attach the eraser to a wood block for longevity and ease of use.Advertisement


Method 2
Method 2 of 2:Advanced Method
Method 2
-
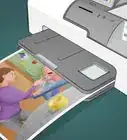
1Obtain a photocopy of the design you want.
-
2Wet the photocopy with acetate (fingernail polish remover).
-
3Place the wet photocopy on the eraser for several minutes. The ink will transfer.
-
4Remove the paper and allow the design to dry (the acetate will evaporate fairly quickly.)
-
5Carefully carve away everything except the design.
-
6Attach the eraser to a wood block for longevity and ease of use.Advertisement

Community Q&A
-
QuestionWhat do I use to attach a stamp carving block to the wood base?
 Community AnswerYou should use Gorilla Glue or super glue and a hot glue gun. I think the Gorilla Glue works the best.
 -
QuestionWhat can I carve with?
 Community AnswerAn X-Acto knife, a pocket knife, a sharp rock, or really any other object that could slice through an eraser.
Warnings
- Edged tools can cut you as easily as they cut rubber. Be careful.Thanks!
Advertisement
Things You'll Need
- Utility knife or X-Acto knife
- Large eraser(s)
- Pen
- Photocopy of design
- Fingernail polish remover (acetate)
About This Article

Lois Wade
wikiHow Crafts Expert
This article was co-authored by Lois Wade, a trusted member of wikiHow's volunteer community. Lois Wade has 45 years of experience in crafts including sewing, crochet, needlepoint, cross-stitch, drawing, and paper crafts. She has been contributing to craft articles on wikiHow since 2007. This article has been viewed 62,136 times.
Co-authors: 15
Updated: December 8, 2021
Views: 62,136
Categories: Printing Crafts
Advertisement