X
wikiHow is a “wiki,” similar to Wikipedia, which means that many of our articles are co-written by multiple authors. To create this article, volunteer authors worked to edit and improve it over time.
There are 8 references cited in this article, which can be found at the bottom of the page.
This article has been viewed 40,796 times.
Learn more...
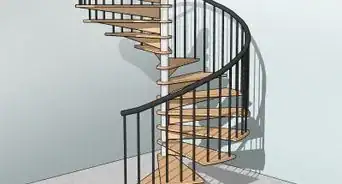
A banister provides additional safety on your staircase and visual appeal to a home. With the use of some wood and a few tools and supplies, you will be able to install a banister. The following is a guide on how to install a banister.
Steps
-
1Purchase a banister at a home-improvement store or on the Internet.
-
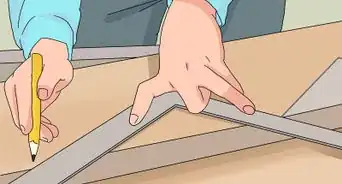
2Determine the correct height for the banister.[1]
- Contact your local building department for the codes that govern the installation of banisters.
- Mark the wall adjacent to the top and bottom stairs with the correct height. Stand a level vertically to ensure the accuracy of your markings.
- Connect the markings with a chalk line.
-
3
-
4Cut a piece of wood that fits the bottom of the banister.[4]
- This will be the mounting strip.
-
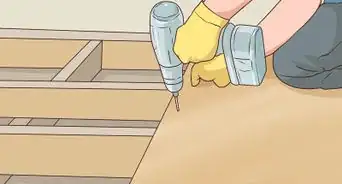
5Screw the mounting strip onto the wall.[5]
- Align the screws with the studs.
-
6Apply painter's tape to the areas of the wall that are near the mounting strip.
-
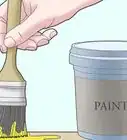
7Stain the mounting strip.
- The color should match the banister.
- Be sure to apply 2 coats of stain.
-
8Remove the painter's tape.
-
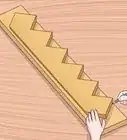
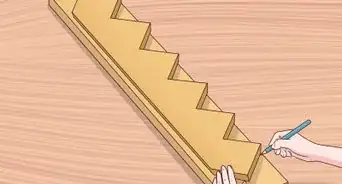
9Cut the banister to fit the staircase.
- Measure the total amount of wood that you will need to fit the staircase.
- Use a power saw to cut the banister.
- Miter the ends of the banister. Use a miter box to do so and follow the instructions that apply to the brand that you choose.
-
10Apply the banister to the mounting strip.
- Mark evenly spaced areas on the painter's tape that you will use to screw it in. These should not coincide with the holes that you drilled for the mounting strip.
- Screw the banister into place.
-
11Miter a cap for each end of the banister.
- Use a miter box to do so and follow the instructions that apply to the brand that you choose.[6]
- Be sure that the caps fit the ends of the handrails properly.
- Glue them into place.
- Screw them into place to ensure that they remain sturdy.
-
12Install pre-cut wooden pegs into the holes on the banister.[7]
- These should have either come with your banister or be available at a hardware or home improvement store.
- Be sure that they match the color of the banister.
- Gently use a hammer to secure the pegs into the banister.


Things You'll Need
- Banister
- Chalk
- Power saw
- Miter box or table saw
- Stud finder
- Wood
- Screws
- Screwdriver
- Painter's tape
- Wood stain
- Wood glue
- Wooden pegs
- Hammer


-Step-19.webp)


References
- ↑ https://www.constructionprotips.com/tools-materials/hands-on/how-to-install-a-hand-rail/
- ↑ https://www.bobvila.com/articles/how-to-find-a-wall-stud/
- ↑ https://www.bobvila.com/articles/how-to-use-a-stud-finder/
- ↑ https://www.constructionprotips.com/tools-materials/hands-on/get-better-cuts-circular-saw/
- ↑ https://www.popularmechanics.com/home/how-to/a12247/4303237/
- ↑ https://www.youtube.com/watch?v=hMpRSLpqkh4
- ↑ https://www.bobvila.com/sections/tv-shows/projects/16-lifespan-house/episodes/202-completing-the-living-room/videos/1101157607001-installing-stair-handrails-and-balusters
- http://www.ronhazelton.com/article/home/stairs/UDIzNQ/How_to_Install_a_Wood_Stair_Railing_Kit_