This article was co-authored by wikiHow staff writer, Hannah Madden. Hannah Madden is a writer, editor, and artist currently living in Portland, Oregon. In 2018, she graduated from Portland State University with a B.S. in Environmental Studies. Hannah enjoys writing articles about conservation, sustainability, and eco-friendly products. When she isn’t writing, you can find Hannah working on hand embroidery projects and listening to music.
There are 8 references cited in this article, which can be found at the bottom of the page.
This article has been viewed 7,754 times.
Learn more...
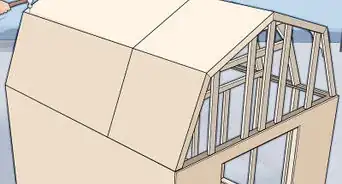
If you’re building a flat roof, rubber roofing material is a great option. It’s durable, easy to install, and doesn’t tear when you’re working with it, so you won’t have to spend a ton of time working slowly or carefully. Installing an entire rubber roof will only take a day or two, so grab your tools and head on up!
Steps
Question 1
Question 1 of 6:Can EPDM be installed on plywood?
-
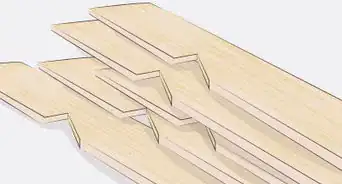
1No, you need to add an underlayer on top of the plywood. While you can install a rubber roof directly onto a plywood roof, you may have problems with water damage in the future. Purchase enough foam underlayers from the hardware store to cover your entire roof, then lay them out on top of the plywood. Use construction adhesive to attach the foam boards to your roof before installing your rubber roofing.[1]Advertisement

Question 2
Question 2 of 6:How do you prepare a rubber roof for installation?
-
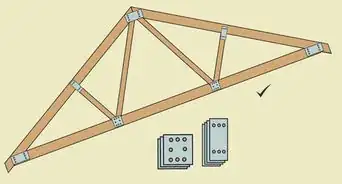
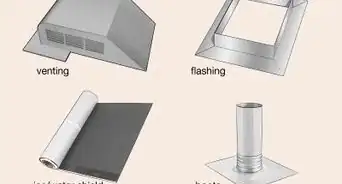
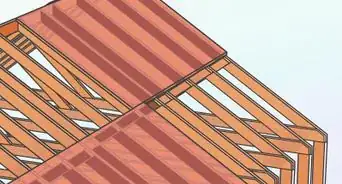
1Install insulation board on the roof deck. This will help keep your home cool in the summer and warm in the winter. Lay your 4 by 8 ft (1.2 by 2.4 m) insulation boards out so they cover the whole roof with a 6 in (15 cm) perimeter around the entire thing. Use 4 metal fasteners and screws (one on each corner of the board) to attach the boards to the roof.[2]

Question 3
Question 3 of 6:How do you install a rubber flat roof?
-
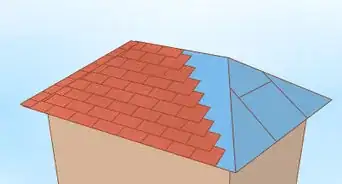
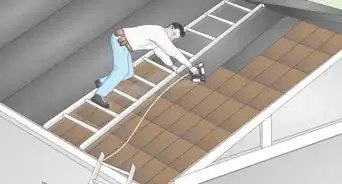
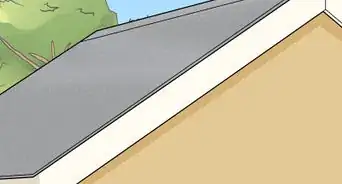
1Roll the rubber out, then fold it back halfway. Grab your pieces of rubber and lay them out on the roof. Make sure they hang about 3 in (7.6 cm) over the edge of the roof, then smooth out any lumps or wrinkles. Once your rubber pieces are in a good spot, fold the piece you’re working with back about halfway to expose the underside of the rubber.[3]
-
2Brush glue onto the bottom of the rubber piece. Grab a large paint brush and add a thin layer of latex adhesive to the exposed underside of the rubber. Keep brushing on glue until the entire underside is covered, going all the way to the edge of the piece.[4]
-
3Fold the rubber over, then smooth it onto the roof. Attach the rubber to the roof by spreading it out with your hands or a push broom. Make sure there aren’t any lumps or bumps before you leave that piece to dry and move onto the next one.[5]Advertisement


Question 4
Question 4 of 6:What’s the best glue to use for a rubber roof?
-
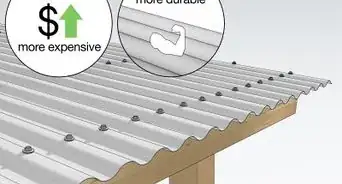
1Latex bonding adhesive is the best glue. It’s water-resistant, and it will keep the rubber secured onto the roof. You can find buckets of this glue in most hardware stores. If you bought a rubber roof kit, it will probably come with latex adhesive already.[6]

Question 5
Question 5 of 6:What’s the best way to overlap rubber roofing pieces?
-
1Overlap them by at least 4 inches (10 cm). Using multiple pieces of rubber isn’t ideal, since it can cause leakage issues in the future. However, it’s a totally viable option that you can use with the right preparation. Use a measuring tape to mark out how much overlap you need before you lay out your pieces.[7]
-
2Apply rubber primer to any seams. Fold back the overlapping portion of rubber and put on gloves. Dip a sponge into rubber primer and apply it to the 4 in (10 cm) overlapping sections of rubber. After about an hour (or whenever the primer is dry), overlap the 2 pieces to connect them.[8]Advertisement


Question 6
Question 6 of 6:How do you finish the edges of a rubber roof?
-
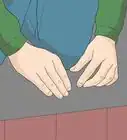
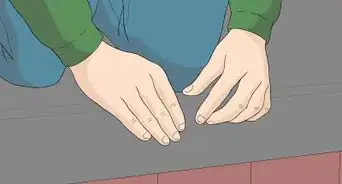
1Caulk the edge of the rubber to the edge of the roof. Grab a water-resistant caulk and apply a thin line around the edge of the roof (where the gutters would go). Grab the edge of the rubber roof that sticks out and smooth it onto the caulk. Press down hard on the rubber, then let the caulk set for just a few minutes.[9]
-
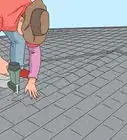
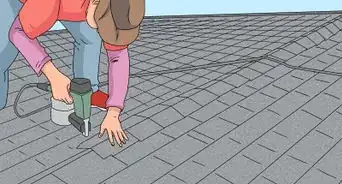
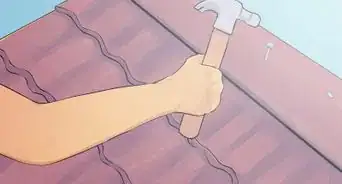
2Install an aluminum bar over the edge of the rubber. Purchase an aluminum termination bar from your local hardware store, then hold it in place on the caulked edge of the roof. Use screws and a drill to attach the bar over the rubber about 1 in (2.5 cm) apart, or wherever the bar has holes.[10]Advertisement


References
- ↑ https://www.thisoldhouse.com/roofing/21017452/building-a-flat-roof-right
- ↑ https://www.youtube.com/watch?t=50&v=pxA-RJPYh54&feature=youtu.be
- ↑ https://www.jlconline.com/how-to/roofing/installing-epdm-rubber-roofs_o?o=1
- ↑ https://www.jlconline.com/how-to/roofing/installing-epdm-rubber-roofs_o?o=1
- ↑ https://www.jlconline.com/how-to/roofing/installing-epdm-rubber-roofs_o?o=1
- ↑ https://www.youtube.com/watch?v=yA-Bh46IQvw&t=20s
- ↑ https://www.youtube.com/watch?t=85&v=Z_ySnjlM0gI&feature=youtu.be
- ↑ https://www.youtube.com/watch?t=9&v=ogFnRnepluM&feature=youtu.be
- ↑ https://www.youtube.com/watch?t=12&v=gWf0kr27Smg&feature=youtu.be
About This Article