This article was written by Nicole Levine, MFA. Nicole Levine is a Technology Writer and Editor for wikiHow. She has more than 20 years of experience creating technical documentation and leading support teams at major web hosting and software companies. Nicole also holds an MFA in Creative Writing from Portland State University and teaches composition, fiction-writing, and zine-making at various institutions.
The wikiHow Tech Team also followed the article's instructions and verified that they work.
This article has been viewed 77,712 times.
This wikiHow teaches you how to use a free online PDF editor to insert an image into a PDF file.
Need help creating, merging, or converting PDF files? Try wikiHow's PDF Toolkit, a free and easy-to-use custom tool to help you be more productive with your documents.
Steps
-
1Go to https://smallpdf.com/edit-pdf in a web browser. This free tool lets you open a PDF file in your web browser to add your own data, including images.
-
2Click Choose file. It’s in the blue box at the top of the page. This opens your computer’s file browser.
-
3Navigate to the folder that contains the PDF. The file you are looking for probably ends with “.pdf.”
-
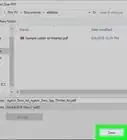
4Select the file and click Open. This opens the file for editing in Smallpdf.
-
5Click ADD IMAGE. It’s the second option at the top-left corner of the page.
-
6Navigate to the folder that contains the image. You can insert most popular image formats, including JPG, GIF, and PNG.
-
7Select the file and click Open. The image now appears in the PDF.
-
8Resize the image. Drag the squares at each corner until the image is the desired size.
-
9Drag the image to the desired location. Click anywhere on the image, then drag the mouse until you’ve found the right spot.
-
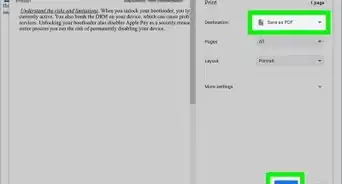
10Click Apply. It’s at the bottom-right corner of the page. This saves your changes and redirects you to a page with a download link.
-
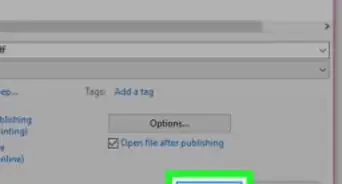
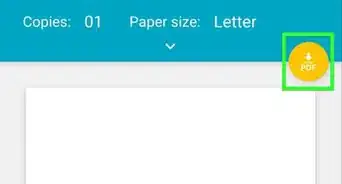
11Click Download file now. This downloads the edited version of the PDF to your computer.


About This Article