X
wikiHow is a “wiki,” similar to Wikipedia, which means that many of our articles are co-written by multiple authors. To create this article, 9 people, some anonymous, worked to edit and improve it over time.
This article has been viewed 32,690 times.
Learn more...
This tutorial will explain how to format label text and add graphics into Microsoft Word.
Steps
Method 1
Method 1 of 2:Format text
Method 1
-
1Locate the Tools menu. Click on the "Letters and Mailings" and then click "Envelopes and Labels".
-
2Click the Labels tab. If necessary, enter or edit the label text in the Address box.
-
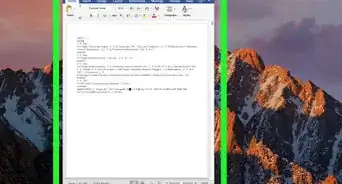
3Select the text that you want to format.
-
4Right-click the selected text, and then click Font on the shortcut menu (shortcut menu: A menu that shows a list of commands relevant to a particular item. To display a shortcut menu, right-click an item or press SHIFT+F10.).
-
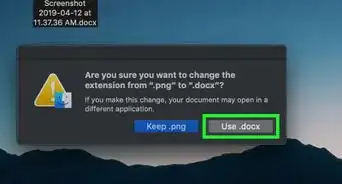
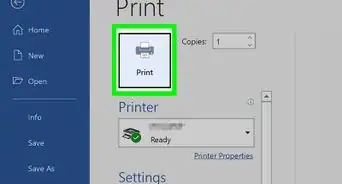
5Make the changes that you want in the Font dialog box, and then click OK. All of the labels on the sheet will have the new formatting.


Method 2
Method 2 of 2:Add graphics
Method 2
-
1Be sure to place the graphics where they won't obstruct the address or otherwise interfere with the mail processing. For more information, check with the postal service.
-
2Place the mouse pointer in the label where you want to insert the graphic.
-
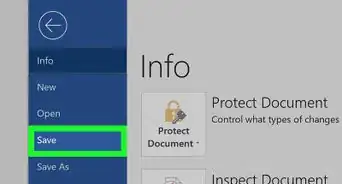
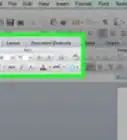
3Locate the Insert menu. Point to "Picture" and then click the appropriate command, depending on the location and type of graphic you want.
-
4
-
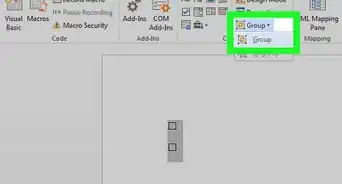
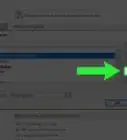
5Locate the "Wrapping style", click "Square", and then under "Horizontal alignment", click the alignment that you want.
-
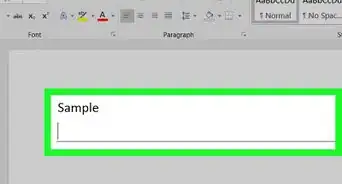
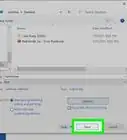
6Click OK.