X
wikiHow is a “wiki,” similar to Wikipedia, which means that many of our articles are co-written by multiple authors. To create this article, 9 people, some anonymous, worked to edit and improve it over time.
Learn more...
Industrial CT scanning uses x-rays taken periodically while a part spins 360 degrees to create a 3D model of the part. Fixturing the part properly is required in order to decrease discrepancies between each x-ray taken. The following method relies on supplies that can be found at any hardware store to properly fixture your part.
Steps
Method 1
Method 1 of 2:Indent Fixturing
Method 1
-
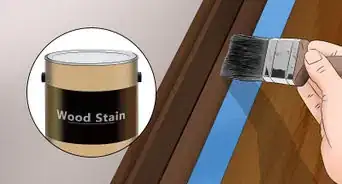
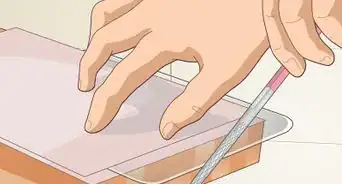
1Trace an outline around the part using permanent marker. Trace as closely to the part as possible.
-
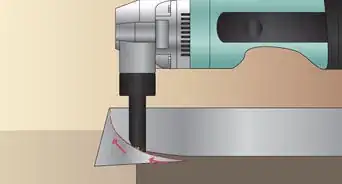
2Remove the part from the foam and begin to cut around the traced border with the knife. It is important to cut on a slight angle and only approximately 1" to 1 1/2" deep into the foam. Do not cut through the bottom of the foam.
-
3Cut a grid pattern through the interior of the trace. Again cut only approximately 1" to 1 1/2" deep into the foam.
-
4Use the flathead screwdriver to lift the foam out from the interior of the traced area one grid section at a time. Individual pieces of foam should break free with little effort.
-
5Set the part down in the foam. The part should rest on a slight angle and be "snug" to the edges of the foam. If the part does not fit, cut a little more foam. Remember: You can always cut more foam away, but you cannot put the foam back. If you cut too much, you will have to restart with a new piece of foam.
-
6Remove the excess foam. Leaving approximately 1" between the traced edge and the edge of the foam, cut off the excess foam.
-
7Verify the part is securely fixed in the foam. Gently shake and push on the part to verify that it does not move within the foam.


Method 2
Method 2 of 2:Wedge Fixturing
Method 2
-
1
-
2Trace a 2" by 9" rectangle into the top of the circular piece of foam.
- A useful method is to use the rectangular piece of foam as a guide.
-
3Cut into the traced out area on the circular foam in a grid shaped pattern. The grid pattern allows for the easy removal of the excess foam.
-
4Remove the foam chunks from the cut out area. Use of a flathead screwdriver may be helpful here. Use the flat head to pry the foam chunks out.
-
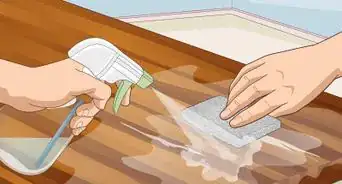
5File the cut out base of the circular foam. The base needs to be smooth and relatively flat.
-
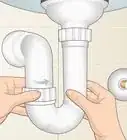
6Glue the rectangular piece of foam into the circular foam cutout. A little glue helps secure the two pieces of foam to each other.
-
7Secure the part to the foam wedge using tape.
- Use as much tape as necessary. The part should not move when shaken or nudged.


Warnings
- Cutting on surfaces with little resistance can result in cutting oneself. Be careful and cut slowly to avoid harm.Thanks!
Things You'll Need
- 2 inch Pink Insulating Foam
- Permanent Marker
- Flathead Screwdriver
- Knife
- Safety Glasses
- Hand Protection
- Something to CT Scan
- File
- Tape