X
wikiHow is a “wiki,” similar to Wikipedia, which means that many of our articles are co-written by multiple authors. To create this article, volunteer authors worked to edit and improve it over time.
This article has been viewed 1,234 times.
Learn more...
If you have old photographs, then you have photos with a color cast that is 'off'. What has happened is that it has faded, was printed improperly, improperly developed, etc. You can fix the image by making a digital copy (scanning it) and working on it with software. This article will tell you how to do this in Adobe Photoshop CC
Steps
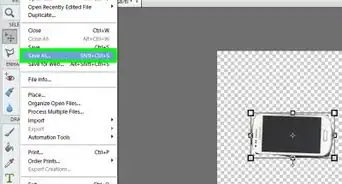
Method 1
Method 1 of 3:Scanning the Image
Method 1
-
1Scan your image at the highest DPI that you can.
-
2Be sure to scan your image in color mode. Even if you want to make it black and white, scan it as a color image. This will allow you to get the most detail out of the photo.
-
3Open it in your software of choice and do some preliminary edits. Edits like straightening and cropping it.
Method 2
Method 2 of 3:Fixing the Color Cast with the Average Blur (More Precise Method)
Method 2
-
1Make a copy of your background layer which should be your photo. It's always a good idea to have your original, if for no other reason than to have something to compare it with. Since one of the edits will be destructive, you will probably want to make 2 copies.
- The easiest way is to make sure that your background layer is selected, and press Ctrl J.
-
2
-
3
-
4
-
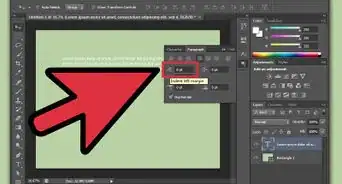
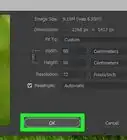
5Use the Opacity Slider (right beside the Blending Mode options) to reduce the opacity of the effect. For this particular image, the opacity was reduced to 65%.


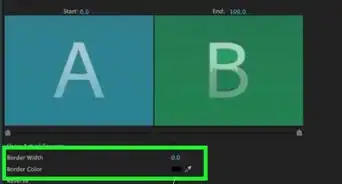
Method 3
Method 3 of 3:Fixing the Color Cast with a Black & White Adjustment Layer (Quick and Dirty)
Method 3
-
1Make a copy of your image, as before. It's a precaution.
-
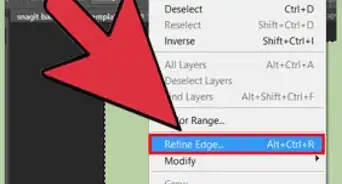
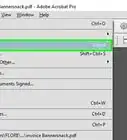
2Add a Black & White Adjustment Layer. You will find one way of doing that in the Layers Panel. You can also go to Image >> Adjustments >> Black & White.... Your third method would be to press CtrlAlt⇧ ShiftB.
-
3Start editing your image. Like the previous method, you can adjust the opacity as needed and go from there.