This article was written by Nicole Levine, MFA. Nicole Levine is a Technology Writer and Editor for wikiHow. She has more than 20 years of experience creating technical documentation and leading support teams at major web hosting and software companies. Nicole also holds an MFA in Creative Writing from Portland State University and teaches composition, fiction-writing, and zine-making at various institutions.
This article has been viewed 5,745 times.
This wikiHow teaches you how to turn on Switch Control, a feature that helps you navigate your iPhone with a variety of adaptive switches.
Steps
-
1Open your iPhone’s Settings. It’s an app on one of your home screens, noted by a gray gear icon. Check the Utilities folder if you don’t see it.
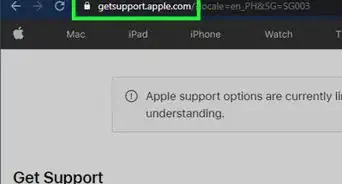
- Before you can start using Switch Control, you’ll need to add an external, screen, or camera switch to your device.[1]
-
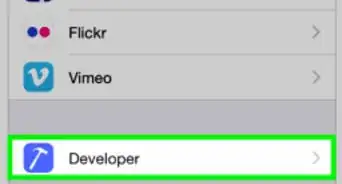
2Tap General. It’s in the third section.Advertisement
-
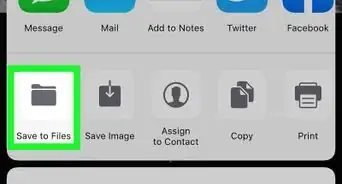
3Tap Accessibility. It’s in the third section.
-
4Scroll down and tap Switch Control. It’s in the third section, under “Interaction.”
-
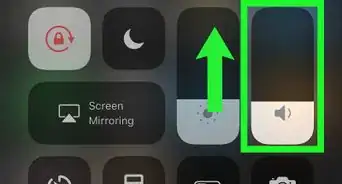
5Slide the “Switch Control” switch to the on position. Switch Control is now enabled.
- The default scanning option is Automatic, meaning that the contents of your screen are continuously being scanned. Use your switch to select an item when it’s highlighted by the scan.[2]
- If you’re using multiple switches, tap Scanning Style and select Manual Scanning so one switch can scan, and the other can select.[3]
Advertisement


References
- ↑ https://support.apple.com/en-us/HT201370
- ↑ http://gettecla.com/blogs/news/55097733-ios-9-is-here-so-what-s-new-in-apple-s-switch-control-for-users-with-limited-mobility
- ↑ https://support.apple.com/en-us/HT201370
- ↑ https://luisperezonline.com/2016/08/30/lets-get-cooking-with-recipes-for-switch-control/
About This Article

1. Open your Settings.
2. Tap General.
3. Tap Accessibility.
4. Tap Switch Control.
5. Slide the “Switch Control” switch to the on position.