X
wikiHow is a “wiki,” similar to Wikipedia, which means that many of our articles are co-written by multiple authors. To create this article, 12 people, some anonymous, worked to edit and improve it over time.
This article has been viewed 36,119 times.
Learn more...
Drawing a campsite is way easier than setting one up in real life. Follow these simple steps to create a campsite illustration of your own.
Steps
-
1Draw a curve for the land. Add a couple rounded triangles overlapping it for the first row of mountains. The slopes should be fairly gentle; no need to make them pointy or overly triangular.
-
2Draw another set of triangles behind the first you drew. This will give your drawing more depth and detail.Advertisement
-
3Draw the tent. Sketch a triangle, almost as big as one of the mountains (due to the perspective of your drawing). Unlike the mountains, however, the tent is supposed to be pointy, so keep that in mind.
-
4Draw the diamond-shaped side of the tent. Add two curves attaching the top of the triangle to the bottom. It should look as though the tent has a clear opening, in between the two curves.
-
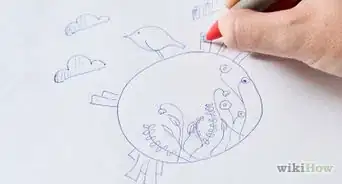
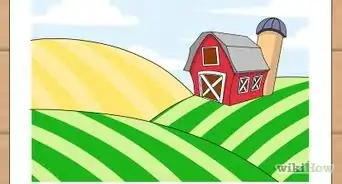
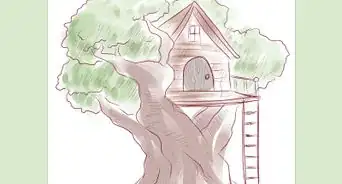
5Add other details like the sun, clouds, and trees. The more you put in, the better your drawing will look, since campsites are rarely sparse in terms of the landscape.
-
6Add color. Use greens for the land and trees, blue for the sky, and shades of green/brown for the mountains. Color the tent with a bright color (like orange) to make it stand out.
- You can make it a night scene by painting the sky purple or black. Be sure to add the bonfire!
Advertisement


About This Article
Advertisement