This article was written by Darlene Antonelli, MA. Darlene Antonelli is a Technology Writer and Editor for wikiHow. Darlene has experience teaching college courses, writing technology-related articles, and working hands-on in the technology field. She earned an MA in Writing from Rowan University in 2012 and wrote her thesis on online communities and the personalities curated in such communities.
This article has been viewed 8,104 times.
While you can't outright draw free-form in Word, you can use shapes to make certain symbols, like arrows, thick and thin lines, and circles. This wikiHow will show you how to use shapes to draw arrows for the computer desktop versions and mobile versions of Word.
Steps
Method 1
Method 1 of 2:Using the Mobile App
-
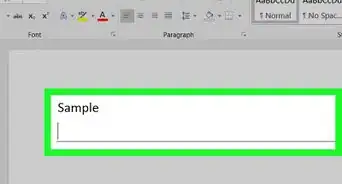
1Open a blank project in Word. When you tap to open Word, the program will launch and ask if you want to open a previous document or start a new one. You'll want to open a new document to practice creating arrows before you use them in any other documents.
- This app icon looks like two white pieces of paper on a blue background that you can find on your home screens, in the app drawer, or by searching.
-
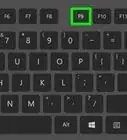
2Tap ••• (iOS) or (Android) at the top of your keyboard. If you don't see this menu, you'll need to tap anywhere in the document to pull this menu up.
- The menu options will change and your keyboard should disappear.
Advertisement -
3Tap the arrows next to Home. You'll see this on the left side of your screen.
-
4Tap Insert. The menu options in the right panel of the window will change.
-
5Tap Shapes. Tapping this will bring you to a menu of shapes you can insert into the document.
-
6Tap an arrow you want to add. You can scroll through to find the "Block Arrows" header; you'll find this below the "Recent Shapes,""Lines,""Rectangles," and "Basic Shapes" sections.
-
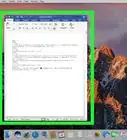
7Edit the arrow on your document. When you tap an arrow shape from the menu at the bottom of the screen, the shape is copied into your document above. You can pull, pinch, and drag the dots around the shape to edit its appearance.
- When you're satisfied with the arrow, tap the document outside the arrow.
Advertisement


Method 2
Method 2 of 2:Using Word for Windows or Mac
-
1Open Word. You'll find this program in your Start Menu or Applications folder.
- You can either start a new document or resume a previously created document.
-
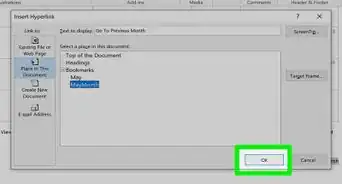
2Click the Insert tab. You'll see this in the editing ribbon above the document with "Home."[1]
-
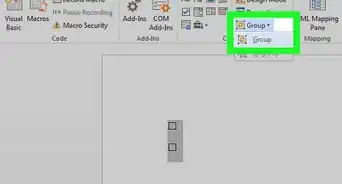
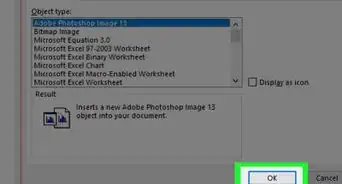
3Click Shapes. A menu of shapes you can add to the document will drop-down.
-
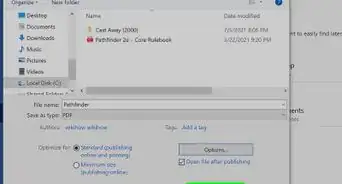
4Click an arrow you want to add. You'll find arrow shapes in "Lines" and "Block Arrows."
-
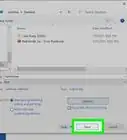
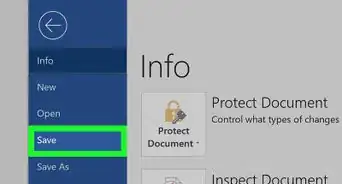
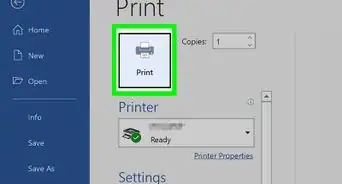
5Click and drag to draw the arrow on your document. After you select an arrow theme and click and drag your mouse over the document to draw your arrow, you can edit it.
- You can change the overall look of your arrow by changing the "Theme Style" and "Shape Outline Style."
- You can change the height, width, and rotation of the arrow by adjusting the selections located in the top right menu above the editing space.[2]
Advertisement


References
About This Article

1. Open a blank project in Word.
2. Tap the three dots icon or the up-pointing arrow icon .
3. Tap the arrows next to Home.
4. Tap Insert.
5. Tap Shapes.
6. Tap an arrow you want to add.
7. Edit the arrow on your document.