wikiHow is a “wiki,” similar to Wikipedia, which means that many of our articles are co-written by multiple authors. To create this article, volunteer authors worked to edit and improve it over time.
This article has been viewed 7,992 times.
Learn more...
Cortana is a cloud-based virtual-personal assistant created by Microsoft for Windows 10 and other platforms. Cortana will collect your personal data to personalise your experiences. This includes your search history, location history, calendar details, contacts and content and communication history from messages, apps, and notifications. If you are concerned about your personal data and privacy, you can disable this feature. This article will show you how to disable Cortana on your Windows 10 PC, but it only works for Windows 10 Pro or Enterprise users.
Steps
-
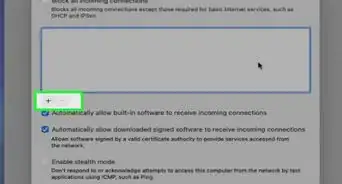
1Open Windows Group Policy Editor. Click on the Start menu, at the bottom-left corner of the screen (or hit the Windows button in your keyboard) and search for “gpedit.msc” or “Group Policy Editor”. Select gpedit.msc or Edit group policy from the results.
- Alternatively, open the RUN feature by pressing ⊞ Win+R and type “gpedit.msc” into the box; hit ↵ Enter to continue.
-
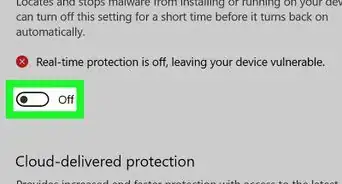
2Navigate to the “Computer Configuration” section and select Administrative Templates from the list. It will be the third option in there.
-
3Double-click on the Windows Components option. This will open a list of options.
-
4Select Search on the right side. Hit the S button quickly find this option and double-click on it.
-
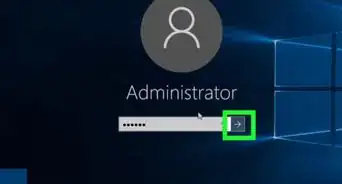
5Locate Allow Cortana from there. It will be the fourth option on the context menu. Double click it. This will open a new window.
-
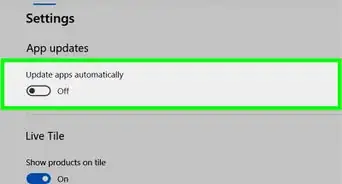
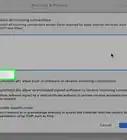
6Select Disabled from the window. Click on the OK button to save your changes. Also, restart your PC to remove the Cortana icon or search box from your taskbar. The Cortana icon will be replaced by a search icon in the taskbar. You're done!


-Step-17.webp)


-Step-17.webp)