This article was co-authored by wikiHow Staff. Our trained team of editors and researchers validate articles for accuracy and comprehensiveness. wikiHow's Content Management Team carefully monitors the work from our editorial staff to ensure that each article is backed by trusted research and meets our high quality standards.
This article has been viewed 3,510 times.
Learn more...
Old photographs can be a great way to investigate historical events, your own family, or just a different time period. If you don’t know when those photos were taken, though, it can be difficult to fully understand their significance. The styles in photos, though, as well as what the image was printed on, can give you major insight into about when the image was taken. You just need to do some investigating into the photo subjects and image composition.
Steps
Method 1
Method 1 of 3:Checking the Photo Features
-
1Look at dress and hairstyles in the images. If your image has people in it, their hairstyles and clothing styles can be an indicator of the time period. Take a look at clothing catalogs and photographs with known dates. These can help you narrow down a timeframe for your image.
- Remember that things like style can be regional, so look for images of people from similar regions or spheres of cultural influence.
- By the time photography was invented, women’s dress was typically more period-specific and evolved faster. If you have a woman in your image, look at her dress and style first, as this may offer a more narrow time frame.[1]
- Sources like national archives for different nations, the Library of Congress photo collections, and digitized museum archives may be good places to start looking for comparable images.
-
2Look for props in the image. Like dress, props can be a good indicator of the time period. If your image shows an early phone, for example, your image would have to date to after 1878, when the first phone companies were founded and telephones became publicly accessible.[2]
- Items like bicycles, toys, and cookware can also be great indicators of the time period for an old image. Check online or look through old department store catalogs to help you place specific types and models.
Advertisement -
3Check on different species of plants and animals. This one is a bit trickier than fashion and dress, but certain types of animals or plants can be an indicator of the time period. The Cordoba Fighting Dog, for example, was bred out in favor of the Dogo Argentino by the 1920s.[3] A photo with a dog of that breed, then, would have to come before the 20’s.
- Exotic plants, likewise, can be an indicator of the time period. If you see a plant like a palm tree that seems conspicuously out of place for the presumed time period, search online to see when that plant species was first imported into the area.
Advertisement


Method 2
Method 2 of 3:Determining the Photo Techniques
-
1Check for mirror images in daguerreotypes. Daguerreotypes produced images on silver-clad copper sheets. These photos produced a mirror image, so things like writing may appear backward. These images may also disappear and reappear depending upon the angle at which they are viewed.[4]
- Daguerreotypes date from the 1840s to the 1850s.
- To protect their metal sheets, these photos were commonly enclosed in ornate wooden cases with hinges or frames under glass.
-
2Look for glass plates with black backings in ambrotypes. Ambrotypes were similar in process to the daguerreotype. Instead of being printed on metal, though, they were printed on glass plates with a thin coat of iodized collodion, which produced a black back. This helped eliminate the reflective characteristic of the daguerreotype.
- Daguerreotypes were popular starting in the early 1850s but lost favorability by the mid-1860s.
-
3Examine the thickness of the glass for tintypes. Tintypes were similar to ambrotypes, but the images were processed on thin iron plates instead of glass. The plates for the tintype were typically thinner than the ambrotype glass plates, and often had rough edges.[5]
- Tintypes gained popularity starting in the mid-1850s and remained the major image type until the late 1870s. However, they were still available up through the early 20th century as a novelty.
- Early tintypes were commonly stored in glass-framed cases, but later ones were held in cardboard sleeves.
-
4Check for paper backings on cartes de visite and cabinet cards. Both cartes de visite and cabinet cards were mounted on thick paper stock. The primary difference between these types of images is the size. Cartes de Visite were typically around 2.5 inches (64 mm) by 4 inches (100 mm), while cabinet cards were generally larger and may have the photographer’s logo or signature on the reverse side.
- Carte des Visites came about in the 1850s, but gained a big boost in popularity around the early to mid-1860s, around the time of the American Civil War.
- Cabinet cards were most popular in the 1880s but continued on into the 1900s.
-
5Watch for a blue tint in cyanotypes. Cyanotypes used ferric ammonium citrate and potassium ferricyanide to print images with a distinctive blue tint. While cyanotypes were in invented in the 18440s, they were most popular in the 1880s up through the turn of the 20th century.[6]Advertisement


Method 3
Method 3 of 3:Dating Print Film Photos
-
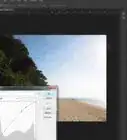
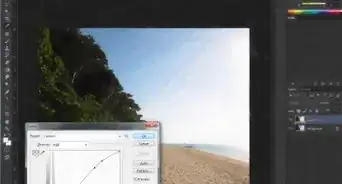
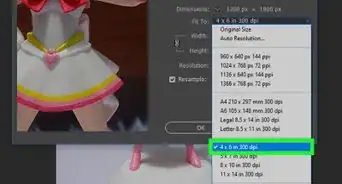
1Check for a copyright date on the film negatives. Film negatives often have a copyright from the film processor printed on them. This is usually in fine print on the very top or bottom of the negative.[7]
- This won’t provide you with an exact date, but it can give you a year that the film was processed.
-
2Get your family’s oral history to help date family photos. This can be an easy step to overlook, but it’s often helpful in placing old personal photos. Talk to your family and see what they remember. Don’t just ask, “Do you remember going to the beach when I was 10?” Ask them specific questions like, “Do you remember that one beach vacation where I was wearing that silly green swimsuit?” These can help spark specific memories.
- If you’re looking into images that predate you, try talking to relatives that directly knew the people in the images. First-hand stories are always better than second-hand stories.
-
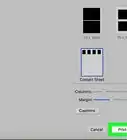
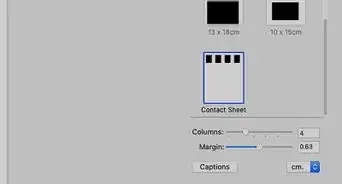
3Look for clues on the original print packaging. Envelopes and photo sleeves may have printing dates on them. Check the labels, as well as any inserts or receipts that may be in the packaging.[8]
- You can even check the back of the photos to see if the developer included the print dates on the images, themselves.
Advertisement


-Step-53.webp)


References
- ↑ https://blogs.ancestry.com/ancestry/2015/04/09/historical-fashion-expert-helps-time-date-your-old-family-photos/
- ↑ http://www.internet-genealogy.com/Dating%20Old%20Photos.pdf
- ↑ http://www.dogingtonpost.com/25-dog-breeds-you-will-never-meet-pet-or-snuggle/
- ↑ https://www.aarp.org/relationships/genealogy/info-11-2011/dating-old-photos.html
- ↑ https://www.aarp.org/relationships/genealogy/info-11-2011/dating-old-photos.html
- ↑ https://blog.genealogybank.com/how-to-date-old-ancestor-photographs-with-early-photo-types.html
- ↑ https://www.scanyourentirelife.com/how-to-date-photos-family-photo-collections-sort-organize/
- ↑ https://www.scanyourentirelife.com/how-to-date-photos-family-photo-collections-sort-organize/
About This Article