X
This article was co-authored by Lois Wade, a trusted member of wikiHow's volunteer community. Lois Wade has 45 years of experience in crafts including sewing, crochet, needlepoint, cross-stitch, drawing, and paper crafts. She has been contributing to craft articles on wikiHow since 2007.
This article has been viewed 18,885 times.
Learn more...
Silhouettes are so very cool... but just how did the Victorians used to make them? It's pretty simple, really...
Steps
-
1Gather your materials and tools onto a large, flat, well lit work area.
-
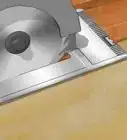
2Enlarge the picture you wish to make into a silhouette.
- Project the picture onto a flat vertical surface.
- Cover the vertical surface with your silhouette paper (usually black, but any color will work so long as you have a contrasting color for a background)
- Trace the silhouette onto the paper on the wall (vertical surface... remember?)
-
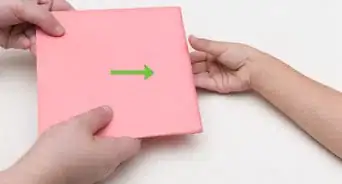
3Remove your enlarged tracing from the wall and place it flat on your work surface.
-
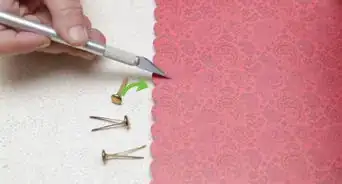
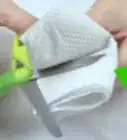
4Cut your silhouette out using either scissors or x-acto knife - scissors work fine for minimal detail, but an x-acto knife is indispensable for fine details.
-
5Place your cut out silhouette on a contrasting background... and presto!


Things You'll Need
- Side view picture of the person or thing you want to make a silhouette of.
- Cutting board
- Xacto knife and/or scissors
- Pencil
- Enlarger - An ELMO or Overhead projector work well.


-Step-17.webp)
About This Article

Lois Wade
wikiHow Crafts Expert
This article was co-authored by Lois Wade, a trusted member of wikiHow's volunteer community. Lois Wade has 45 years of experience in crafts including sewing, crochet, needlepoint, cross-stitch, drawing, and paper crafts. She has been contributing to craft articles on wikiHow since 2007. This article has been viewed 18,885 times.
Co-authors: 8
Updated: September 3, 2020
Views: 18,885
Categories: Homemade Cards
-Step-2-Version-2.webp)


