X
This article was written by Nicole Levine, MFA. Nicole Levine is a Technology Writer and Editor for wikiHow. She has more than 20 years of experience creating technical documentation and leading support teams at major web hosting and software companies. Nicole also holds an MFA in Creative Writing from Portland State University and teaches composition, fiction-writing, and zine-making at various institutions.
This article has been viewed 5,146 times.
This wikiHow teaches you how to customize the apps in the macOS Share Menu.
Steps
-
1Click the Apple menu. It’s the apple-shaped symbol at the top-left corner of the screen.
-
2Click System Preferences.Advertisement
-
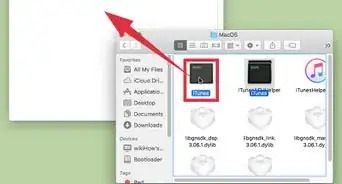
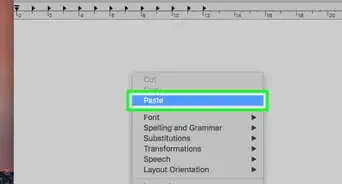
3Double-click Extensions. It’s in the third group of settings and has a puzzle piece icon.
-
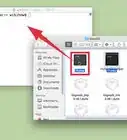
4Click Share Menu. It’s in the left panel.
-
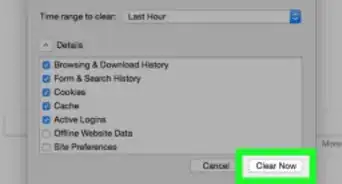
5Select apps to add or remove. If you see a check mark next to an app name, the app currently appears in the Share Menu.
- To remove an app, remove its corresponding check mark.
- To add an app, find it in the list, then click its corresponding box to add a check mark.
Advertisement


-Step-21-Version-2.webp)
About This Article

Nicole Levine, MFA
Tech Specialist
This article was written by Nicole Levine, MFA. Nicole Levine is a Technology Writer and Editor for wikiHow. She has more than 20 years of experience creating technical documentation and leading support teams at major web hosting and software companies. Nicole also holds an MFA in Creative Writing from Portland State University and teaches composition, fiction-writing, and zine-making at various institutions. This article has been viewed 5,146 times.
How helpful is this?
Co-authors: 3
Updated: May 25, 2021
Views: 5,146
Categories: Mac
Article SummaryX
1. Open the Apple menu.
2. Click System Preferences.
3. Double-click Extensions.
4. Click Share Menu.
5. Select apps to add or remove.
Did this summary help you?
Advertisement