X
wikiHow is a “wiki,” similar to Wikipedia, which means that many of our articles are co-written by multiple authors. To create this article, volunteer authors worked to edit and improve it over time.
This article has been viewed 99,826 times.
Learn more...
So you've taken a screenshot for your word document in word 2010? Now you just need to crop it to get a particular section of the screenshot, but don't know how? This article will show you how!
Steps
-
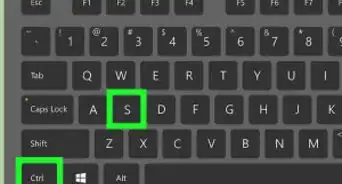
1Take the screen shot by using the Shift and Print Screen keys ( You can also use the ALT and Print Screen keys but that will activate hot keys showing letters on the screenshot.)
-
2Paste the screenshot into your word 2010 document.
-
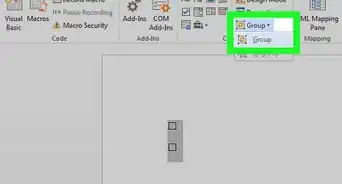
3Go to the Format Tab on the ribbon and change the text wrapping of the picture.
-
4Click the Crop button located under the Format Tab.
-
5Crop the image to your liking.
-
6Move the image to where you want it to be in the document.
-
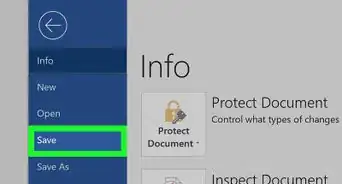
7Save the document.


-Step-9.webp)


-Step-9.webp)