X
wikiHow is a “wiki,” similar to Wikipedia, which means that many of our articles are co-written by multiple authors. To create this article, volunteer authors worked to edit and improve it over time.
This article has been viewed 20,886 times.
Learn more...
Some people do not want to spend money on buying a calendar, and would rather create one from scratch. You can do that easily in Microsoft Word.
Steps
Part 1
Part 1 of 2:Opening Microsoft Word
Part 1
-
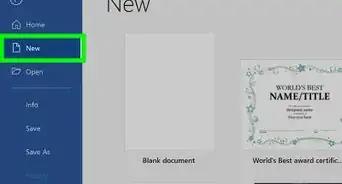
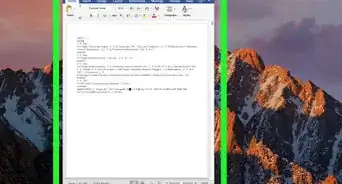
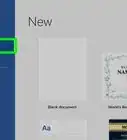
1Open Microsoft Word. You can find it on your dock, by searching the spotlight at the top, or searching from a folder.
- Opening Microsoft Word will automatically open up a new document. You will not have to click on "New."
-
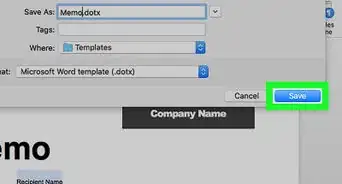
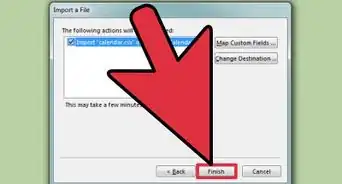
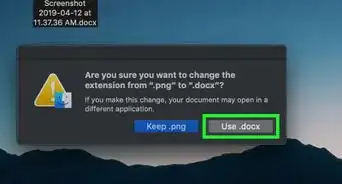
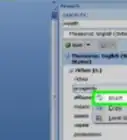
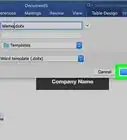
2Go to File >>> Project Gallery. Once you get there, click on "Calendars" from the Category sidebar.
-
3Choose the "Event Calendar." This will direct you to the page where you can make your calendar.


Part 2
Part 2 of 2:Customizing Your Calendar
Part 2
-
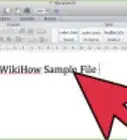
1Locate the "Month" and "Year" spaces at the beginning of the custom-made calendar. Type in the month in the "Month" space and year in the "Year" space.
-
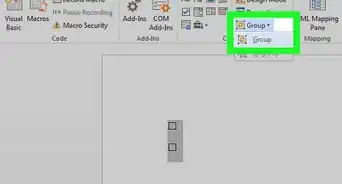
2Make the font bigger so you can see it. Go to Format >>> Font or press Command, and then D. This will bring you to the font customization window.
- Alternatively, you could zoom the calendar by going to View >>> Zoom, and choosing the size that you want to zoom to.
-
3Remove the pictures if you wish to. You can then add new ones (by clicking Insert >>> Picture >>> Clip Art... or From File... and follow the instructions to add a picture), or just leave the calendar as is.
-
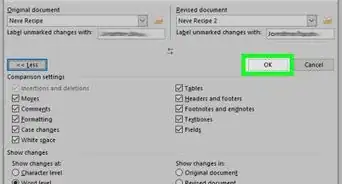
4Modify the dates. The dates and days of the week are already there for you; they just may not be accurate yet. Change the dates so that they are accurate.