X
This article was written by Nicole Levine, MFA. Nicole Levine is a Technology Writer and Editor for wikiHow. She has more than 20 years of experience creating technical documentation and leading support teams at major web hosting and software companies. Nicole also holds an MFA in Creative Writing from Portland State University and teaches composition, fiction-writing, and zine-making at various institutions.
This article has been viewed 5,354 times.
This wikiHow teaches you how to name a range of cells in Microsoft Excel for Windows or macOS.
Steps
-
1
-
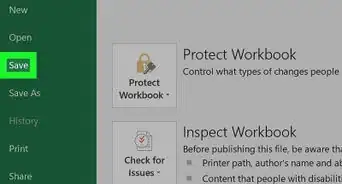
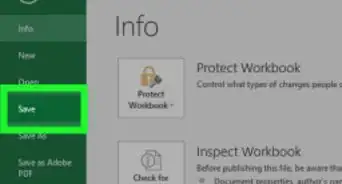
2Open the file you want to edit. An easy way to do this is to press Control+O, select the file, then click Open.Advertisement
-
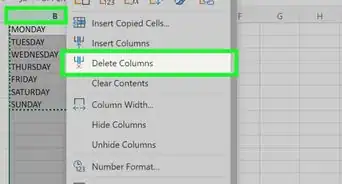
3Click and drag the mouse over the data range. This highlights and selects the cells.
-
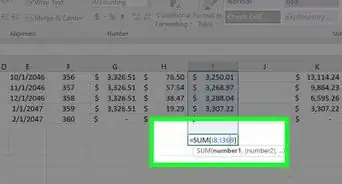
4Click the “name” box. It’s directly above the first cell in on the sheet (A1, unless you have hidden cells).
-
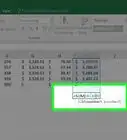
5Type a name for your range. The name you type into the “name” box can be used instead of the typically range format (e.g. A1:F20) in your formulas.
-
6Press ↵ Enter or ⏎ Return. The named range is now saved.
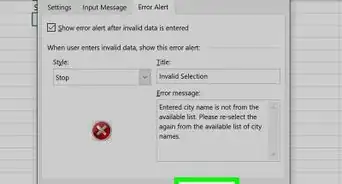
- If your data is arranged uniformly with labels, you can select a group and press Control+⇧ Shift+F3 to name them automatically. You’ll then be able to select which cell in the range you want to use for the name.
Advertisement


About This Article

Nicole Levine, MFA
Tech Specialist
This article was written by Nicole Levine, MFA. Nicole Levine is a Technology Writer and Editor for wikiHow. She has more than 20 years of experience creating technical documentation and leading support teams at major web hosting and software companies. Nicole also holds an MFA in Creative Writing from Portland State University and teaches composition, fiction-writing, and zine-making at various institutions. This article has been viewed 5,354 times.
How helpful is this?
Co-authors: 1
Updated: May 15, 2018
Views: 5,354
Categories: Microsoft Excel
Article SummaryX
1. Open Excel.
2. Open the file.
3. Select the range.
4. Click the “name” box.
5. Type a name for the range.
6. Press ↵ Enter or ⏎ Return.
Did this summary help you?
Advertisement