This article was co-authored by Kadi Dulude. Kadi Dulude is the owner of Wizard of Homes, a New York City based cleaning company. Kadi manages a team of over 70 registered cleaning professionals, and her cleaning advice has been featured in Architectural Digest and New York Magazine.
There are 11 references cited in this article, which can be found at the bottom of the page.
This article has been viewed 44,547 times.
If you spend a lot of time at a computer, you may have noticed that your keyboard doesn’t look as clean as it did when you first started using it. Dust, food particles, and oils from your fingers may have left the keys looking pretty grimy. If you’re using a mechanical keyboard, it might be time to remove the keycaps and give them a good clean. With just some soaking, rinsing, and drying, you can get your keyboard looking fresh again.
Steps
Part 1
Part 1 of 3:Removing the Keycaps
-
1Take a photo of your keyboard so you remember where the keys go. You don’t want to forget this layout once you’re ready to put the keycaps back on.
- If you're not able to take your own photo, look up an online image of a similar keyboard so you know where everything goes. [1]
-
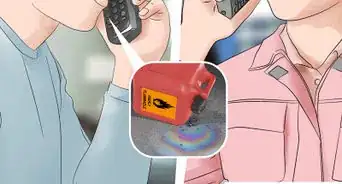
2Unplug the keyboard from the computer. If you have a newer computer, it's probably plugged into a USB port. [2] If it's an older computer, look for the purple-colored connector called a PS/2. [3]
- If the keyboard is plugged into a PS/2 port, make sure to shut down your computer before unplugging it. [4]
Advertisement -
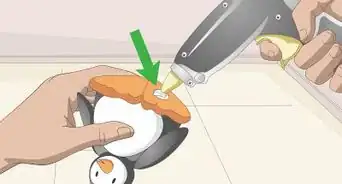
3Use a wire keycap puller to remove the keycaps. This is safer than using a tool like a screwdriver. Wire keycap pullers are less likely to scratch the keys than plastic ones. [5] They have a handle and two wire loops, and are simple to use.
- You can find inexpensive options on sites like Amazon.
- Place the wire loops opposite each other diagonally on the key and gently wiggle back and forth while pulling up.
-
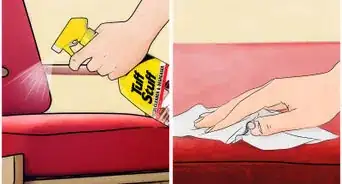
4Avoid removing large keycaps. This includes the spacebar, enter, and shift. These keys may have wires to stabilize them, making them more difficult to remove.
- You can dampen a microfiber cloth to wipe the keycaps you don’t remove. [6]
Advertisement


Part 2
Part 2 of 3:Leaving the Keycaps to Soak
-
1
-
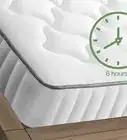
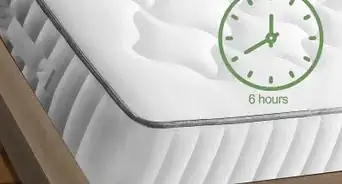
2Let the keycaps soak for 6 hours. You can use some of this time to clean the keyboard itself by shaking it out over a trash can. Loosen up stubborn gunk with a stiff-bristle brush or Q-tip.
- Avoid the switch stems when brushing. This will keep particles from becoming lodged too deep.
- Use a handheld vacuum to suck up loose debris. [10]
-
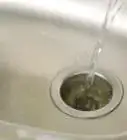
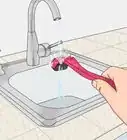
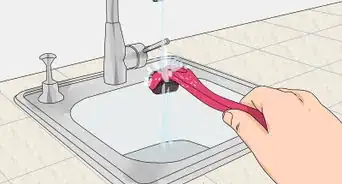
3Rinse the keycaps in the sink. Make sure you get any residue from the denture cleaner or dish soap off the keys. You can use a strainer for this step.
- If there’s still some grime on any of the keycaps, use a toothbrush to scrub it off. [11]
-
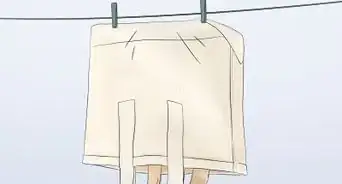
4Leave the keycaps out to air dry. Make sure you lay the the keycaps stem up while they dry, so the water can evaporate. [12]
- You may want to leave them out for 24 hours, to make sure they’re completely dry and won’t damage your computer.
- Don’t use a paper towel to dry the keycaps, as this can scratch the surface and leave particles behind. [13]
Advertisement


Part 3
Part 3 of 3:Putting the Keycaps Back
-
1Match the placement of the keycaps to the photo of your keyboard. Make sure you put all the keys back carefully in their proper places and facing the correct direction.
- To pop the keycaps back on, just push them straight down over the switch. [14]
-
2Reattach the keyboard to the computer. If you have a PS/2 connector, remember to match up the color (usually purple) to the correct port.
- Turn your computer back on if it's shut down.
- Now your keyboard is clean and ready to use.
-
3Clean your keyboard regularly without removing the keycaps. You can do this once a week or whenever things are starting to look dirty. Use a handheld vacuum or a damp microfiber cloth. Dry it off with another cloth, not a paper towel. [15]
-
4Avoid eating or drinking near your keyboard. This will prevent crumbs and other build-up, so you won't have to clean the keycaps as often.
- Keeping drinks away from your keyboard will also prevent damaging spills. [18]
Advertisement


References
- ↑ https://deskthority.net/wiki/Keyboard_cleaning
- ↑ https://www.computerhope.com/jargon/p/ps2.htm
- ↑ https://techterms.com/definition/ps2
- ↑ https://edu.gcfglobal.org/en/computerbasics/keeping-your-computer-clean/1/
- ↑ https://www.mechtype.com/best-keycap-puller-tool-wire-vs-plastic-ring/
- ↑ https://www.daskeyboard.com/blog/updated-guide-how-to-clean-a-mechanical-keyboard/
- ↑ https://www.pcgamingrace.com/blogs/guides-resources/cleaning-mechanical-keyboards
- ↑ https://www.daskeyboard.com/blog/updated-guide-how-to-clean-a-mechanical-keyboard/
- ↑ https://deskthority.net/wiki/Keyboard_cleaning
- ↑ https://www.daskeyboard.com/blog/updated-guide-how-to-clean-a-mechanical-keyboard/
- ↑ https://store.hp.com/app/tech-takes/how-to-clean-mechanical-keyboard
- ↑ https://www.daskeyboard.com/blog/updated-guide-how-to-clean-a-mechanical-keyboard/
- ↑ https://store.hp.com/app/tech-takes/how-to-clean-mechanical-keyboard
- ↑ https://www.youtube.com/watch?v=0kJvLEXGjNE
- ↑ https://www.daskeyboard.com/blog/updated-guide-how-to-clean-a-mechanical-keyboard/
- ↑ https://www.pcgamingrace.com/blogs/guides-resources/cleaning-mechanical-keyboards
- ↑ Kadi Dulude. Cleaning Expert.
- ↑ https://kotaku.com/snacking-near-your-keyboard-a-guide-of-what-not-to-d-1794416311
About This Article