X
This article was co-authored by wikiHow Staff. Our trained team of editors and researchers validate articles for accuracy and comprehensiveness. wikiHow's Content Management Team carefully monitors the work from our editorial staff to ensure that each article is backed by trusted research and meets our high quality standards.
This article has been viewed 10,472 times.
Learn more...
To change the default printer on a Mac, click on the Apple menu → Click on "System Preferences" → Click on "Printers & Scanners" → Click on the "Default printer" drop-down menu → Then, click on the printer you want to be the Mac's default printer.
Steps
-
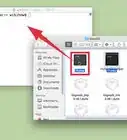
1Click on the Apple menu. It's the black, apple-shaped icon in the upper-left of your screen.
-
2Click on System Preferences.
-
3Click on Printers & Scanners.
-
4Click on the drop-down menu next to "Default printer." It's at the bottom of the dialog box and probably reads "Last used."
-
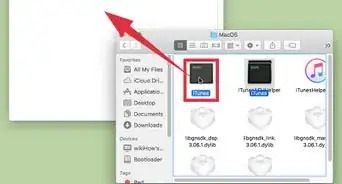
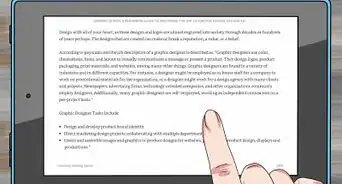
5Click on your preferred printer. The printer you selected is now the default printer for your Mac.
- Select "Last used" if you want to continue using the same printer you last used.
- Click on +, beneath the left pane, if you'd like to add a new printer.


-Step-21-Version-2.webp)
About This Article

wikiHow Staff
wikiHow Staff Writer
This article was co-authored by wikiHow Staff. Our trained team of editors and researchers validate articles for accuracy and comprehensiveness. wikiHow's Content Management Team carefully monitors the work from our editorial staff to ensure that each article is backed by trusted research and meets our high quality standards. This article has been viewed 10,472 times.
How helpful is this?
Co-authors: 3
Updated: June 1, 2021
Views: 10,472
Categories: Mac