X
wikiHow is a “wiki,” similar to Wikipedia, which means that many of our articles are co-written by multiple authors. To create this article, 24 people, some anonymous, worked to edit and improve it over time.
This article has been viewed 246,459 times.
Learn more...
Don't want your music files in midi format? This tutorial will show you how to change them to a WAV or MP3 format.
Steps
Method 1
Method 1 of 3:The iTunes Method
Method 1
-
1Download and install iTunes[1] by clicking on the "Download iTunes". You can choose whether to download iTunes for Mac or Windows.
-
2Import the midi file into iTunes by dragging the file into the main iTunes window.Advertisement
-
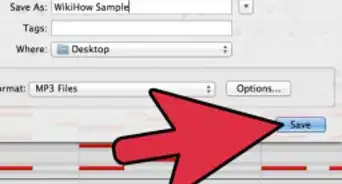
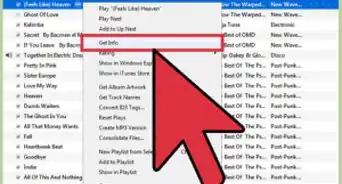
3Set the conversion settings. Click on "iTunes" in the menu bar ("Edit" menu if using Windows) and then click on "Preferences". Select the "General" tab. Go down and click on "Import Settings". Then on "Import Using", choose "MP3 Encoder". Then save your your settings by clicking "OK".
-
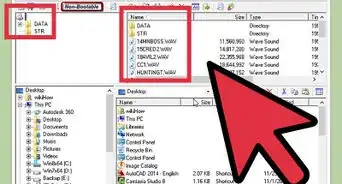
4Select the midi file you want to convert in the iTunes window.
-
5Select "Advanced" in the menu bar and select "Convert Selection to MP3". This maybe say AAC or WAV depending on what you set in step 5.
-
6You're done! Now you can copy the file to an MP3 player or to a CD.Advertisement


Method 2
Method 2 of 3:The QuickTime Pro/Audacity Method
Method 2
-
1Purchase QuickTime Pro. (You can find keys, but that's out of scope)
-
2Get your MIDI file.
-
3Open QuickTime on the file and export to AIFF. (This will create a large file that you can remove after exporting to MP3/WAV from Audacity)
-
4Import this AIFF file into Audacity.
-
5Export the file.
-
6You're finished!Advertisement


Method 3
Method 3 of 3:The File Conversion Method
Method 3


Warnings
- Not every program can be trusted. Soon after downloading any program, it is always a good idea to scan your computer for viruses and spyware/adware or scan the installer before you install the program.Thanks!
Advertisement


References
About This Article
Advertisement