X
This article was co-authored by wikiHow Staff. Our trained team of editors and researchers validate articles for accuracy and comprehensiveness. wikiHow's Content Management Team carefully monitors the work from our editorial staff to ensure that each article is backed by trusted research and meets our high quality standards.
The wikiHow Tech Team also followed the article's instructions and verified that they work.
This article has been viewed 9,698 times.
Learn more...
This wikiHow teaches you how to select any photo from a Google Photos album and set it as the album's cover picture, using Android.
Steps
-
1Open the Google Photos app on your Android. The Photos icon looks like a colored pinwheel with red, yellow, green, and blue curves. You can find it on your Apps menu.
-
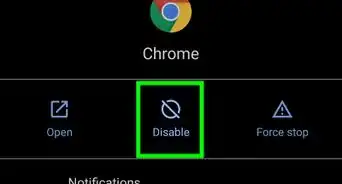
2Tap the Albums tab. This button looks like a book icon at the bottom of your screen.
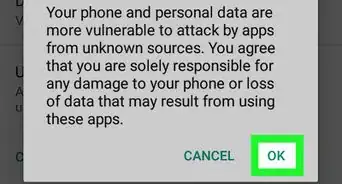
- You have to be signed in to your Google account in order to see the Albums tab. If you're not signed in, tap the three horizontal lines icon on the top-left, and select Sign in.
-
3Tap an album. Find the album you want to change the cover of, and open it. You will see a grid of all the images in this album.
-
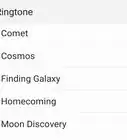
4Tap the image you want to use for the cover. This will open the image in full-screen.
-
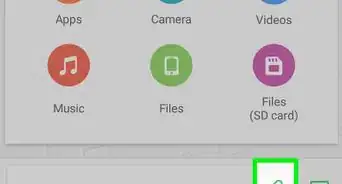
5Tap the three vertical dots icon. It's in the upper-right corner of your screen. Tapping will open a drop-down menu.
-
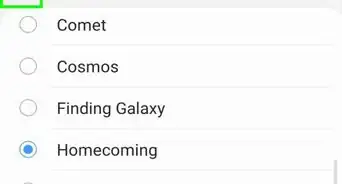
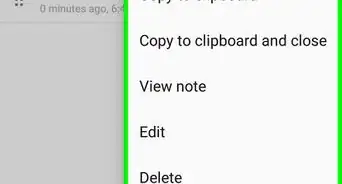
6Select Use as album cover. It will change this album's cover to the selected picture.
- You can change an album's cover as many times as you want.


About This Article

wikiHow Staff
wikiHow Staff Writer
This article was co-authored by wikiHow Staff. Our trained team of editors and researchers validate articles for accuracy and comprehensiveness. wikiHow's Content Management Team carefully monitors the work from our editorial staff to ensure that each article is backed by trusted research and meets our high quality standards. This article has been viewed 9,698 times.
How helpful is this?
Co-authors: 3
Updated: February 26, 2018
Views: 9,698
Categories: Android