X
This article was written by Nicole Levine, MFA. Nicole Levine is a Technology Writer and Editor for wikiHow. She has more than 20 years of experience creating technical documentation and leading support teams at major web hosting and software companies. Nicole also holds an MFA in Creative Writing from Portland State University and teaches composition, fiction-writing, and zine-making at various institutions.
The wikiHow Tech Team also followed the article's instructions and verified that they work.
This article has been viewed 1,168 times.
This wikiHow teaches you how to adjust the video playback quality for your iPhone or iPad’s TV app.
Steps
-
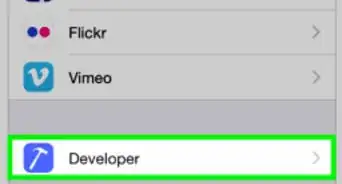
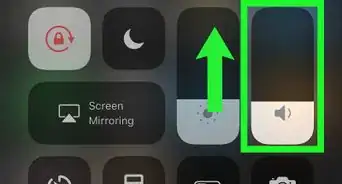
1
-
2Scroll down and tap TV. If you don’t see this option, the TV app may not be available in your area. Depending on your location, you may be able to download it from the App Store.
-
3Scroll down and tap Wifi. It’s under the “Playback Quality” header.
-
4Select a playback quality option. If you have a fast network connection when connected to Wi-Fi, choose Best Available. If your connection is slow or you are experiencing quality issues at a higher level, select Good.
-
5Tap the back button.
-
6Tap Cellular. If this option is grayed-out, you have disabled cellular playback for the TV app.[1]
-
7Select a playback quality option. As you did for your wireless connection, choose Best Available if your connection is speedy, and Good if not.
- Best Available uses more data. Only select this option if you don’t pay for extra data charges.
-
8Tap the back button.
-
9Tap Purchases and Rentals.
-
10Select an option for purchased or rented video playback. Choose High Definition if you have a good connection, or Standard Definition if you have a slower connection.
-
11Tap the back button. Now that you’ve adjusted your playback options, the TV app will display video as you selected.


About This Article

Nicole Levine, MFA
Tech Specialist
This article was written by Nicole Levine, MFA. Nicole Levine is a Technology Writer and Editor for wikiHow. She has more than 20 years of experience creating technical documentation and leading support teams at major web hosting and software companies. Nicole also holds an MFA in Creative Writing from Portland State University and teaches composition, fiction-writing, and zine-making at various institutions. This article has been viewed 1,168 times.
How helpful is this?
Co-authors: 2
Updated: May 25, 2021
Views: 1,168
Categories: IPhone