This article was written by Darlene Antonelli, MA. Darlene Antonelli is a Technology Writer and Editor for wikiHow. Darlene has experience teaching college courses, writing technology-related articles, and working hands-on in the technology field. She earned an MA in Writing from Rowan University in 2012 and wrote her thesis on online communities and the personalities curated in such communities.
This article has been viewed 3,673 times.
The autofill feature that's available for most browsers and mobile devices is usually extremely handy, except if your information, like your address, changes. This wikiHow will teach you how to change autofill entries on your desktop computer, Android phone, or Android tablet. If you have an iPhone, you can look at How to Change Autofill Options on an iPhone.
Steps
Method 1
Method 1 of 2:Using Google Chrome
-
1
-
2Click or tap ⋮. On either platform (mobile or desktop), you'll find this three-dot menu icon in the top right corner of the window.Advertisement
-
3Click or tap Settings. This is at the bottom of the menu on either the desktop or mobile version of the web browser.
-
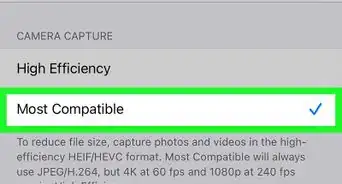
4Click or tap either Passwords, Payment methods, or Addresses and more. This is where all your autofill information is saved. If you're using a desktop web browser, you'll find these options under the "Autofill" header; in the mobile app, you'll find these options under the "Basics" header.
-
5Edit the entries as necessary. You can add, delete, and edit current entries in any of the previous categories like Payment methods.
- If you access "Passwords," you may be prompted to enter your computer or phone's password to continue. If you click the eye icon, you can view your saved password after you successfully enter your computer or phone's password. If you enter an incorrect password for your computer, phone, or tablet, you will not be able to see your edit your saved passwords in Google Chrome.
- You can add or remove cards in Payment methods by either selecting Add or selecting a card and Delete.
- To edit a current entry in addresses, click the three-dot menu icon and Edit or Remove. You can also click or tap Add if you want to add information.[1]
Advertisement


Method 2
Method 2 of 2:Using Firefox
-
1Open a Firefox. You can double-click the icon to open a web browser on your Windows or Mac computer, or you can open the app on your phone or tablet.
-
2Click or tap ☰. You'll find this in the top right corner of your web browser.
-
3Click or tap Options. You'll find this in the middle of the menu next to a black icon of a gear.
-
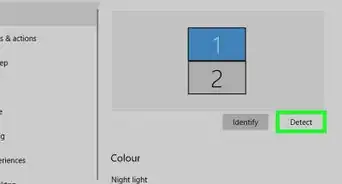
4Click or tap Privacy & Security. You'll see this in the menu on the left side of the page next to a black icon of a lock.
-
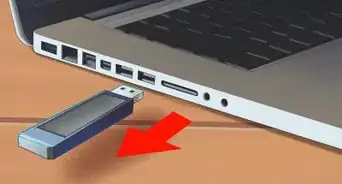
5Click or tap Saved Addresses. You'll need to scroll down the page to find the "Forms and Autofill" header.
- Click Add, Edit, or Remove to change your saved addresses.
-
6Click or tap the X in the top right corner. Closing the window will save your changes.[2]Advertisement


References
About This Article

1. Open a Chrome web browser.
2. Click or tap the three-dot menu icon.
3. Click or tap Settings.
4. Click or tap either Passwords, Payment methods, or Addresses and more.
5. Edit the entries as necessary.