X
This article was written by Nicole Levine, MFA. Nicole Levine is a Technology Writer and Editor for wikiHow. She has more than 20 years of experience creating technical documentation and leading support teams at major web hosting and software companies. Nicole also holds an MFA in Creative Writing from Portland State University and teaches composition, fiction-writing, and zine-making at various institutions.
This article has been viewed 6,539 times.
This wikiHow teaches you how to remove a print from the Windows or macOS print queue.
Steps
Method 1
Method 1 of 2:Windows
Method 1
-
1
-
2Click Settings. It’s toward the bottom of the menu.
-
3Click Devices. It’s in the top row of settings.
-
4Click Printers & scanners. It’s near the top of the left panel. A list of printers will appear on the right panel.
-
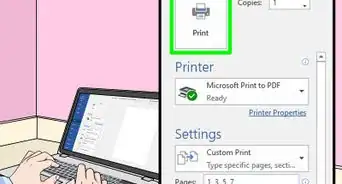
5Click the printer to which you sent the document. A few buttons will appear below the printer’s name.
-
6Click Open queue. It’s the first button under the printer’s name. A list of all print jobs that haven’t yet been printed will appear.
-
7Right-click your print job. A context menu will appear.
- If your print job doesn’t show up here, this usually means the document has already printed.
-
8Click Cancel. This removes the print job from the queue.


Method 2
Method 2 of 2:macOS
Method 2
-
1Click the menu. It’s at the top-left corner of the screen.[1]
-
2Click the System Preferences.
-
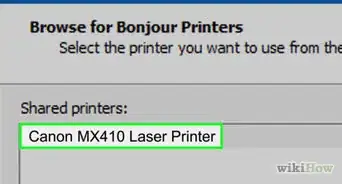
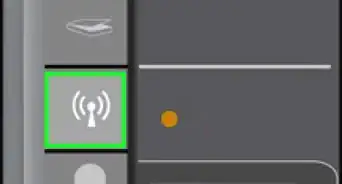
3Click Printers. This may be called Printers & Scanners on some computers.
-
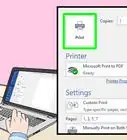
4Click Open Print Queue. It’s next to the printer icon at the center of the window. A list of pending/queued print jobs will appear.
-
5Click the print job you want to cancel. This selects the job.
- If your print job doesn’t show up here, this usually means the document has already printed.
-
6Click the Jobs menu. It’s in the menu bar at the top of the screen.
-
7Click Delete job. It’s the first option. This removes the print job from the print queue.


About This Article

Nicole Levine, MFA
Tech Specialist
This article was written by Nicole Levine, MFA. Nicole Levine is a Technology Writer and Editor for wikiHow. She has more than 20 years of experience creating technical documentation and leading support teams at major web hosting and software companies. Nicole also holds an MFA in Creative Writing from Portland State University and teaches composition, fiction-writing, and zine-making at various institutions. This article has been viewed 6,539 times.
How helpful is this?
Co-authors: 1
Updated: March 29, 2019
Views: 6,539
Categories: Printers