X
wikiHow is a “wiki,” similar to Wikipedia, which means that many of our articles are co-written by multiple authors. To create this article, volunteer authors worked to edit and improve it over time.
This article has been viewed 24,037 times.
Learn more...
Binding a key is like creating a custom shortcut; more specifically, key binding allows computer users to implement a customizable button for any key on the keyboard. It allows for more efficiency while using a computer because it creates shortcuts. Key binding is relevant to today's society because a lot of jobs and tasks require a computer and a keyboard. It is very easy to learn how to bind a key.
Steps
Method 1
Method 1 of 2:Creating the key bind
Method 1
-
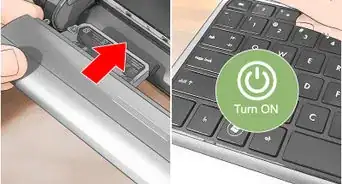
1Install and open the Razer Synapse program that came with your keyboard. The program may by installed using the disk or may be installed online.
- Insert the disc and click install.
- If you didn't receive a disk, the program can installed at https://www.razerzone.com/downloads
-
2Create an account. An account is needed to save all changes and macros created.
- New users can click 'CREATE ACCOUNT'.
- Past users may proceed by clicking 'LOGIN'.
-
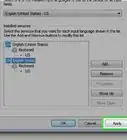
3Select the correct Razer device. At the bottom left hand corner, select the Razer device that you would like to make changes to.
- The device image will become highlighted to indicate it has been selected.
-
4Click on the 'MACROS'. The 'MACROS' button can be found in the top header between 'KEYBOARD' and 'STATS'.
- Click '+' to add a new macro.
- Enter the desired name of the macro being created.
-
5Choose the delay desired between keystrokes. There are three different options that may be chosen based on the user's desire.
- Choosing 'RECORD DELAY' records the delay when recording keystrokes.
- Choosing 'DEFAULT DELAY' allows one to set delays between keystrokes.
- Choosing 'NO DELAY' will remove all delays between keystrokes.
-
6Click 'Record'. Once when the user clicks record, the recording begins immediately.
- Type what you desire to bind to the keyboard.
- The keystrokes will be recorded in order.
- Click 'stop' to finish recording.
-
7Select the 'KEYBOARD' menu header. It can be located on the top header on the left hand side.
- Click on the 'CUSTOMIZE' menu sub-header to get to the customization page.
-
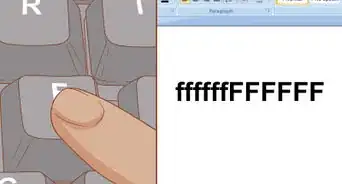
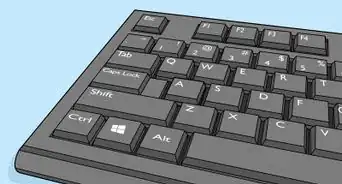
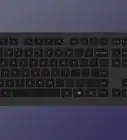
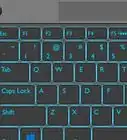
8Select the key(s) that you desire to be used for the macro. Any key(s) on the keyboard may be selected to key bind.
- To select the key that you would like to bind, click on any of the keys on the keyboard image using your mouse.
- Select more than one key to bind by holding down the left mouse button and highlighting over the keys.
-
9Click the drop down menu under 'KEY ASSIGNMENT'. The key must be set to a macro.
- Scroll until you find the option 'MACRO' and click on it.
- Change 'assign macro' to the macro that was created and named.
- Be sure to click 'SAVE' in order to assign the macro.
-
10Select the playback option. This will allow the user to set the macro key to the desired amount of playback per keystroke.
- Select 'play once' option will play the keystroke binding only once.
- Only select 'play multiple times' if you would like the keystroke binding to play more than once with only one click.


Method 2
Method 2 of 2:Testing the key bind
Method 2
-
1Open any program or game that the key bind can be used on. It is important to test the key bind to see if the user created it correctly.
- Open Razer Synapse and sign into your account in order to activate the key bind.
-
2Click on the key bind using your keyboard. The keystrokes should automatically play after clicking the key bind.
- If the key bind wasn't setup properly, the process may be repeated. Be sure to save the new macro as a new name when recreating a key bind.