X
wikiHow is a “wiki,” similar to Wikipedia, which means that many of our articles are co-written by multiple authors. To create this article, 19 people, some anonymous, worked to edit and improve it over time.
This article has been viewed 89,560 times.
Learn more...
This guide will explain how to use a Flash Memory drive to back up the Shared Documents folder on a computer. (Directions for Windows.)
Steps
-
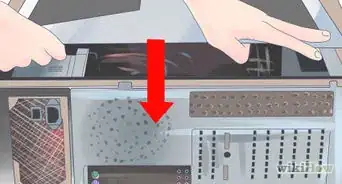
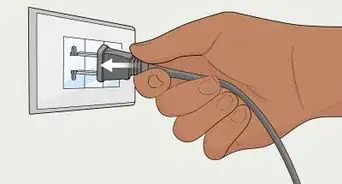
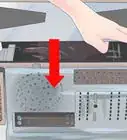
1Insert Flash Memory Drive into the USB port on the front, side or rear of the computer.
-
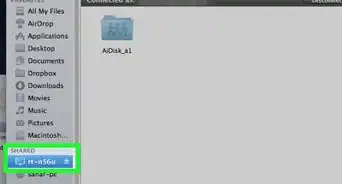
2Double click "My Computer" on the Desktop or go to Start - My Computer. If you are using windows 7, go to My computer\Local disk (C:)\Users\Public
-
3Right Click the Shared Documents folder or Public Documents if you're using windows 7, select "Send To", and then select "Removable Device".
-
4If you receive a prompt to overwrite the files currently on the drive, check to make sure you do not want the old versions of the files. If you do not receive the overwrite prompt, then proceed to step 5.
-
5The files will begin to copy over to the Flash Memory drive. This can take a long time, depending on the data amount that is being transferred. When it is complete the "File Transfer" window will disappear.
-
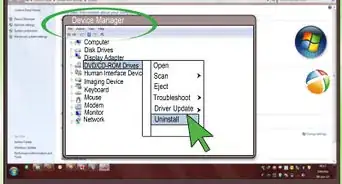
6In My Computer, Right Click the Removable Device and select Eject. It will then disappear from the screen and you can unplug the Flash Memory Card from the computer.
-
7Back up your important photos, scanned papers on these. 2 GB has come down in price.


Community Q&A
-
QuestionIs there an automatic option for this process?
 Community AnswerYes. Select it as a recovery drive in the options menu that pops up when the drive is inserted.
 -
QuestionWhat if I'm not using a flash memory drive? How do I back up my files?Community AnswerSee How to Back Up Data for a few different methods.
Warnings
- Never remove the flash drive without first hitting "eject", otherwise you could lose your data and damage your flash drive and computer.Thanks!