This article was co-authored by wikiHow Staff. Our trained team of editors and researchers validate articles for accuracy and comprehensiveness. wikiHow's Content Management Team carefully monitors the work from our editorial staff to ensure that each article is backed by trusted research and meets our high quality standards.
The wikiHow Tech Team also followed the article's instructions and verified that they work.
This article has been viewed 9,558 times.
Learn more...
This wikiHow teaches you how to save a backup of your entire Photos library on a Mac. You can automatically upload all your pictures to iCloud if you want an online backup, or copy your Photos Library file to an external drive if you want to save a manual backup.
Steps
Method 1
Method 1 of 2:Backing Up to iCloud
-
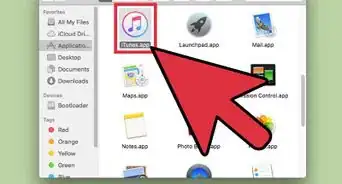
1Open the Photos app on your Mac. The Photos app looks like a colored pinwheel in a white circle icon. You can find it in your Applications folder.
-
2Click the Photos tab on the menu bar. You can find it next to the Apple icon in the upper-left corner of your screen. It will open a drop-down menu.
-
3Click Preferences on the menu. This will open your Photos settings in a new window.
-
4
-
5Click and check the iCloud Photo Library option. It's at the top of the iCloud tab here.
- When this option is checked, all your pictures are automatically uploaded and stored on your iCloud account. You can access all your pictures on all your devices.
-
6Select the Download Originals to this Mac option. You can find it under the iCloud Photo Library heading. This will store full-resolution versions of all your pictures on your Mac.
- If you select Optimize Mac Storage, you'll download and store low-resolution versions of your pictures on your Mac. You can download the full-resolution version of a picture if you have enough storage space.


Method 2
Method 2 of 2:Backing Up to an External Drive
-
1Open the Photos app on your Mac. The Photos app looks like a colored pinwheel in a white circle icon. You can find it in your Applications folder.
-
2Click the Photos tab on the menu bar. You can find it next to the Apple icon in the upper-left corner of your screen. It will open a drop-down menu.
-
3Click Preferences on the menu. This will open your Photos settings in a new window.
-
4Click the Show in Finder button next to "Library Location." You can find this option at the top of the General tab. It will open a new Finder window, and show your Photos Library file here.
-
5Right-click the "Photos Library" file in Finder. This will open your right-click options on a drop-down menu.
-
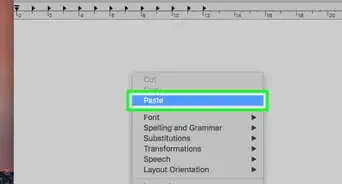
6Select Copy on the right-click menu. This will copy your Photos Library file to your clipboard. You can now paste it to your external drive to keep a manual backup of your pictures.
- Alternatively, you can select the file, and press ⌘ Command+C on your keyboard to copy it.
-
7Connect your external drive and open it on your computer. You can find your external drive mounted on your desktop. Double-click on it to open its contents in Finder.
-
8Press ⌘ Command+V on your keyboard. This will paste the copied Photos Library file to your external drive.
- Anytime you want to use this backup, copy the Photos Library file from your external drive, and paste it to the original location of the file on your Mac.


-Step-21-Version-2.webp)
About This Article