X
wikiHow is a “wiki,” similar to Wikipedia, which means that many of our articles are co-written by multiple authors. To create this article, 15 people, some anonymous, worked to edit and improve it over time.
This article has been viewed 31,167 times.
Learn more...
Three dimensional printing allows you to turn a digital 3D model into a tangible object. This article will help the computer savvy to build and print a cylinder model using CAD software. This is for those who have CAD experience but not necessarily those with printing experience. The basics of this tutorial can be applied to much more complex designs.
Steps
Part 1
Part 1 of 3:Setting Up
Part 1
-
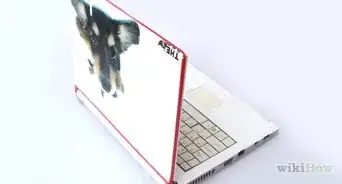
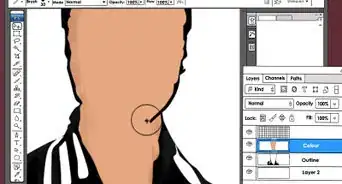
1Identify the kind of 3D printer. Determine whether it's a Makerbot Davinci or Replicator. Then you'll need to know whether it's a layer-on or a cut away printer.
-
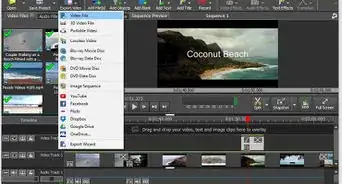
2Launch the CAD software that you are going to be drawing your sketches in.
- Use a tool such as Tinkercad, Google Sketchup, or Blender. Put it through the file preparation software for your specific device. (You can find this on the manufacturer's website).
Advertisement
Part 2
Part 2 of 3:Making the Model
Part 2
-
1
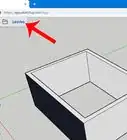
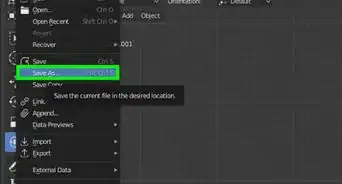
- Click on New, then model, then press OK after you name your file.
- Save all your part files in the same folder.
-
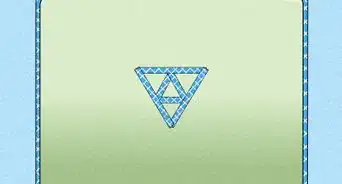
2Create a sketch on the XY plane of a circle, with a 10mm diameter.
-
3
-
4Save your model frequently.
-
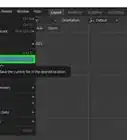
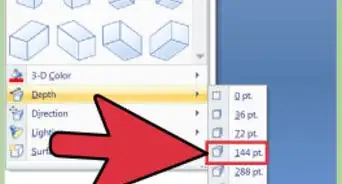
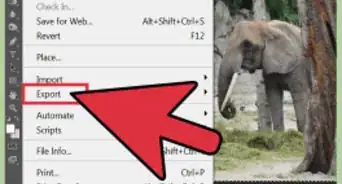
5Export your model as a STL file to your desktop.
- Then click OK for the next two prompts without changing anything.
Advertisement


Part 3
Part 3 of 3:Printing the Model
Part 3
-
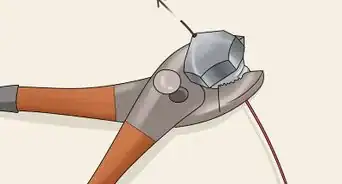
1Insert the plastic filament spool at the back of the 3D printer, and insert the filament into the heating block.
-
2
-
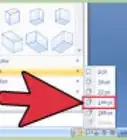
3Import the STL file model into the 3D printing software that comes with the 3D printer.
- A window will pop up and ask where the model should be placed. Click on absolute center as this would put the model in the middle of the printing tray.
-
4
-
5
-
6Select the connected setting on the printer (USB cable or Card reader).
-
7Select the file of your model that you would like to print.
-
8Allow your printed model to cool for about a minute before removing it from the printer.Advertisement


Community Q&A
-
QuestionWhat about prepping the plate? I've seen some say to use hairspray, glue, or painter tape. Why is this necessary?
 Kabob8933Community AnswerIt is to make sure the model does not break away from the print plate during printing.
Warnings
- Wait overnight after your project is finished to touch it to make sure that it is fully cooled and safe for use.Thanks!
- Do not touch the heating block or the heated filament as they can burn your skin.Thanks!
- Remember to insert the filament before the printer is on as the heating block becomes extremely hot.Thanks!
- Do not touch the model during the printed process.Thanks!
- Never touch the build arm in the process, several get to be extremely hot and will give you a nasty burn in addition to ruining your project if you touch it.Thanks!
Advertisement
About This Article
Advertisement