About the April Fools 2012 video
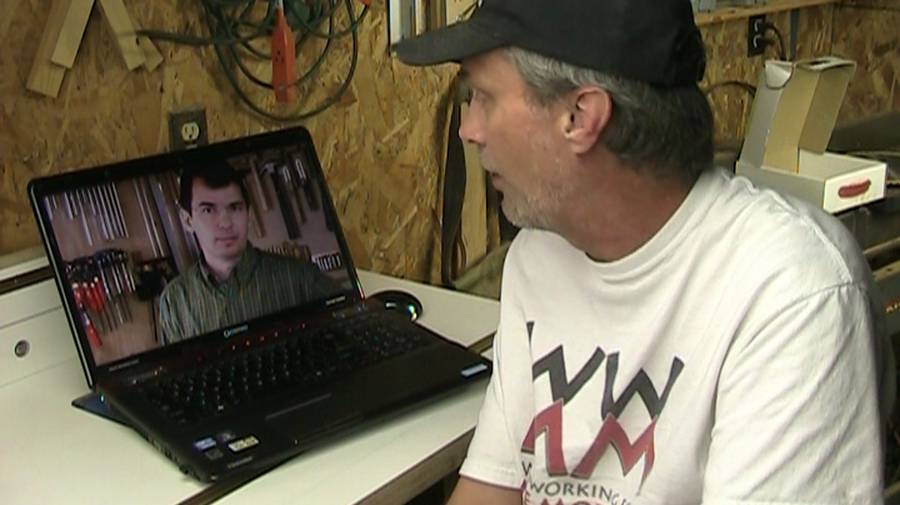 I had been emailing Steve Ramsey of
Woodworking for Mere Mortals on and off, and eventually we decided
to do a video collaboration. Steve had
the idea of making some sort of April Fools video. Question was, what on.
We bounced around a few ideas. I had been using Skype a fair bit recently,
and I had the idea of "what if we could pass physical objects through Skype".
I had been emailing Steve Ramsey of
Woodworking for Mere Mortals on and off, and eventually we decided
to do a video collaboration. Steve had
the idea of making some sort of April Fools video. Question was, what on.
We bounced around a few ideas. I had been using Skype a fair bit recently,
and I had the idea of "what if we could pass physical objects through Skype".
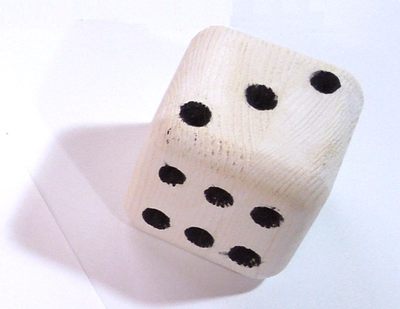 So that became the basic premise of the video. We still needed a project to
build, preferably something really simple. This video was going to be
complex enough already, and besides, the video was going to be about
the joke. Steve had the idea of making it about just making a simple die.
So that became the basic premise of the video. We still needed a project to
build, preferably something really simple. This video was going to be
complex enough already, and besides, the video was going to be about
the joke. Steve had the idea of making it about just making a simple die.
 Needless to say, we had
to somehow fake the passing of objects through Skype. I had never done
any special effects in my videos before, but Steve has always been very
creative with this videos, and he had done split screen before in
this video.
But as it turned out, the effects in our video were more complex than either
of us had done before. It gives me a whole new level of respect for what
YouTubers like FreddieW or
Mystery Guitar Man do.
Needless to say, we had
to somehow fake the passing of objects through Skype. I had never done
any special effects in my videos before, but Steve has always been very
creative with this videos, and he had done split screen before in
this video.
But as it turned out, the effects in our video were more complex than either
of us had done before. It gives me a whole new level of respect for what
YouTubers like FreddieW or
Mystery Guitar Man do.
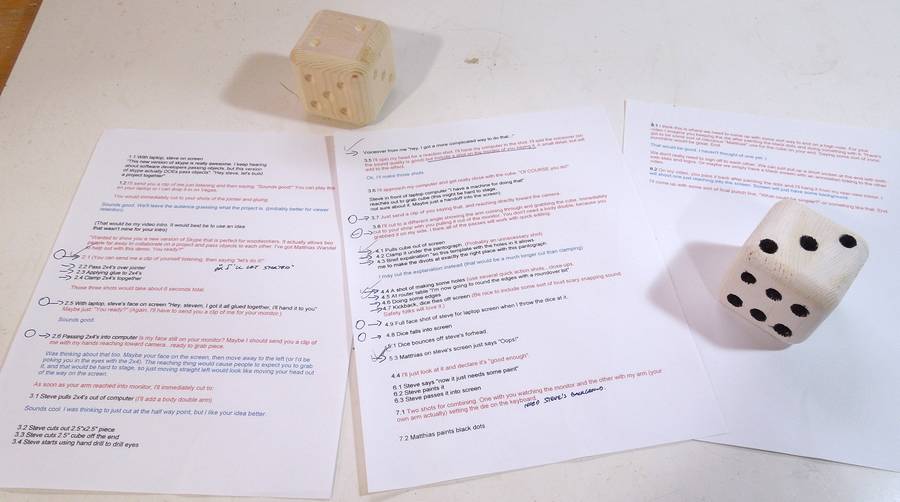
I figured this was going to be a bit complicated, so based on our correspondence, I made a numbered list of every single shot that I anticipated would be part of the video. I named every video clip I shot to the scene number that I gave it.
 The premise of the video was that we'd each work on the dice a little bit, then pass
it back to the other for the next step. But we weren't about to mail the project
back and forth, so each of us had to make the whole thing. I ended up making
a number of dice. It's hard to get video right on the first shot, and I also
wanted to be able to re-shoot an earlier scene if I had to.
The premise of the video was that we'd each work on the dice a little bit, then pass
it back to the other for the next step. But we weren't about to mail the project
back and forth, so each of us had to make the whole thing. I ended up making
a number of dice. It's hard to get video right on the first shot, and I also
wanted to be able to re-shoot an earlier scene if I had to.
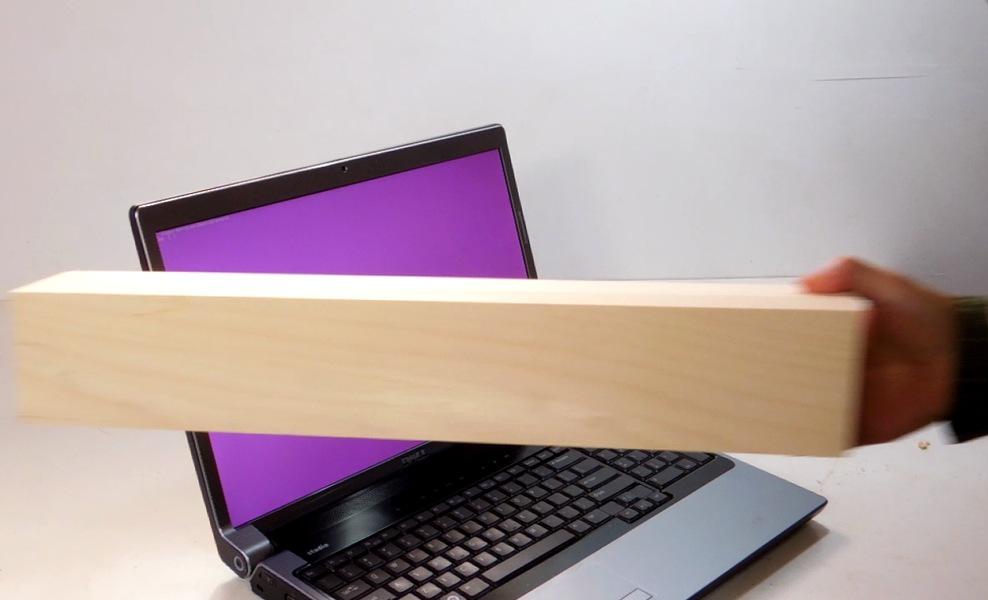
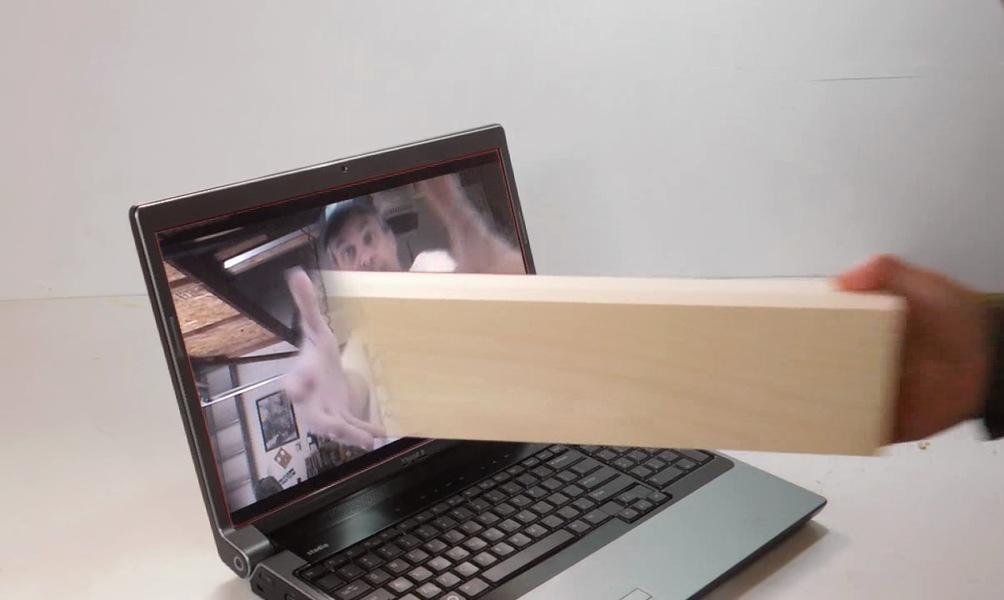
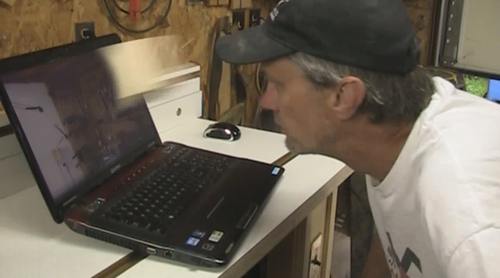
The passing things into the screen effect was actually relatively simple to fake. The shots were simply made by passing things in front of the laptop. Because the camera doesn't' give you a sense of depth, making the object disappear in the middle of the screen was enough to produce the illusion that it actually passes through the screen. Making it disappear was a simple matter of using the video of passing the object for the right half and using video where nothing was passed for the left half of the shot. All the in and out of screen shots were done with this technique.
A tricky part was synchronizing the video on the laptop screen with what was happening in front of it, such as Steve reaching for the objects with his hands on the screen. I could have synchronized this by trial and error, but instead, I used "chroma keying" (also known as green screen) to mask out the laptop's display. I could then have used software to map Steve's video onto the computer display, but I think that's a feature that's not in the cheaper version of Sony Vegas that we both use. So instead, I took another shot of the video playing on the laptop, and put that in a layer below. That way, I could time shift Steve's part to my part after the fact. It also allowed me to brighten the laptop display in post processing. I always shoot with a lot of lights, and the laptop's display wasn't bright enough to match.
You may also wonder, why the purple screen? Green probably works best for chroma keying, but I had already shot several scenes wearing a green shirt at this point, so I couldn't key on green anymore. I tried purple. Not the best choice. Blue works better.
 I love how Steve acted out pulling the piece of lumber out of the computer.
In the video, Steve then proceeds to cut a cube and then starts drilling
the holes with a hand drill.
I love how Steve acted out pulling the piece of lumber out of the computer.
In the video, Steve then proceeds to cut a cube and then starts drilling
the holes with a hand drill.
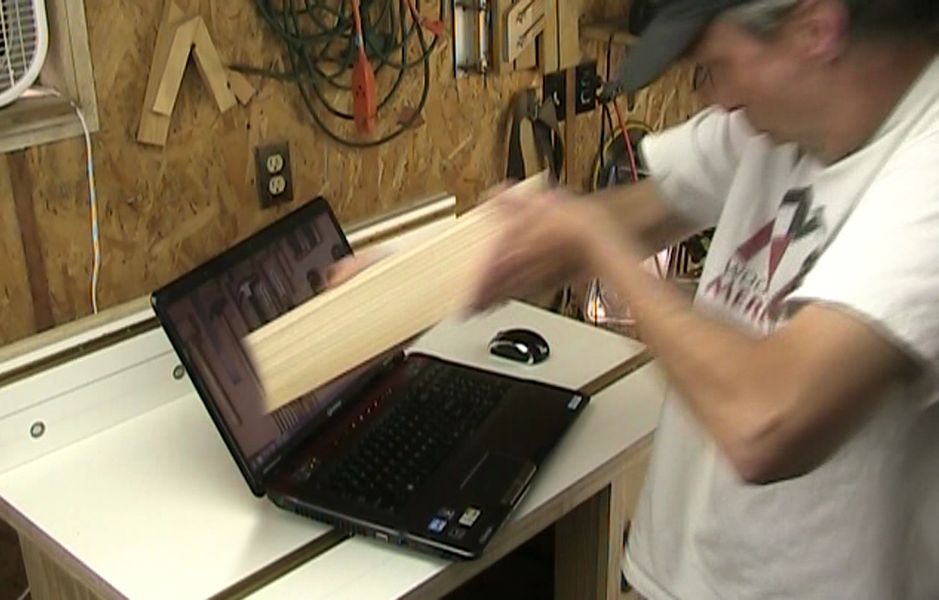
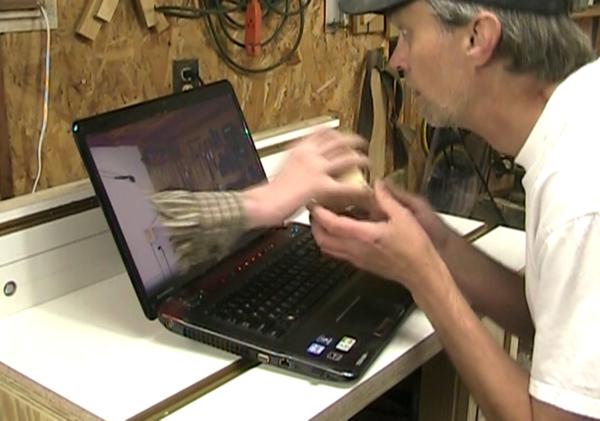 At this point, I interrupt and say I have a more complicated
way to do it. I reach through the computer and take it out of his hands.
Steve's son acted as the body double for the hand reaching out of the computer
shot in Steve's shop. As previously, the action actually happens in front
of the computer.
At this point, I interrupt and say I have a more complicated
way to do it. I reach through the computer and take it out of his hands.
Steve's son acted as the body double for the hand reaching out of the computer
shot in Steve's shop. As previously, the action actually happens in front
of the computer.
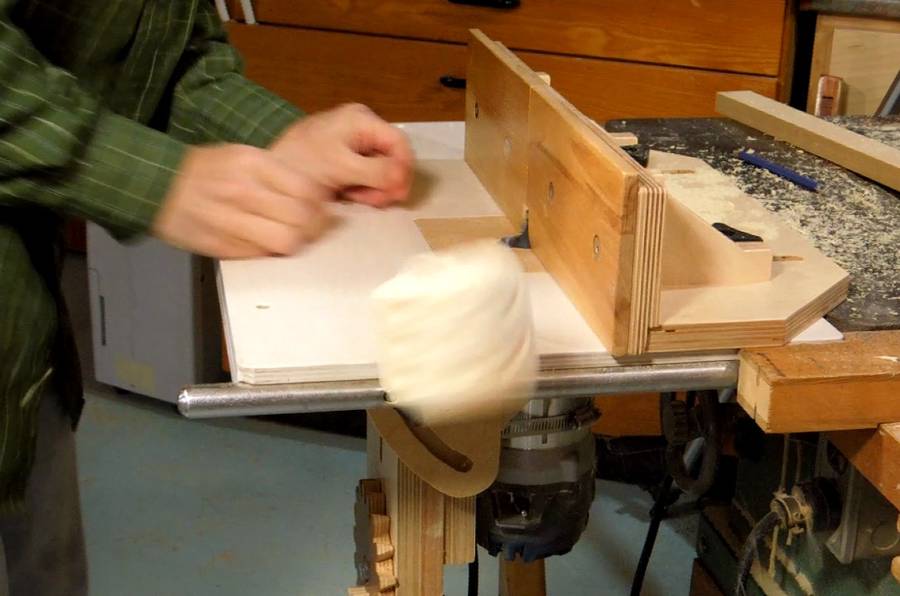
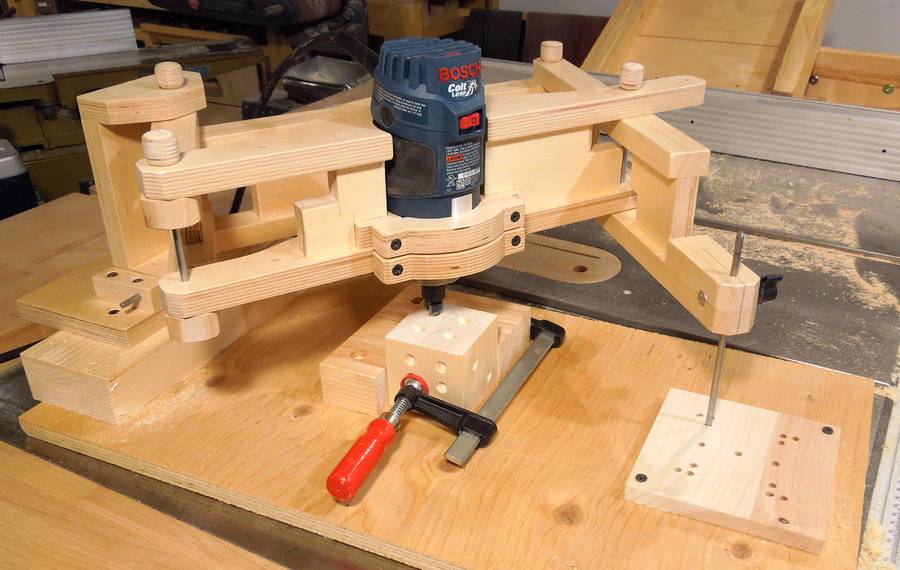 Steve suggested I build some ridiculously complicated drilling machine for drilling
out the dots on the dice. But ridiculously complicated machines take a lot
of time to build.
So I thought about using my horizontal boring machine (kind of awkward for the job),
then about using the pantorouter, and from that it became obvious that my
3D pantograph would work really well.
A more complex machine would have been more appealing, but the hole-pattern
template idea with the V-bit was just such a neat idea.
Steve suggested I build some ridiculously complicated drilling machine for drilling
out the dots on the dice. But ridiculously complicated machines take a lot
of time to build.
So I thought about using my horizontal boring machine (kind of awkward for the job),
then about using the pantorouter, and from that it became obvious that my
3D pantograph would work really well.
A more complex machine would have been more appealing, but the hole-pattern
template idea with the V-bit was just such a neat idea.
 Steve and I both have to deal with people who like to criticize safety
(Do these people ever build anything?). So that led to us staging a little "oops"
in the video. Basically, to pass the dice back Steve, I make the router kick
the work piece out of my hands, and it bounces through Skype and
hits Steve in the head.
Steve and I both have to deal with people who like to criticize safety
(Do these people ever build anything?). So that led to us staging a little "oops"
in the video. Basically, to pass the dice back Steve, I make the router kick
the work piece out of my hands, and it bounces through Skype and
hits Steve in the head.
The router kickback shot was much harder to get than I thought it would be. I thought it would be easy to get a kickback strong enough to bounce the dice off the ceiling, but making the router kick back was as elusive as trying to get a piece of cloth sucked into the table saw. I finally managed to get a half decent kickback by raising the bit a good 3 mm higher than I had it for the actual cut.
 I shot a clip of the dice flying "into" the laptop screen, but Steve edited it
to go straight from the kickback to the dice hitting him in the head.
The progression is clear as it is, and the immediacy of it works much better.
The way Steve reacts to getting hit in the head with it it just brilliant!.
I shot a clip of the dice flying "into" the laptop screen, but Steve edited it
to go straight from the kickback to the dice hitting him in the head.
The progression is clear as it is, and the immediacy of it works much better.
The way Steve reacts to getting hit in the head with it it just brilliant!.
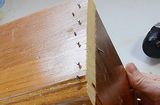
From there, Steve paints the die, then "reaches" through the screen to place it on my laptop computer keyboard. I paint the dots and then pass it back to Steve by rolling it into the screen.
 We each produced slightly different versions for our respective YouTube
channels, each version beginning and ending in our respective shops.
I couldn't think of a cool thing to "do" with the die after having built it.
But showing the incomplete video to a friend, he said "I'd like to see
you whack that dice against the screen". I thought - hey, I'll pretend the
connection was dropped, and that the screen no longer passes. So I throw
it against the screen and have it bounce off. But I didn't want to
wreck the computer, so I had to fake that shot as well.
We each produced slightly different versions for our respective YouTube
channels, each version beginning and ending in our respective shops.
I couldn't think of a cool thing to "do" with the die after having built it.
But showing the incomplete video to a friend, he said "I'd like to see
you whack that dice against the screen". I thought - hey, I'll pretend the
connection was dropped, and that the screen no longer passes. So I throw
it against the screen and have it bounce off. But I didn't want to
wreck the computer, so I had to fake that shot as well.
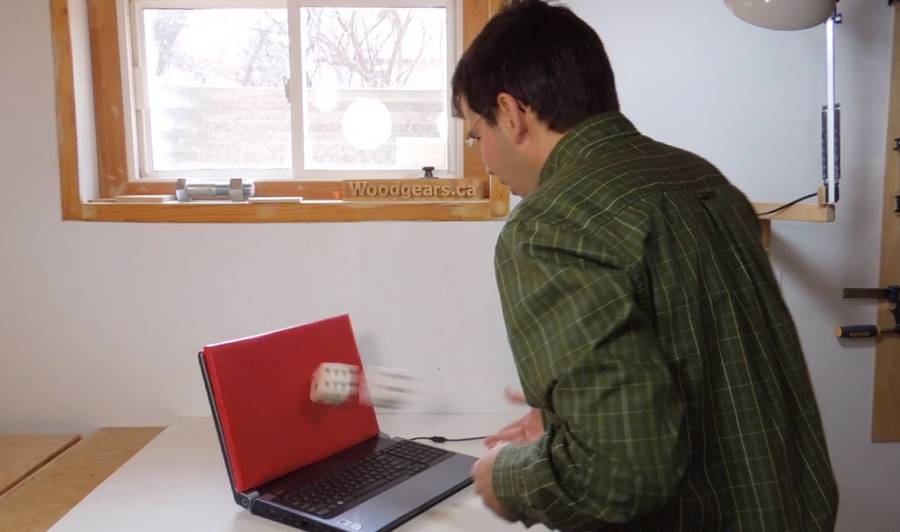
I took a piece of plywood, covered it with red vinyl, and put it front of the screen. I then threw the dice at it really hard - so hard that the whole laptop jumps a little. The red on the plywood is for chroma keying. Why red this time? Because that was the most suitable material I had. I masked out the red area and replaced it with a clip of the laptop with a background from Steve's shop on the screen, which then switches to a cracked screen with a hole in the middle. With that on a separate track, I could sync the display changing to the exact point that the dice hits it.
Making that video was a lot of work, but hopefully, it's the sort of thing that will get a lot of hits, maybe even go viral. It will also help my audience find Steve's channel, and vice versa.
It was a good learning experience, and a chance to work with a YouTuber whose work I admire. It's not so much Steve's woodworking prowess that impresses me as his ability to make his videos fun to watch and entertaining. He's a genius at that.
As for making future videos with special effects - I think I'll stick with what is real. Because faking it is so much harder!
So also check out Steve's version of the video, and his YouTube channel
See also:
 2015 April fools video
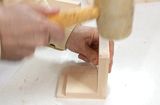 2016 April fools video
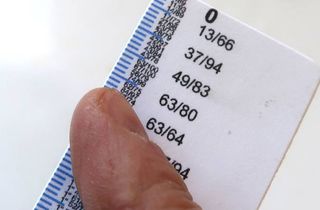 April 1st 2019: A ruler to unite Metric and inches
 Pen shaking contraption
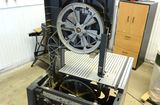 Bandsaw repair fail
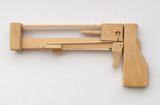 Jenga pistol
 Best camera for
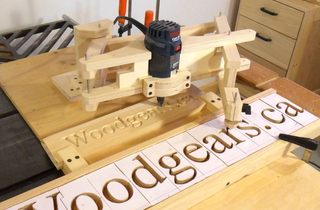 3D router pantograph
 Steve's
Woodworking
Steve's
Woodworkingfor mere mortals
Back to my Woodworking website