Toilet Paper Holder
About this device
| Keywords | 3D printing, toilet paper holder, hygiene, bathroom |
|---|---|
| Uses | development |
| Authors | Jake Majors |
| Status | Prototype |
| Made? | Yes |
| Replicated? | No |
| Designed in | United States |
| Materials | Plastic |
| Cost | USD $ 3.00 |
| SDGs |
SDG10 Reduced inequalities SDG03 Good health and well-being SDG11 Sustainable cities and communities |
| Instructions data | |
| Manufacturing files | https://www.youmagine.com/designs/toilet-paper-holder-5-18 |
| Documentation data | |
| Language | English |
| Manifest data | |
| Language | English |
| Updated | 2020-06-04 |
| Author | Kathy Nativi |
| Author affiliation | Appropedia |
| Author email | info@appropedia.org |
Toilet Paper Holder
Project developed by jdmajors
| This Open Source Appropriate Technology has been designed but not yet tested — use at your own risk. |
| This Open Source Appropriate Technology has been prototyped. |
Abstract
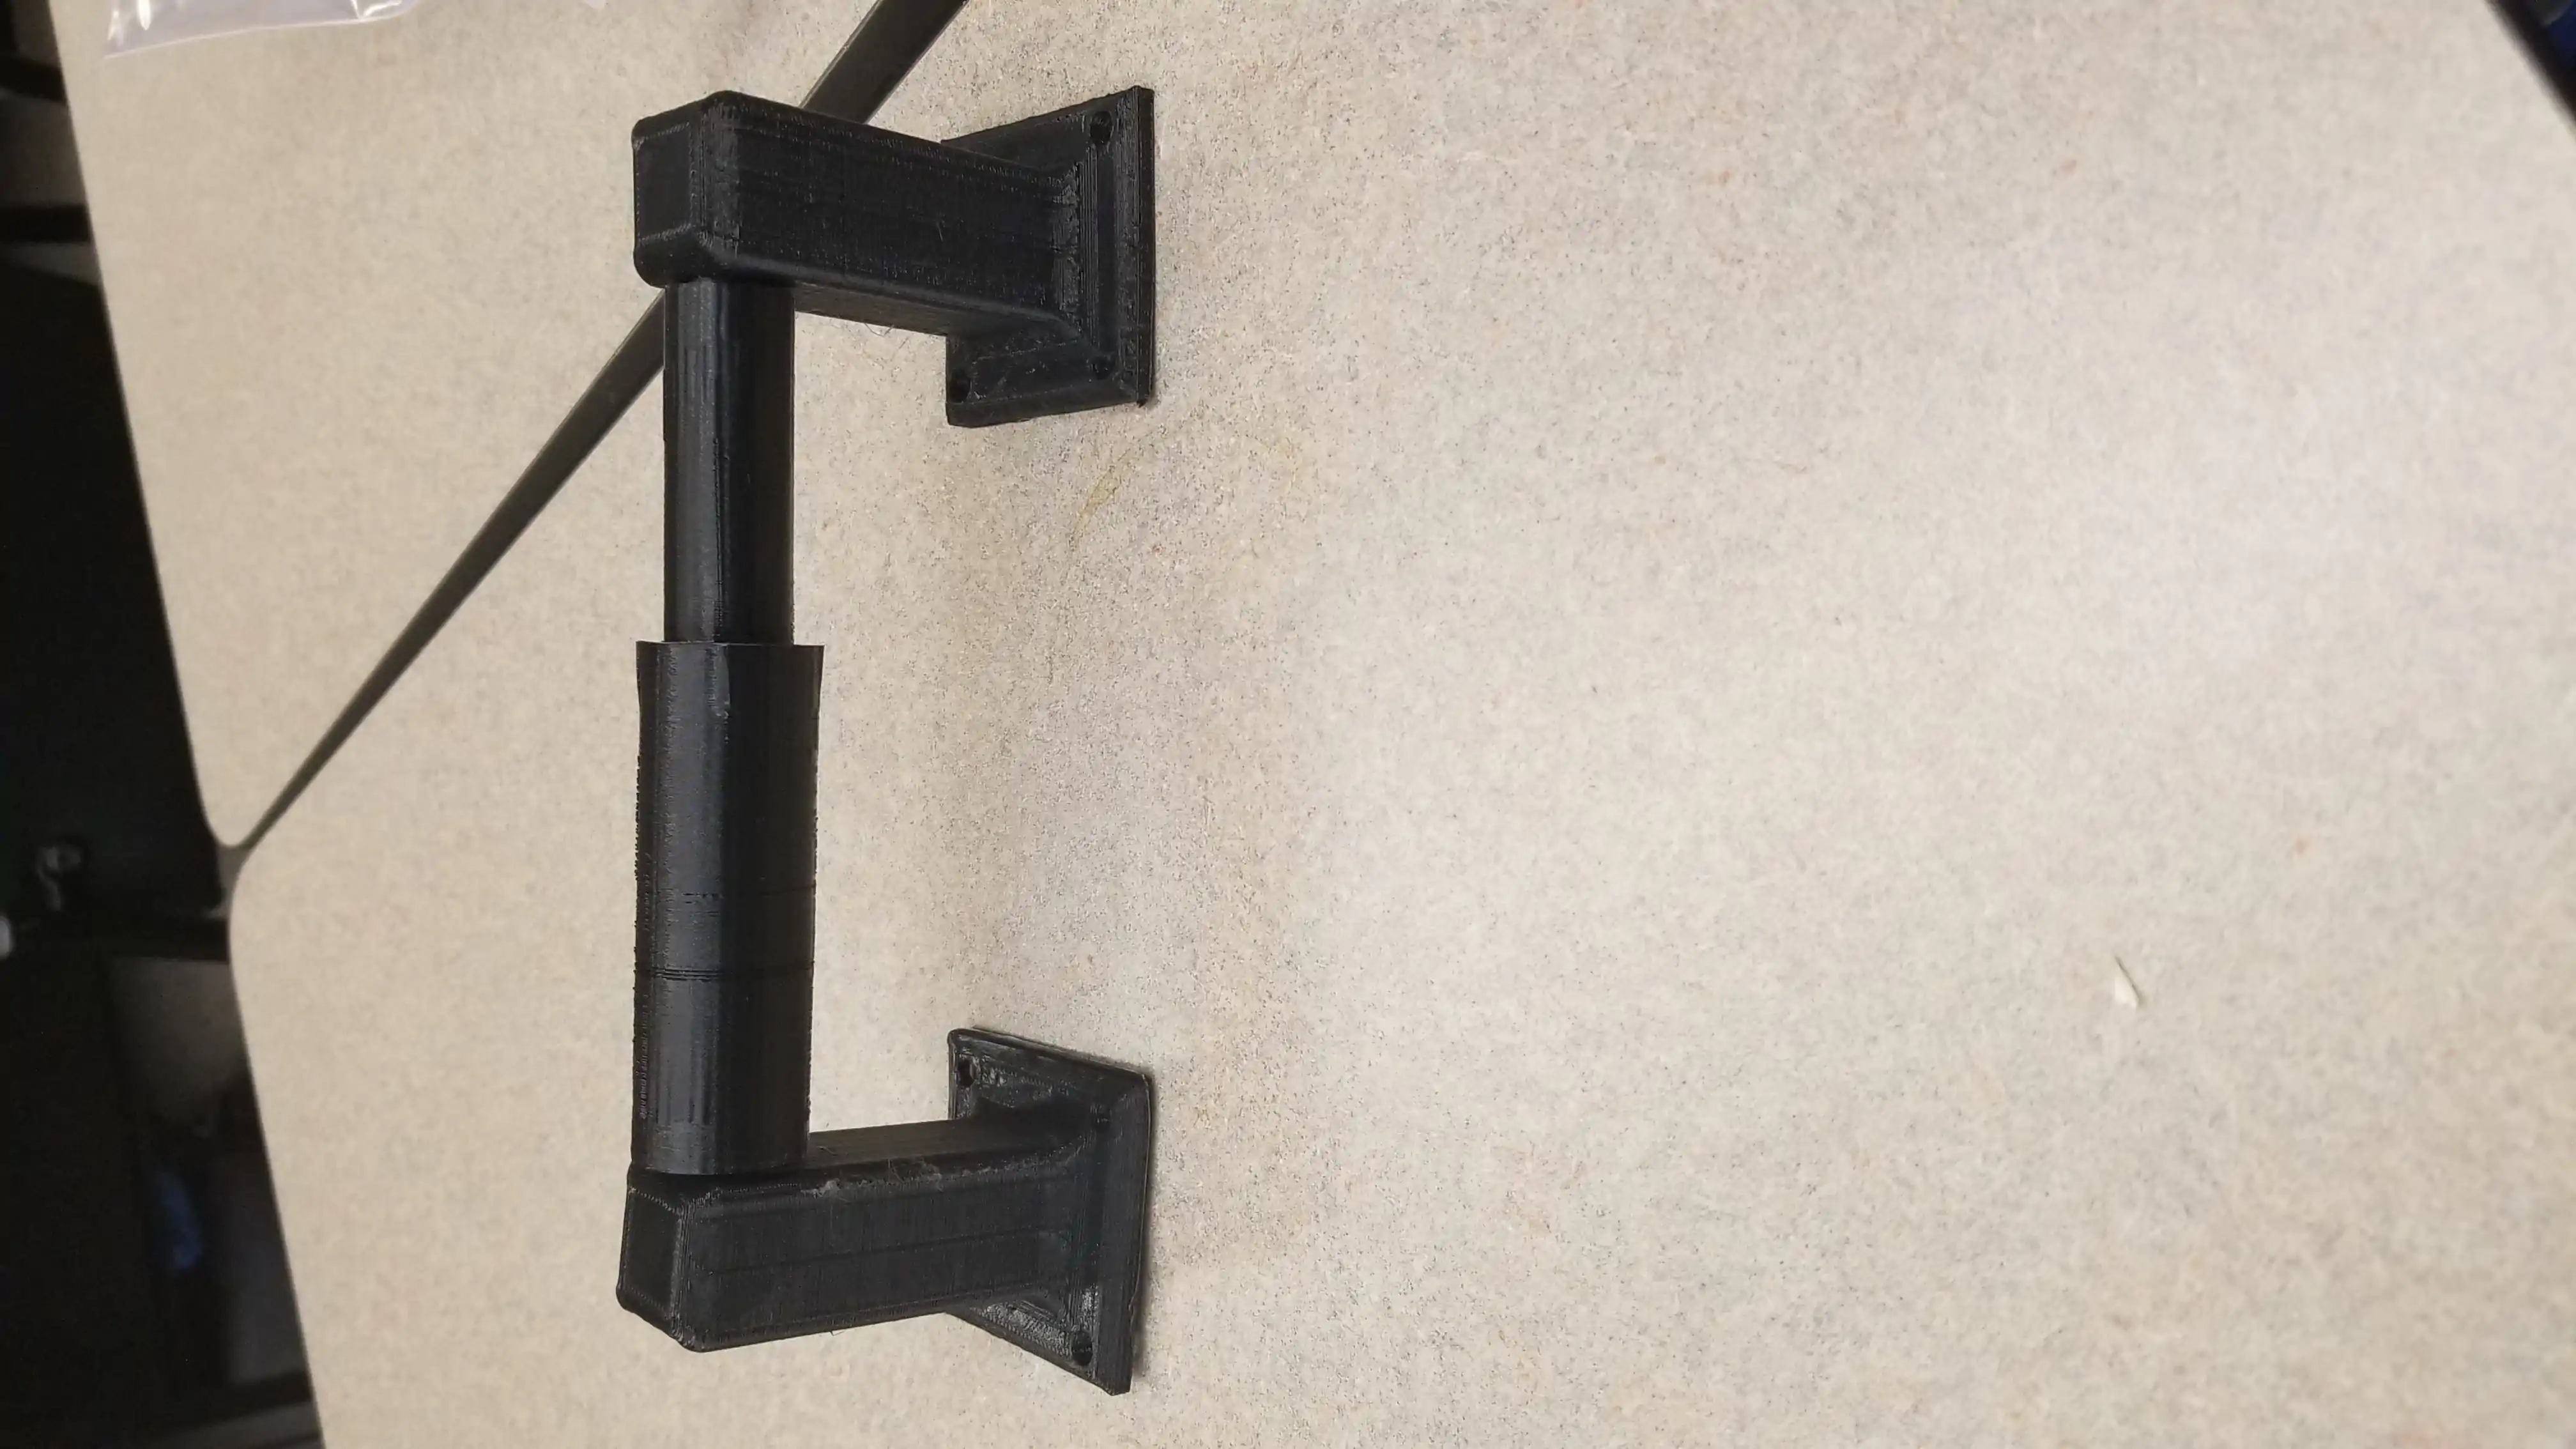
- This is a helpful OSAT project because it will help anyone in the developing world keep any toilet paper off the ground where it could potentially get wet or dirty therefore this is a more sanitary and will waste less toilet paper.
- Picture of completed print using your printer
Bill of Materials
- Provide a full BOM -- PLA Plastic, (https://www.mcmaster.com/1986k16)compression spring or something similar
- Upload and link to all source files from open source CAD (https://www.youmagine.com/designs/toilet-paper-holder-5-18) YouMagine link
- Upload and link to all STLs Same as the previous link
Tools needed for fabrication of the OSAT
- MOST Delta RepRap or similar RepRap 3-D printer
Skills and Knowledge Necessary to Make the OSAT
- Basic 3D printer knowledge.
Technical Specifications and Assembly Instructions
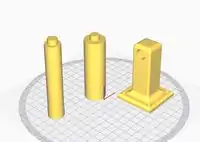
- Assemble the spring into the larger tube and then insert the smaller tube into the large tube making sure it slides freely but locks in with the small groove on the inside of the large tube. Make sure the two tubes slide freely then and rotate in the holders. Then Place the holders in the desired location Mark screw holes and then attach to the wall.
- Print time estimate: 10 Hours
- Assembly time estimate: 10 minutes
- Including drawings or pictures of the device at stage of assembly at minimum.
Common Problems and Solutions
- Common problems: if you don't want to use support material make sure the tubes appear to be upright in the slicer otherwise they will not of as high of quality if they are laid flat.
Cost savings
Benefited Internet Communities
- Name and add links to at least 5 using single brackets around [url name]
References
- No references were used.
Based on the developmental needs addressed (e.g. food, heat, electricity, clean water, health care, etc.) be sure to label your device in the proper categories e.g. use [[Category:Water]]. Be sure to categorize your device so that it will be easy to find – for example “Low voltage connection basics” is categorized in [[Category:How tos]] [[Category:health care]] [[Category:cleanliness]] [[Category:house hold]]
This article is issued from Appropedia. The text is licensed under Creative Commons - Attribution - Sharealike. Additional terms may apply for the media files.