Hyper visible power meter instructions
Step by step instructions
How to make a Hyper Visible Power Meter.
Housing
| Material | Measurement |
|---|---|
| Sheet of aluminum | 7 ft X 3 ft |
| squared metal beam | 1ft length, 1/2 inch diameter and width |
| Woodfast roofing screw | 1 inch |
Meter housing:
- Trace 8 diamonds on an aluminum sheet made up of two equilateral triangles with dimensions of 1 foot. Add tabs a 3/4 of an inch wide on all four sides (this will be used for attaching the triangles to each other).
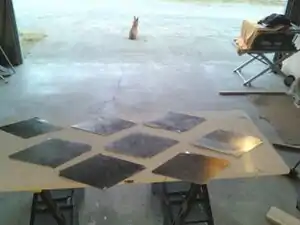 Cut aluminum pieces. (Photo by Noe Martinez)
 - Use available resources to bend tabs on the aluminum diamond. One way is to screw together two pieces of wood and place the tab in between them (this is our suggestion but there are other ways to bend the aluminum).
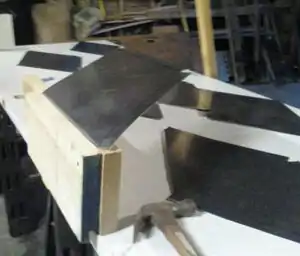 (Photo by Tate Morgan)
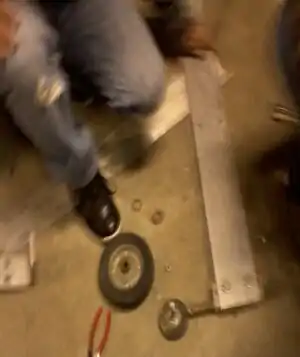
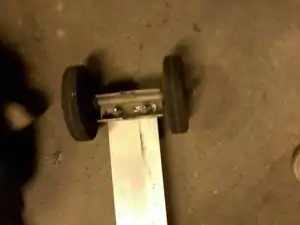
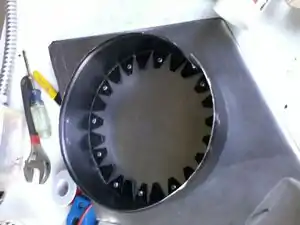
 - With the assist of a square metal tube of no larger of 3/4 of an inch wide, fold two of the diamonds in half to approximately 90 degrees and use sheet metal screws to fasten the diamonds with one folded corner to each other on to the metal tube. Create a X shape with diameter of 2 feet.
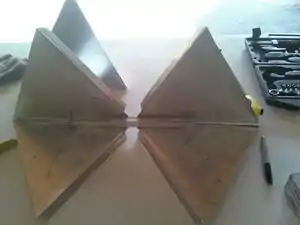 (Photo by Tate Morgan)
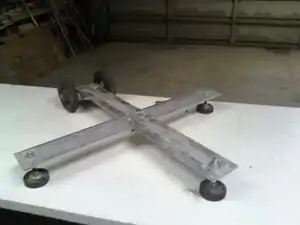
 - . The top part of the housing should look similar to the image to the left, if not than refer to previous steps for assistance.
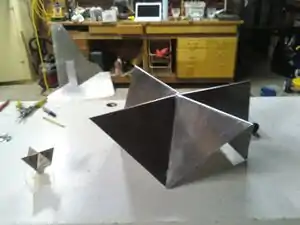 (Photo by Tate Morgan)
Base (optional)
| Material | Measurement |
|---|---|
| 2 aluminum plates | 2 ft X 33 ft |
| 3 round rubber stoppers | radius of 1.5 inches |
| 2 rubber casters | radius of 3 inches |
| sliding gate wheel bracket | 2 ft by 4 ft |
| nuts and bolts | less than 3 inches |
Meter's Base:
- Use bolts to secure the aluminum plates perpendicular to each other.
 (Photo by Tate Morgan)
 - Mount the sliding gate wheel bracket on one end and then use the 3 round rubber stoppers for the other ends.
 (Photo by Tate Morgan)
 - Bolt the base together (final stage should look like image).
 (Photo by Tate Morgan)
Face
| Material | Measurement |
|---|---|
| 2 circular mirrors | radius of 3.5 inch |
| 2 steel ventilation adapters | 8 inch to 6 inch adapter |
| Plexiglass (Lexan* Polycarbonate sheet) | 6 inch circles |
| steel ventilation duct (color black) | radius of 4 inches |
| Blue LED lights | amount of 40 lights |
| Sheet metal screws | 1/2 inch long |
| Thermostat wire | 24 gauge wire (red and white) |
Making and Mounting the Infinity Mirrors:
- Cut plexiglass to a circle with diameter of 8 inches.
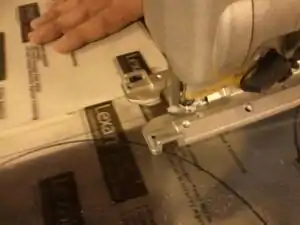 (Photo by Bruce)
 - Use silicone caulking to attach the plexiglass to the steel ventilation lid.
 attaching the plexiglass to the mirror lid
 - Cut and bend tabs on a steel ventilation duct and screw onto the housing face.
 The outer ring of the infinity mirror
 - Drill a 3/4 inch hole in the aluminum face for the inner rings LED's wiring to fit through.
 drilling a hole for the infinity mirror's wiring
Wiring from Battery to Meter
| Material | Measurement |
|---|---|
| Aluminum electrical conduit | 1/2 inch width, 25 ft long |
| Thermostat wire | 24 gauge wire (red and white) |
| BVM1 Circuit Board | N/A |
| 60/40 Rosin core solder | One Roll |
| Tupperware | 3x5 Inch |
| Scrap 1/4 Inch Plywood | Two 3x3 Inch pieces |
Circuit Board:
- Empty circuit board that we purchased from www.cirkits.com.
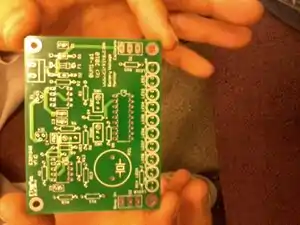 (Photo by Tate Morgan)
 - Process of soldering the magical circuit with Rosin core 60/40.
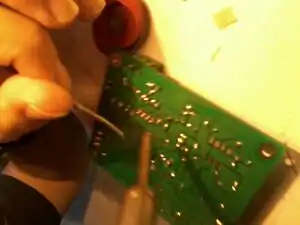 Photo by Team Stark Industries
 - Use heat sink for soldering semiconductors due to the semiconductor heat sensitivity.
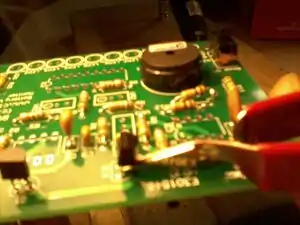 Photo by Team Stark
 - Soldering on the BVM1 circuit board is complete.
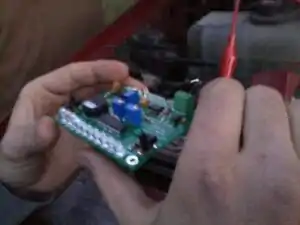 Complete BVM1
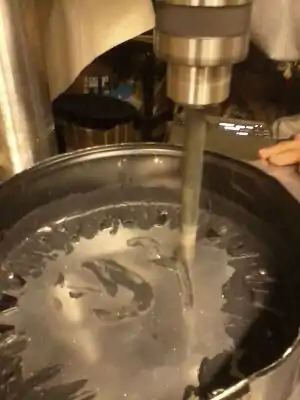
 - Use a wire snake to thread 20x 24 gauge thermostat wires through the electrical conduit.
 threading the wires through the conduit
 - Adhere plywood to Tupperware. Attach conduit to Tupperware and solder the 24 gauge wires for the LED's to the circuit board. Attach circuit board to plywood.
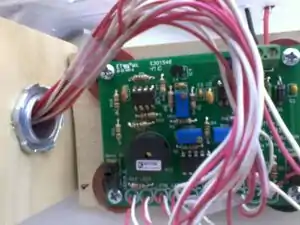 Protective Box for circuit board
This article is issued from Appropedia. The text is licensed under Creative Commons - Attribution - Sharealike. Additional terms may apply for the media files.